


This simple expression can add jagged motion to any layer in your After Effects file to create a trendy shaking effect. With the rising popularity of glitch effects in video editing, it’s a useful skill to know how to make a layer shake in After Effects. You can use it to add some subtle motion to an otherwise static frame, draw emphasis to an important object, or even make a character quiver in fear! This tutorial will introduce you to the basics of the wiggle expression that will affect a layer for the duration of the composition. (To learn more about making the wiggle start and stop, you can dive deeper into the particulars here.) Ready to start? Open your file and let’s get shaking.
- In your after effects file, select the layer that you want to shake.
For this example, I have an image of pancakes and then some stars. I want to apply a wiggling or shaking effect to both of these layers, so I will repeat these steps for both objects.
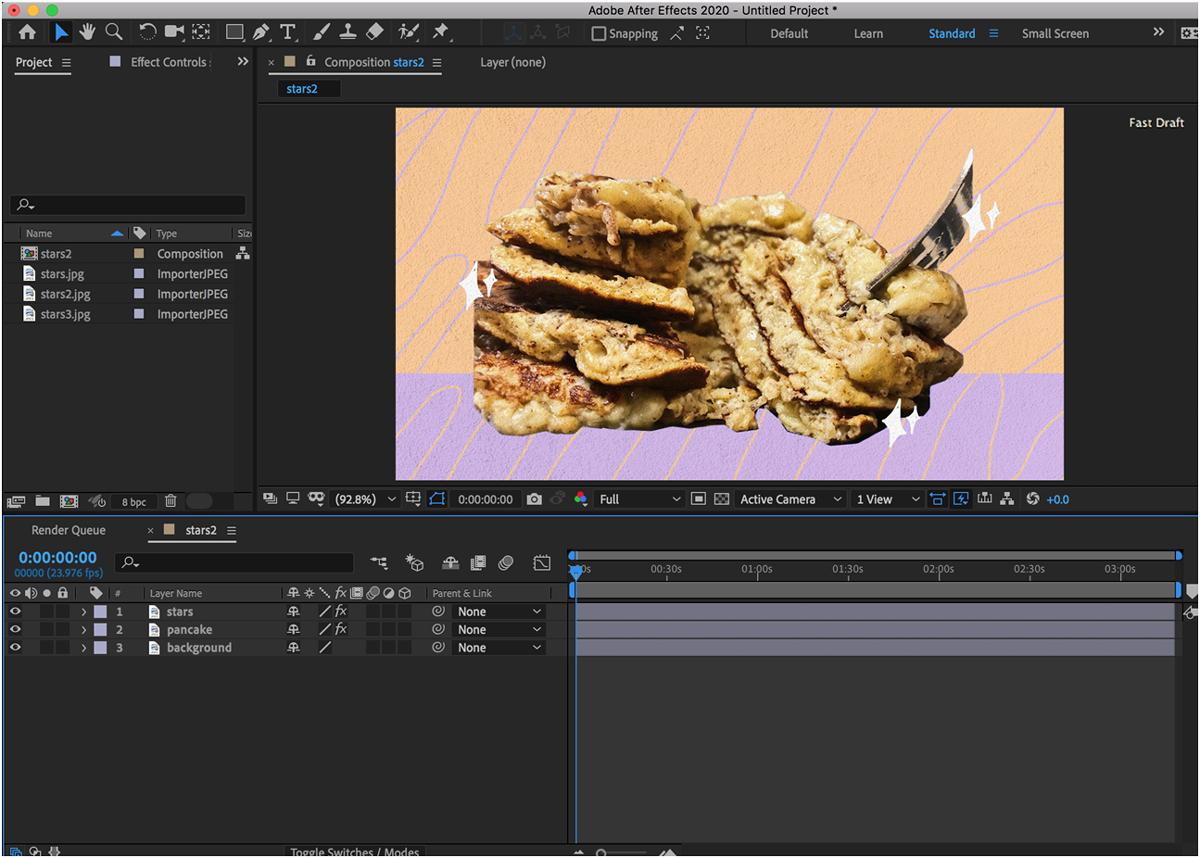
- Pressing the alt/option key, click the stopwatch beside “position.”
When you see the position text turn red and begin typing in the timeline, you are creating what is called an “expression” in After Effects. Using a coding language adapted from javascript, you can use all sorts of customizable commands to apply complex motion to layers. Discover the other things you can do with expressions here.
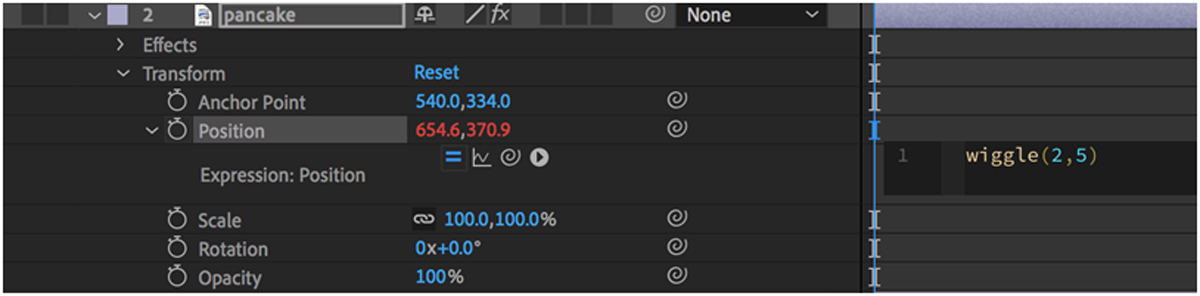
- Type “Wiggle (3,8)” and adjust the settings as necessary. The first number in this expression represents the frequency of the wiggle—essentially, how fast it appears to shake. The second number represents the amplitude of the wiggle, which is how far it moves. You can adjust these numbers however you would like. Wiggle (2,40) will make a layer shake dramatically, but slow. Wiggle (10,3) will make a layer dart around quickly without moving too much in any one direction.
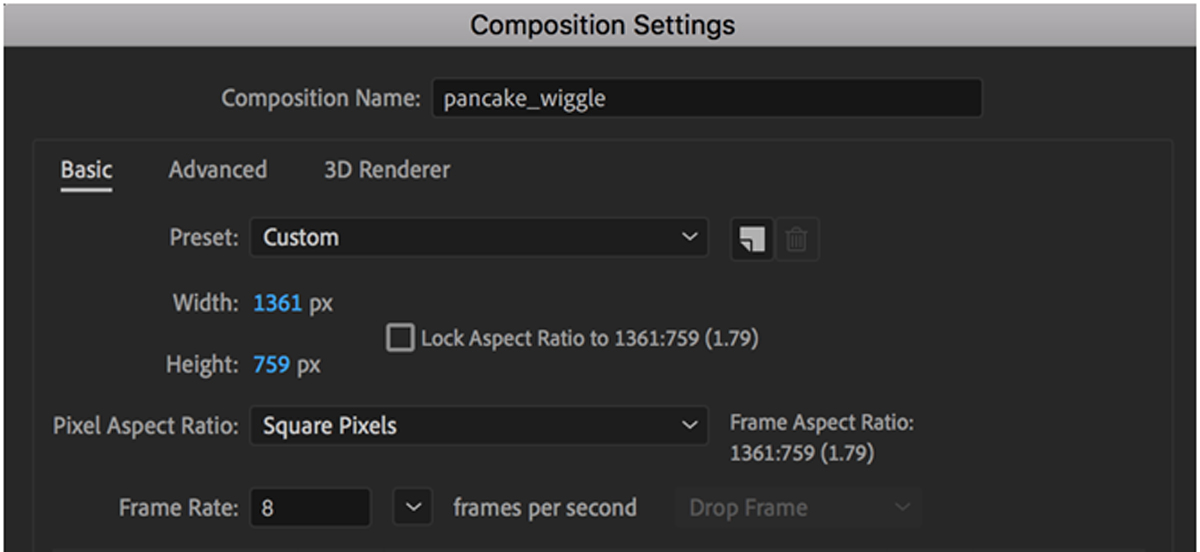
- Optional: Adjust the frame rate of your composition.
If you want more of a jerky wiggle instead of something smooth, you can reduce the frame rate of the video to make the overall effect more “choppy.” Go to Composition > Composition settings and lower the frame rate. 24.5 is standard in After Effects. Something like “12” will give you a choppier feel, but you can go as low as “8.”
If you enjoyed this tutorial, you might find it helpful to see how you can use “wiggle” in combination with other expressions to create a glitch effect in Adobe After Effects. Are you a current student? See how you can save up to 60%.


