Ready to show off your artistic skills? Here’s how to make a website for your online art portfolio using Adobe Portfolio. You’ve spent hours sketching, painting and drawing, and now, you’re prepared to showcase all of your work online. Whether it’s for fun or class, those hours of hard work are going to pay off. Making an online art portfolio is easy with Adobe Portfolio. Follow this guide for tips on how to make a digital art portfolio for a dazzling website. How to Make a Digital Art Portfolio with Adobe Portfolio
- Choose a theme.
 There are a variety of themes you can use for your online art portfolio. Choose something simple to draw more attention to your art.
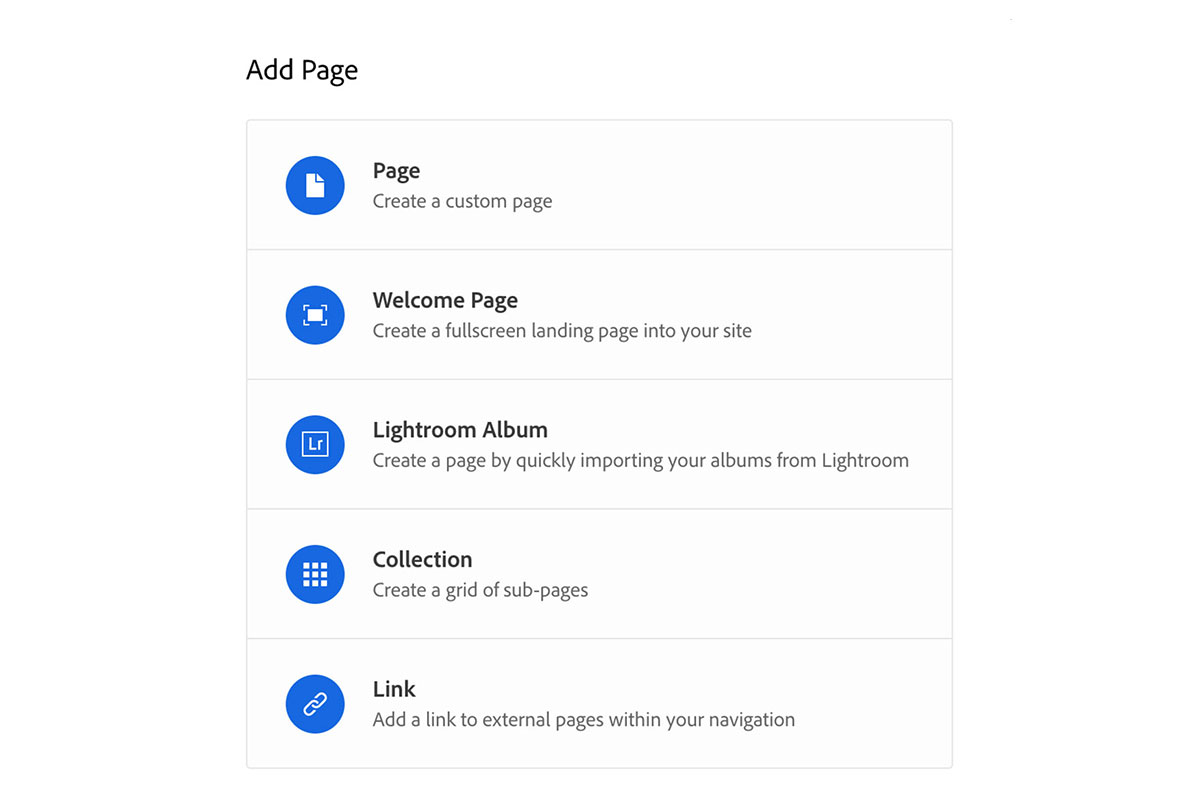
 - Add content.
 Add pages to your website where you can place your content.
 With photos and texts, you can exhibit your art and add information about each piece.
 - Add about and contact pages. Students and freelancers who have an art portfolio online should include a little bit about their work and a contact page. This is a great way for anyone who is interested to contact you to learn more about your art or connect to work on a project. Add a form and links to your social pages. Links to social media accounts like Instagram are also a fantastic way to continue promoting your art.
- Customize. Once you have all your pages completed, you can customize your website and make changes to all the small details, like adding a logo or changing the spacing. You can also change the background color and font on your portfolio.
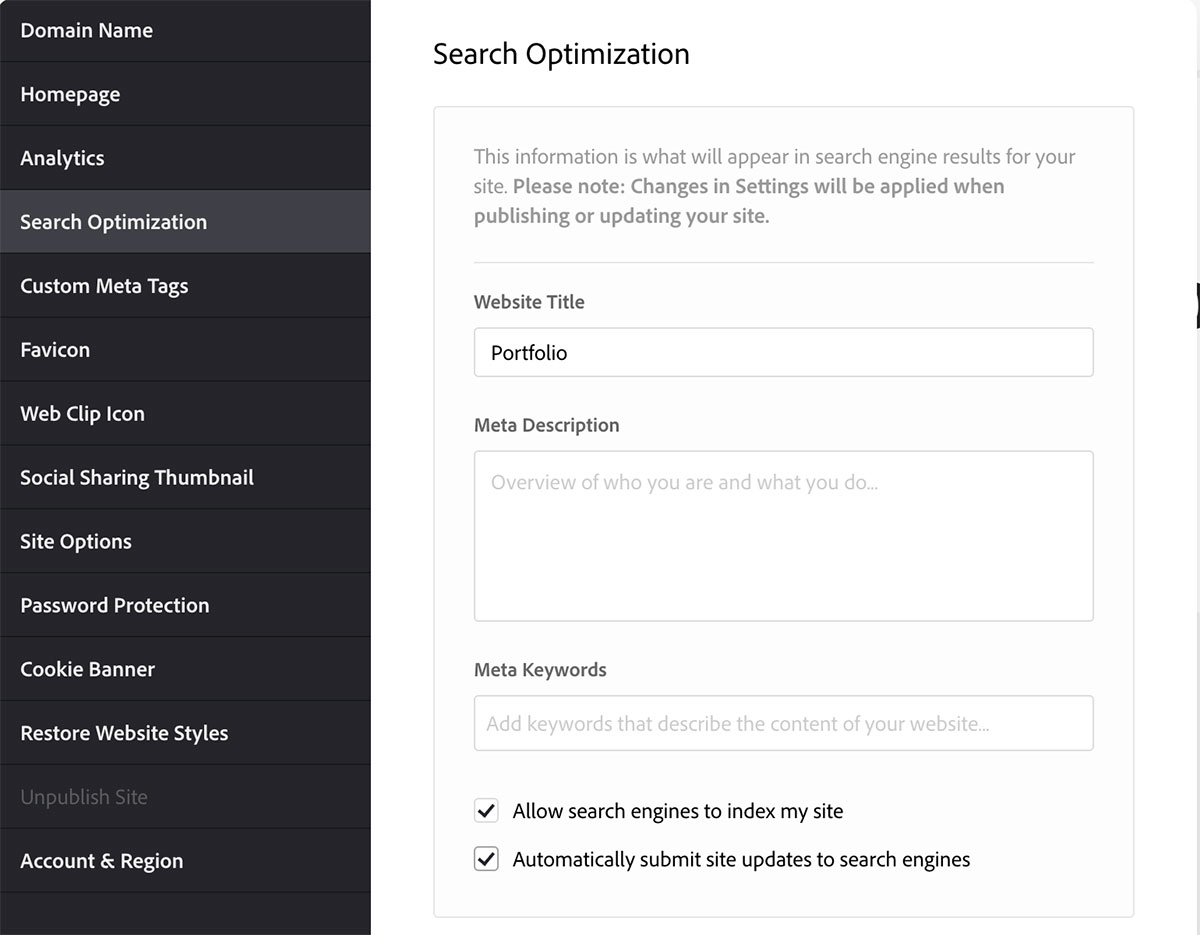
- Optimize, publish, and update.
 Search optimization will help your website stand out from the rest.
Are you a current student? See how you can save over 60% on Creative Cloud.


