
Try your hand at collaging without ever having to pick up scissors and glue by using Adobe Photoshop! The modern digital collage has become a fundamental graphic design style. Created in Photoshop, these works of art are generally curated by a design team with access to unlimited stock images, which is apparent from the addition of seemingly pointless elements that lend nothing to the graphic’s clarity and serve the purpose only to decorate. For years there was this design rule that nothing could be on the page without serving a purpose, but modern internet collages break this rule by incorporating so many elements that, often, the overload becomes the aesthetic. You’ve seen them in journalism, championed on sites like The Cut and The Lily, but also in advertising. They’re unmistakably digital because many of the elements are computer-generated, like patterns or vector imagery.

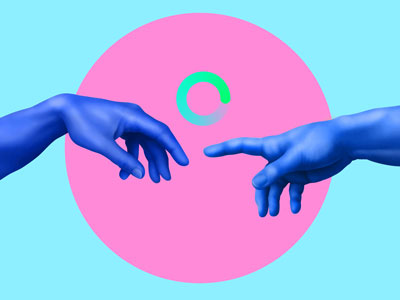
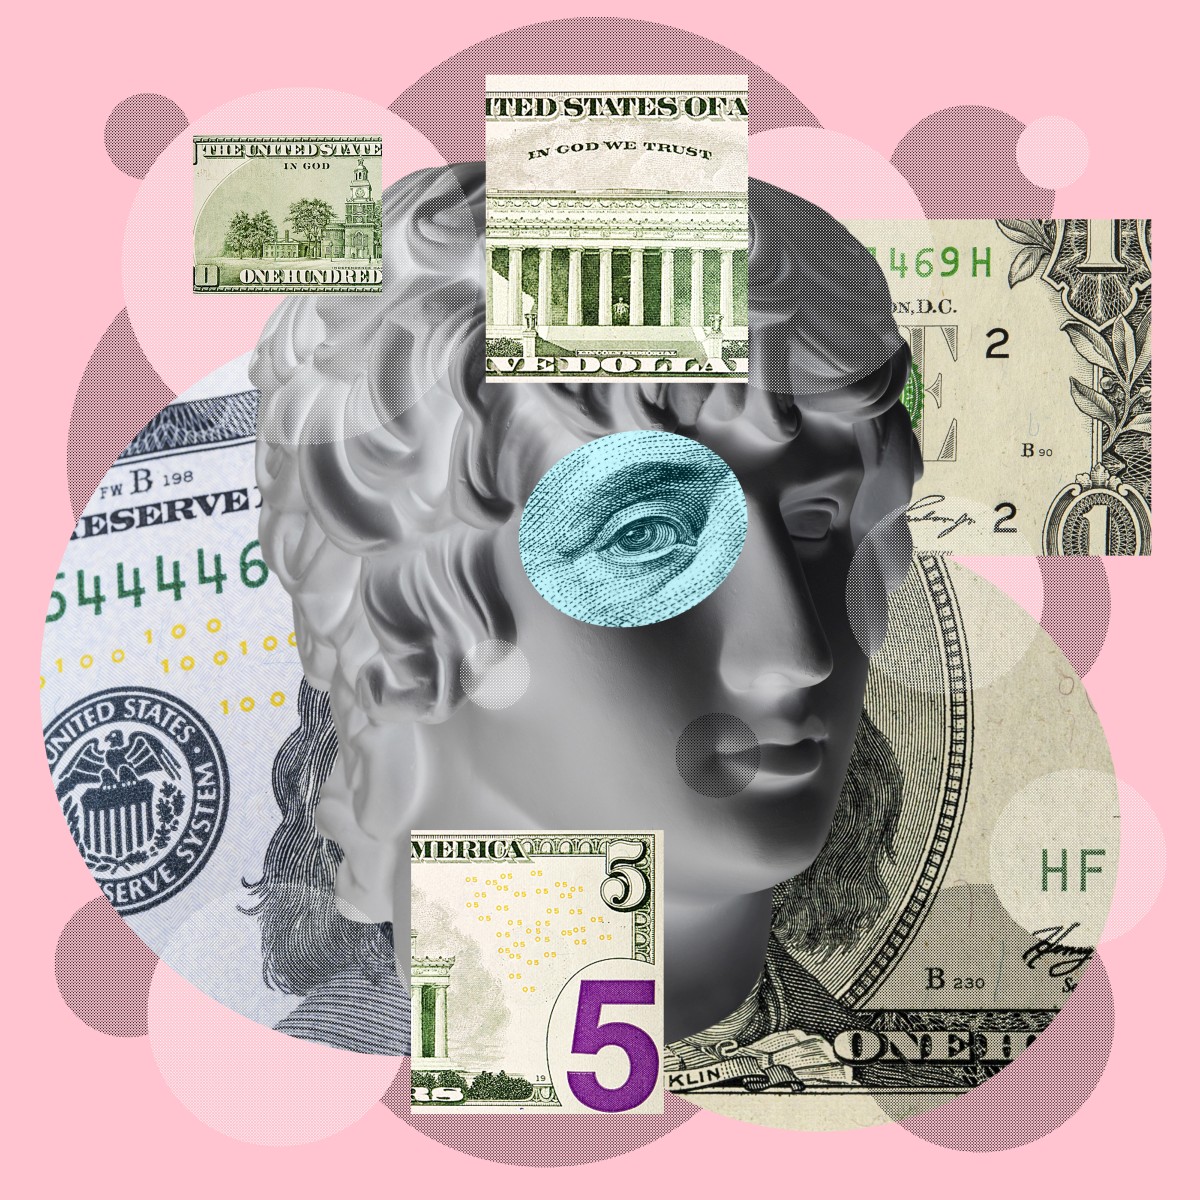 You’ve probably seen collages in advertising and news media.
How to Make a Digital Collage
- Brainstorm your design.
If you’re creating a collage to use as accompanying art for a story, campaign, or project, think about some of the elements you might want to include. A well-done collage is formed of pieces that are all related to an overarching concept—even if the audience cannot immediately identify the connection between all of the elements.
You can prepare to make the collage by finding all of the necessary assets. Find photographs or drawings of all of the elements or symbols you would like to include. It might also be helpful to find a few patterns to use as backgrounds or texture—look for colored paper, lined paper, graph paper, crumpled paper, static, patterns, etc.
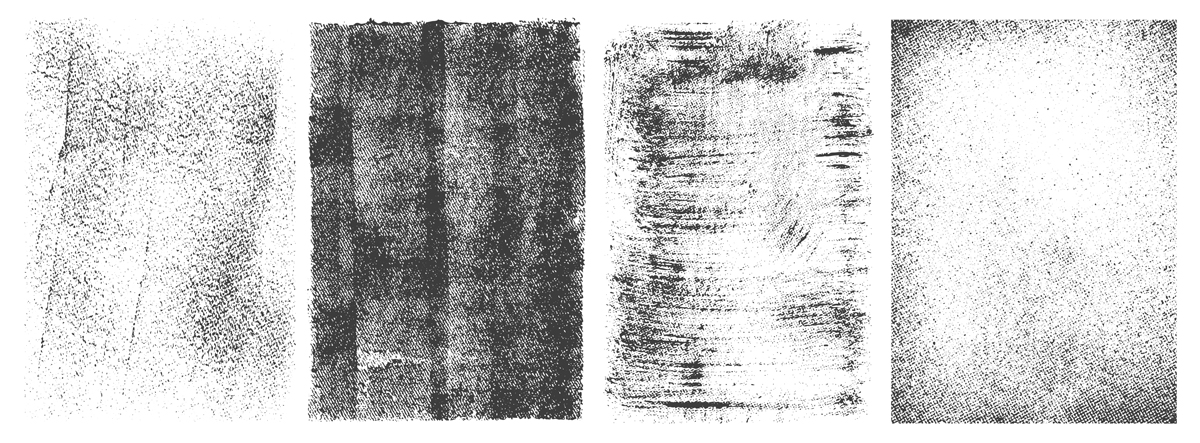 An example of good overlay textures. (These will come in handy in the last step!)
 - Create your file. Create a Photoshop file of any size. Common shapes include a square (1600 x 1600 pixels for web) and a 2:3 rectangle (2400 px wide, 1600 px tall). Then, drag and drop all of your images inside.
- Cut out the images.
Do your cutouts before composing the collage. You want to remove sections of each image so that only the desired object remains. The best method for this is to create a mask with black covering the parts you want to hide and white covering the parts you want to show. You can learn more about masking techniques and cutouts here.
Is making proper cutouts too tedious and time-consuming for you? Making jagged masks with the polygonal lasso tool achieves a cool effect in a fraction of the time. Just draw a jagged outline on your layer and click the mask button
 when you are done.
- Border some (or all!) of the images.
 (Left to right) A smooth, neat outline vs. a jagged, faux-paper cutout..
- Compose the collage!
Now it’s time to place your objects! Move the Photoshop layers containing each object and arrange into a pleasing image. If you are stuck, try creating a collage that “floats,” where none of your elements touch the edges of the file. Take your time and remember you can always rearrange them later.
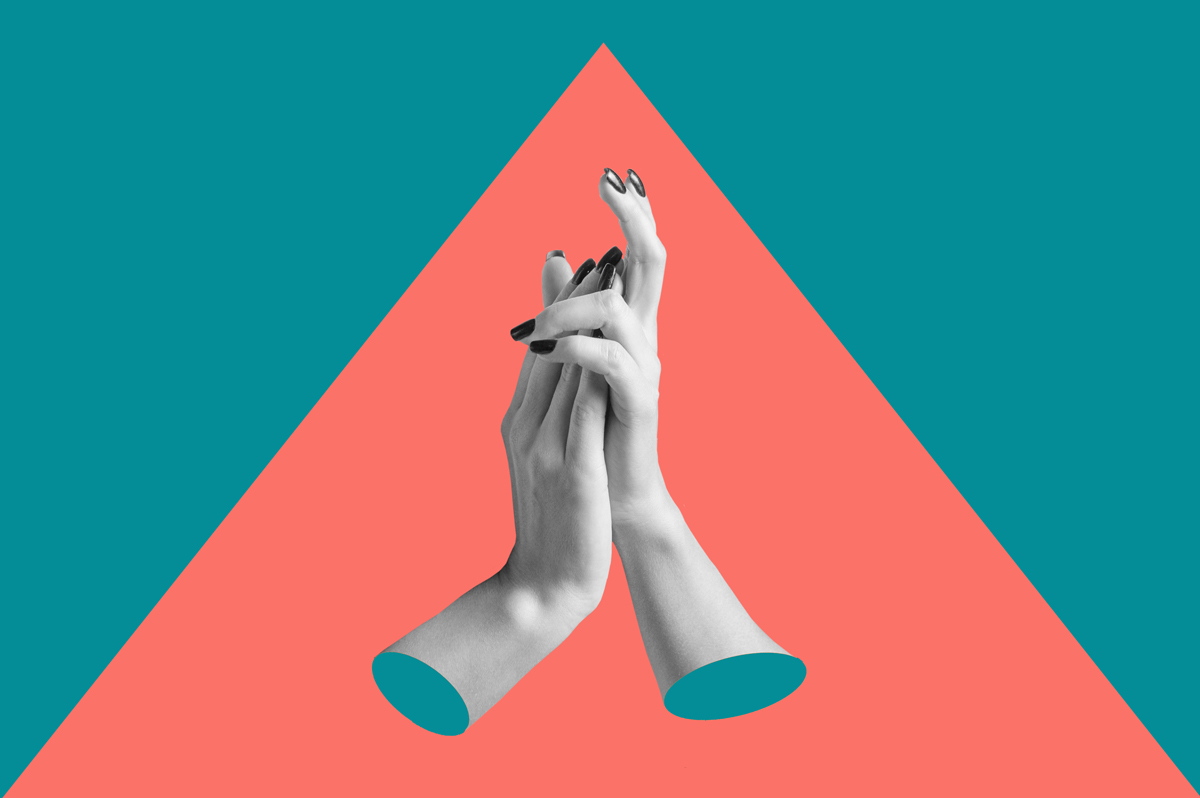
 Oftentimes collages are “floating,” which means that no elements bleed off the edges of the image.
 - Draw any missing pieces.
Did you want to add scribbles to the collage? What about text? Maybe vector imagery? Once the cutout images are in temporary places, it’s time to add any non-photo elements.
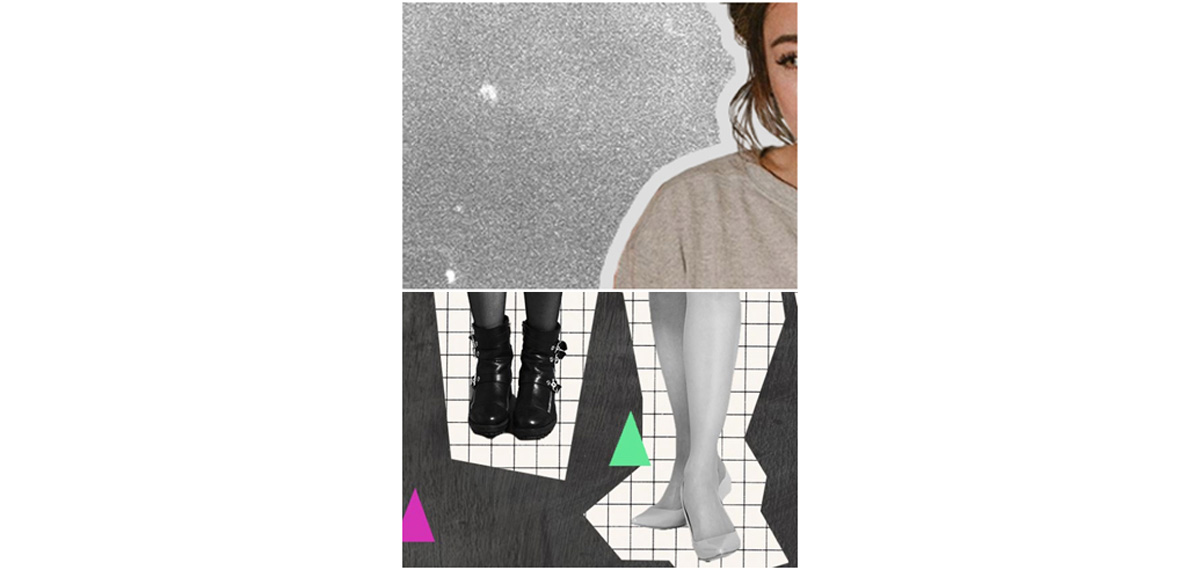
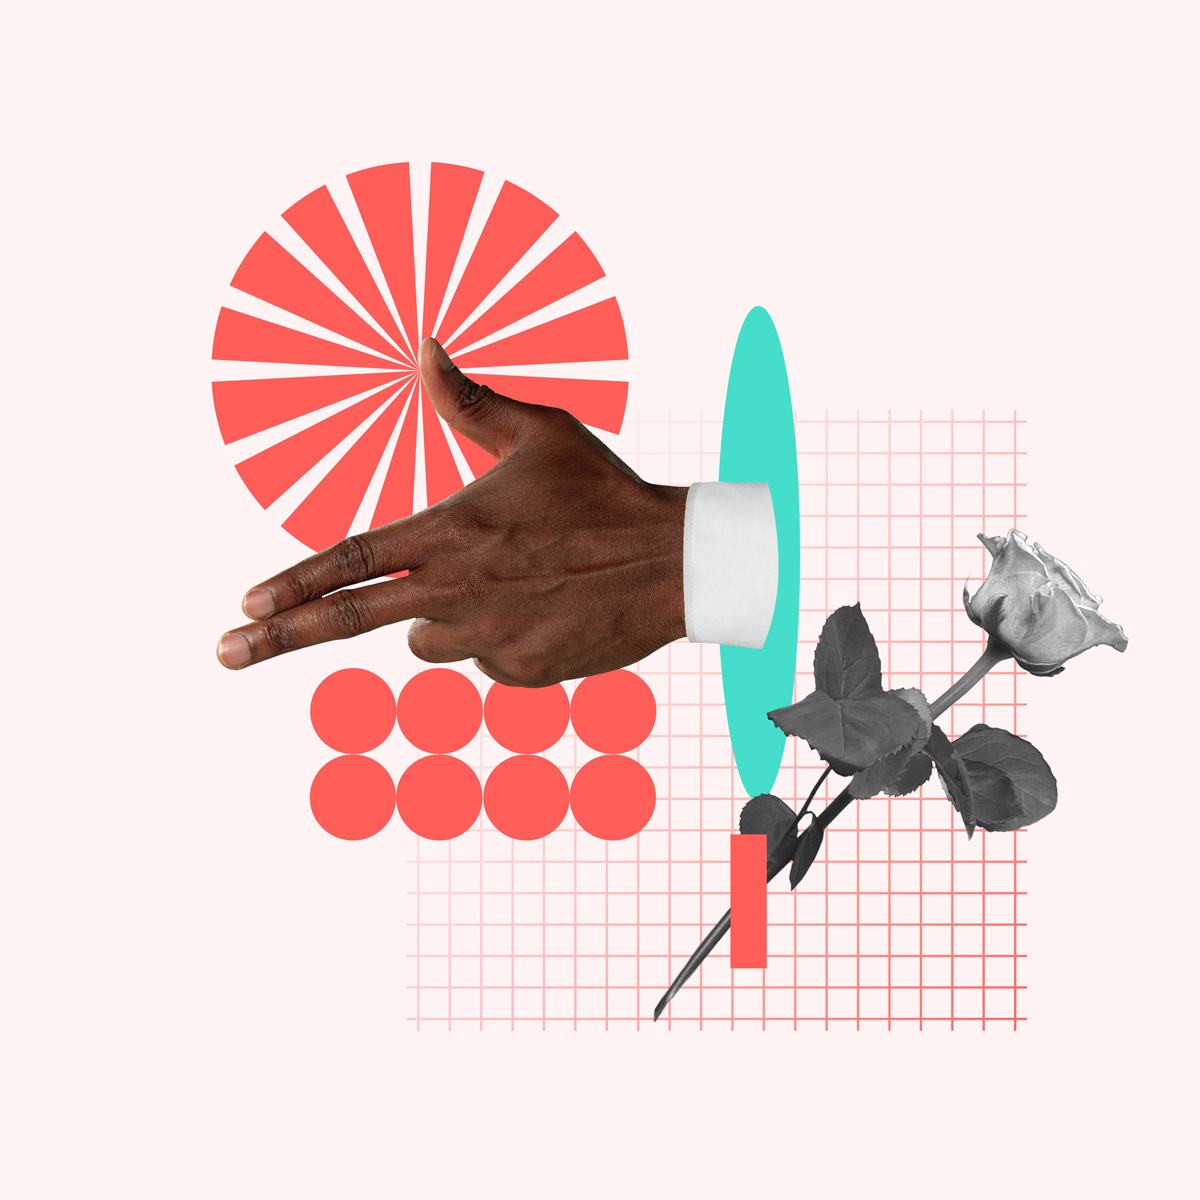
You can also add graphic touches to your photos. For example, you can cover the awkward ends of wrists or legs by adding circles over the ends of the body parts, as shown.
 A common way to work around unfinished body parts is to draw circles over the ends.
 - Colorize some (or all!) of your photo layers.
You might notice that, with so much going on, your images might not seem to match or look good together. Sometimes, the chaos of many colors is good. But if you are looking to create more unity within your collage, colorizing will come in handy.
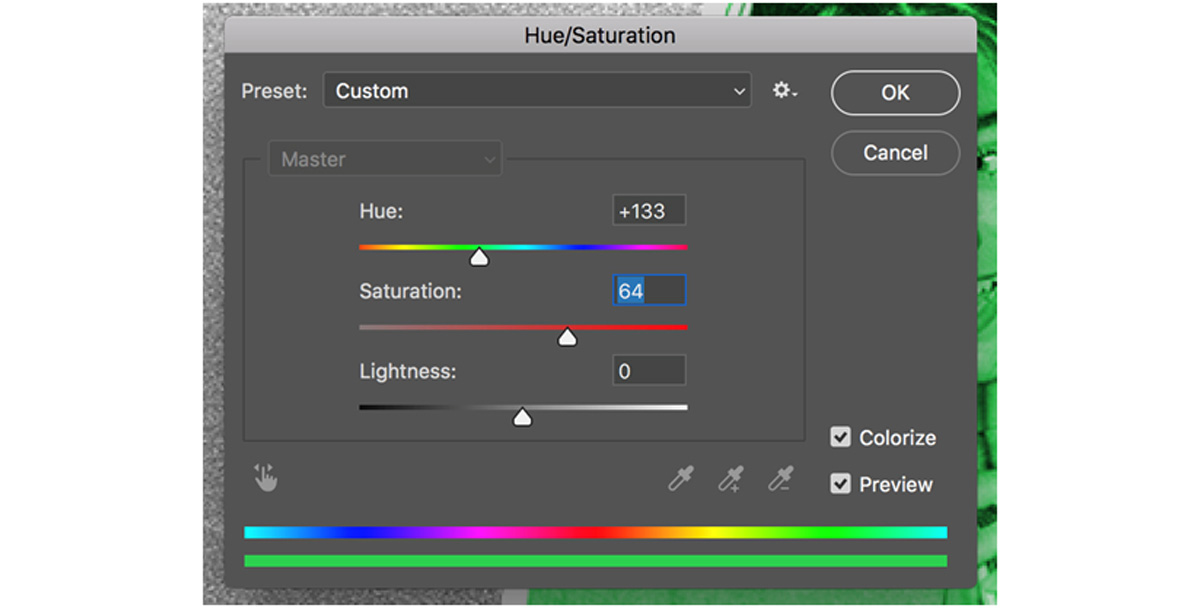
Click on any layer you’d like to recolor and go to Image > Adjustments > Hue/Saturation. Click the “colorize” box in the bottom right corner. Shift the sliders for each of the values (hue, saturation, brightness) to create a vibrant shade. (You can learn more about recoloring images here.)
- Optional: Add a texture.
As a final step, you might want to add a final layer of cohesion by dropping a texture on top of the finished collage. This will make the artwork look more uniform and vintage, but if you want to keep a clean and modern feel for your digital collage, skip this step.
 Using a textured overlay gives a collage a more tactile feel, like a collage created with scissors, glue, and paper.
If you enjoyed creating a digital collage, you might want to use these skills to design social media posts. Click here to learn more about how you can use Adobe Spark to make digital graphics! Are you a current student? See how you can save over 70%.