

Minimalist, flat illustrations of friends or family members are a great way to dive into using Adobe Illustrator. This tutorial is trendy right now, but it’s also easy, works with any photo, and doesn’t require any drawing ability! You’ve probably seen an illustration like this before: minimal detail, flat blocks of color, no shadows, and possibly some missing facial features, like eyes. It’s called a flat illustration, since it doesn’t involve shading or outlines. You can apply this style of illustration to any photo to create a piece of individualized artwork. Tracing a family photo makes for a great Mother’s Day gift or Christmas present. It’s also trendy to use this method on a friend group picture to share on social media. Whether you’re an Illustrator expert or beginner, this method is a great way to experiment with the software because it’s almost impossible to mess up. No matter how rough your outlines, the finished product will be clean and creative. Plus, creating vectorized artwork based off an existing image allows you to trace over it, so this tutorial doesn’t require too much artistic ability. You can apply it to any photo you would like by following these steps.
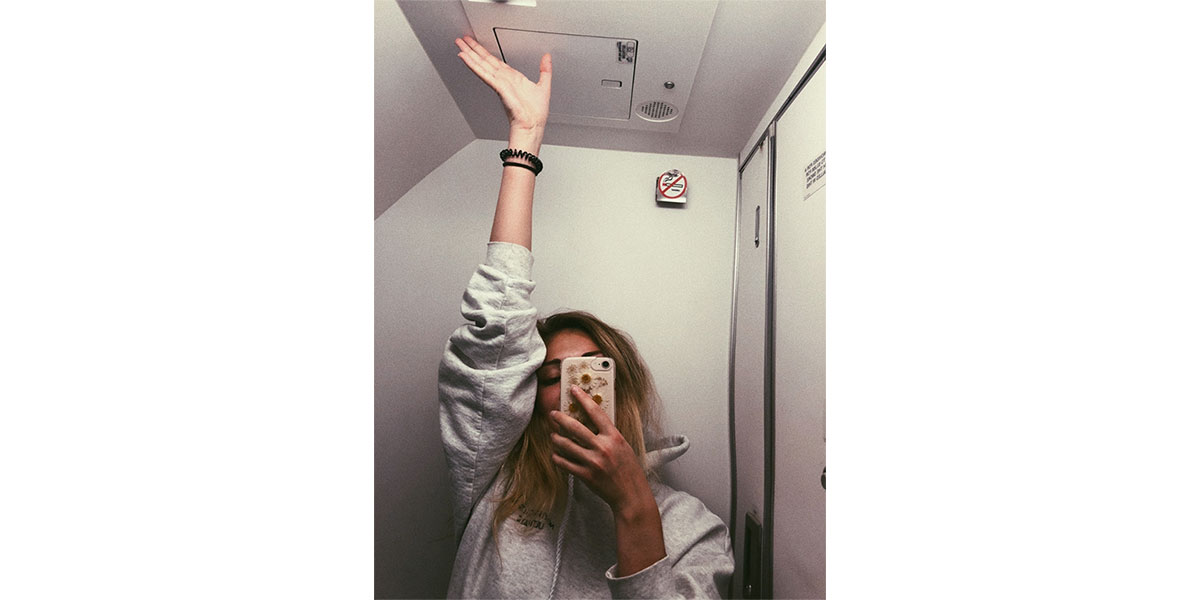
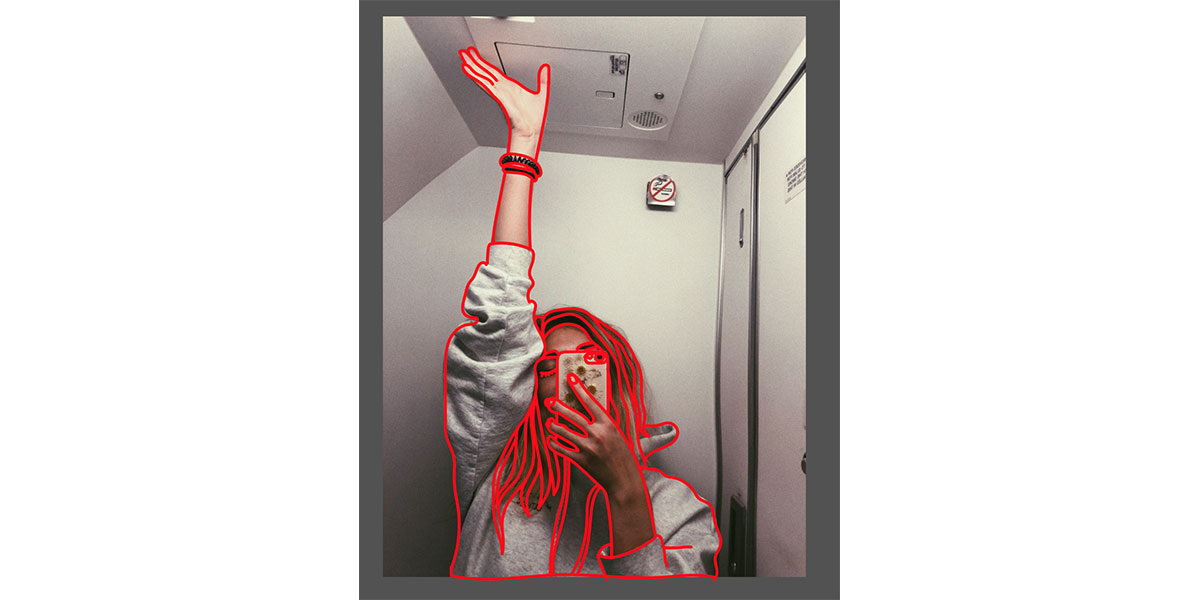
- Select the reference photo you’d like to use and open it in Illustrator.
The clearer the image, the easier it will be for you to draw those small details. For the sake of simplicity, I chose a photo with only one person for the example. Feel free to use whatever image you would like!
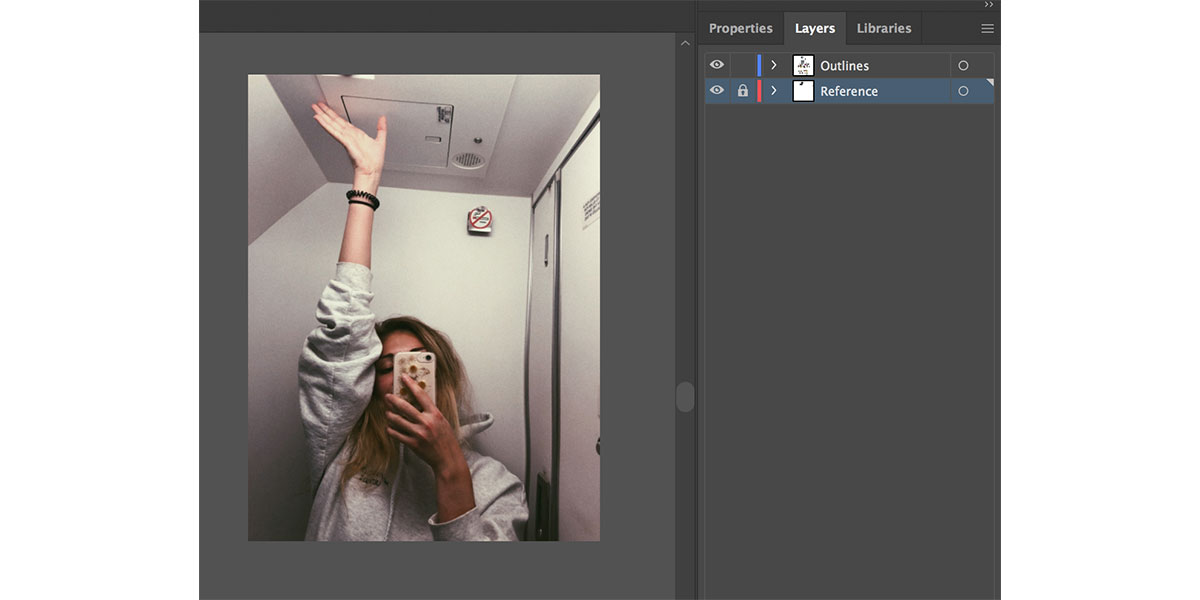
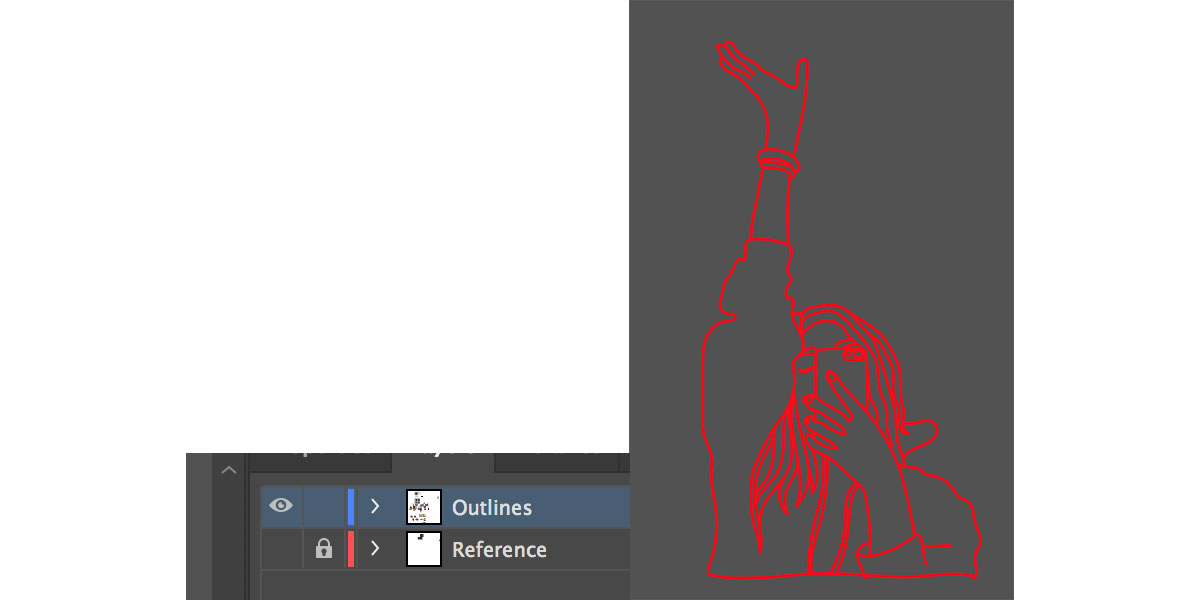
- Create a new layer and lock the photo in place.
You will be drawing using a layer above the photo layer, but this will make it easy to keep the photo from shifting and easy to hide at the end. If you’d like, you can rename the layers “reference” and “illustration” or “outlines” like I did.
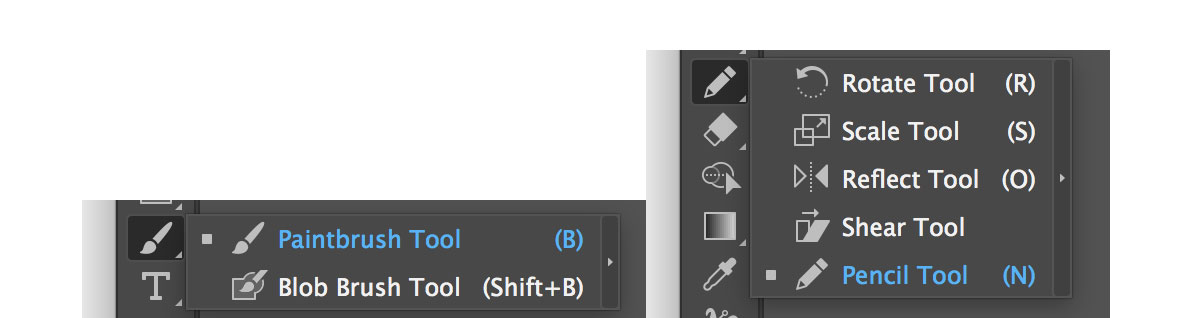
- Use the pencil or paintbrush tool to begin drawing outlines around the figures.
You can find both of these in the toolbar. The paintbrush is handy for creating smooth curves, while the pencil will not shift into a perfect shape after you draw. (As you might see, my personal favorite is using the paintbrush tool at a thickness of 0.5 and a red shade.) At this stage, you can draw in any color and thickness that makes it easy for you to see what you are doing. Since we are only filling in areas with large washes of color, it is not necessary to outline every individual feature of the image, but instead, only the edges. For example, I will draw around the edges of my sweatshirt, but I won’t sketch in the wrinkle lines.
- Focus on some areas that will give the image an extra level of detail. The key to making a vector illustration look sharp and impressive is to add some small details. I suggest outlining jewelry, accessories, nail polish, and shoelaces. I also try to section the hair into multiple chunks in order to use a variety of different shades. If you are having difficulty getting facial features to look alright, a lot of artists skip drawing the eyes or mouth.
- Click the eyeball to “hide” the layer with your reference image.
You can click this again to bring it back at any time, but it will be less distracting to fill in your colors without it showing.
- With the paint bucket tool selected, highlight all of your outlines and click on the inside of a shape. Once you do this, a live paint group will be created. (Alternatively, you can go to Object > Live Paint > Make to create the group.)
You might find that your outlines aren’t close enough to the edges to create closed shapes. Feel free to edit your lines using the direct selection tool (which you can switch to, easily, by pressing “a” on the keyboard). You can draw in new lines as well and add them to the paint by going to Object > Live Paint > Make.
If you run into issues with this step, more detailed instructions for using live paint groups can be found here.

- Fill in the various shapes of the image with the paint bucket.
You can use your own color palette or pull shades from your reference image using the eyedropper tool. You can easily switch between the eyedropper tool and paint bucket tool by pressing “i” and “k” on the keyboard.

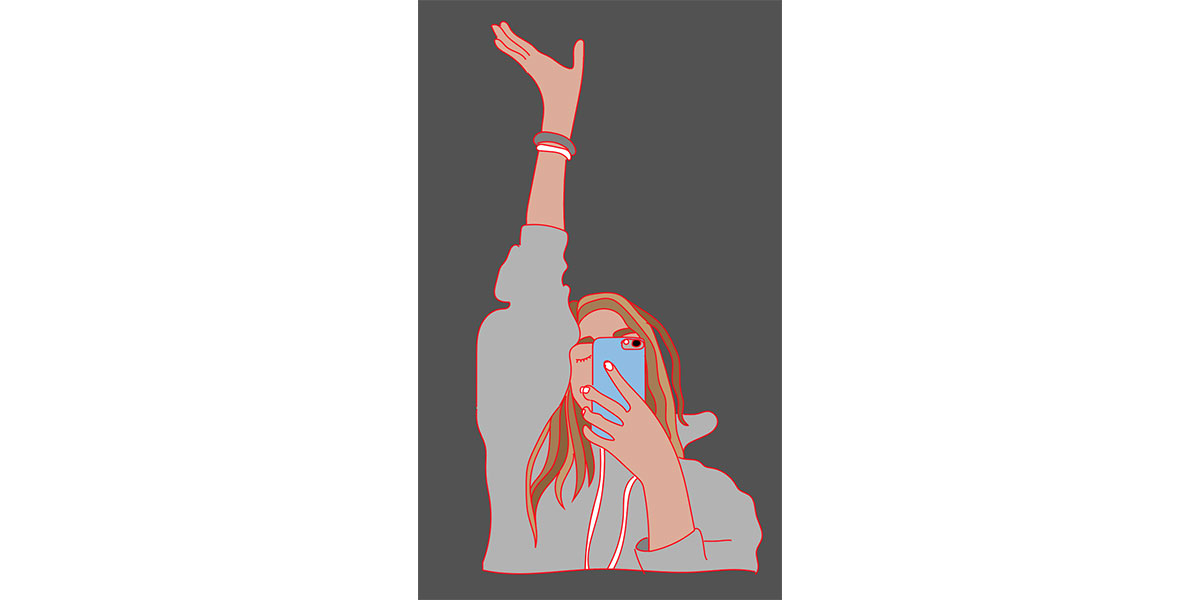
- Once the image is filled, remove all outlines by using the “no color” as your stroke and see what you think!
Feel free to get creative with the final product. Add a background! Change up the colors! If you like it better with outlines, leave them in. Play with the thickness and the brush style. After all, you’re the artist.

If you enjoyed using the paintbrush tool for this project, you might want to try this video tutorial that will offer some more tips on how to create and edit original artwork. Are you a current student? See how you can save up to 60%.


