


Make your own graduation announcements or party invitations in Adobe InDesign to celebrate your big day! Graduating high school or college is one of life’s biggest accomplishments—and it deserves to be celebrated! You don’t have to use online software to create customized graduation announcements or grad party invitations. This tutorial will show you how to create your own unique cards in Adobe InDesign.
 After this tutorial, your finished card should look like this!
How to Make Graduation Announcements or Invitations
- Create a file size with the intended dimensions. One go-to strategy designing cards in InDesign and printing them at Walgreens or CVS, but you can use whichever method works best. (Maybe you have a printer and cardstock at home—or have access to a printer at your public library or school.) Before you begin, check to see what size paper you will be using. Input this as the dimension for your InDesign file. Common card size is 5 x 8 inches. You can type inches directly into the InDesign dimensions box, even if it defaults to pixels or picas. Most cards are also formatted horizontally, but you can always make a vertical card.
- Add a background color. Drag a rectangle over the entire document by using the shape tool. Then, fill this shape with a color. A common selection is using your high school or college color as the background. If it’s too vibrant, though, it might be hard to read the text, so play around with the color by double-clicking the swatch and making the color more muted, lighter, or darker. You can also always opt for a plain white, black, or gray—or choose a color that looks nice paired with your graduation photos.
- Add a graduation photo (or two).
Most graduation announcements or party invitations include a graduation picture! Using the shape tool again, draw a rectangle that covers either the right or left side of your card, using about 1/3 of the space. (Some other common layouts are shown below.)
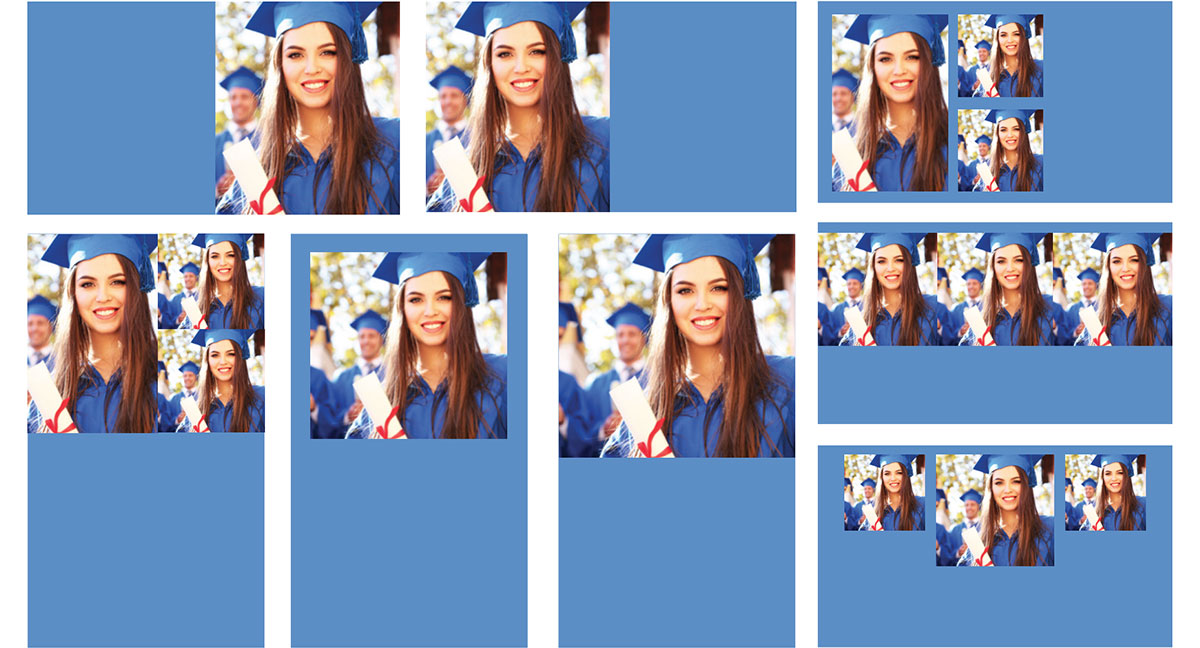 Various different ways to lay out your photo(s) on a graduation card.
 - Type out your information and select a suitable font.
Time to add your text! You’ll want to say your full name, graduating class, school name, and possibly include plans for the future (college name, graduate school name, or potentially the job you are heading into). If you are throwing a graduation party and this card will also act as the invitation, the details of that event should be included as well.
 Make the most important text larger and the less important text smaller.
 - Optional: Use a script font pairing.
 Graduation cards often include one script font and one sans serif or serif font.
 - Print the cards. Once you like your finished cards, save the file and send it to the printer. Congrats on your big accomplishment—you did it! Enjoy the process of making cards—or trying to brush up your skills? Check out this video tutorial on creating postcards to learn even more about InDesign basics. Or learn how to make your own DIY holiday cards!
Are you a current student? See how you can save over 60%.


