


With the popularity of email newsletters, it's sometimes nice to design one for a print output. You could try making one for your sports team to update team parents on the results of the last game. You could try making one for a club, reiterating notes from a previous meeting. Or, you could just make a regular family newsletter to circulate updates about family members to the rest of your extended family. Whatever the reason, these letters are a great way to share information in a concise and easy-to-read format—and you can create your own newsletters on Adobe InDesign. How to Make a Newsletter
- Create a three-column grid.
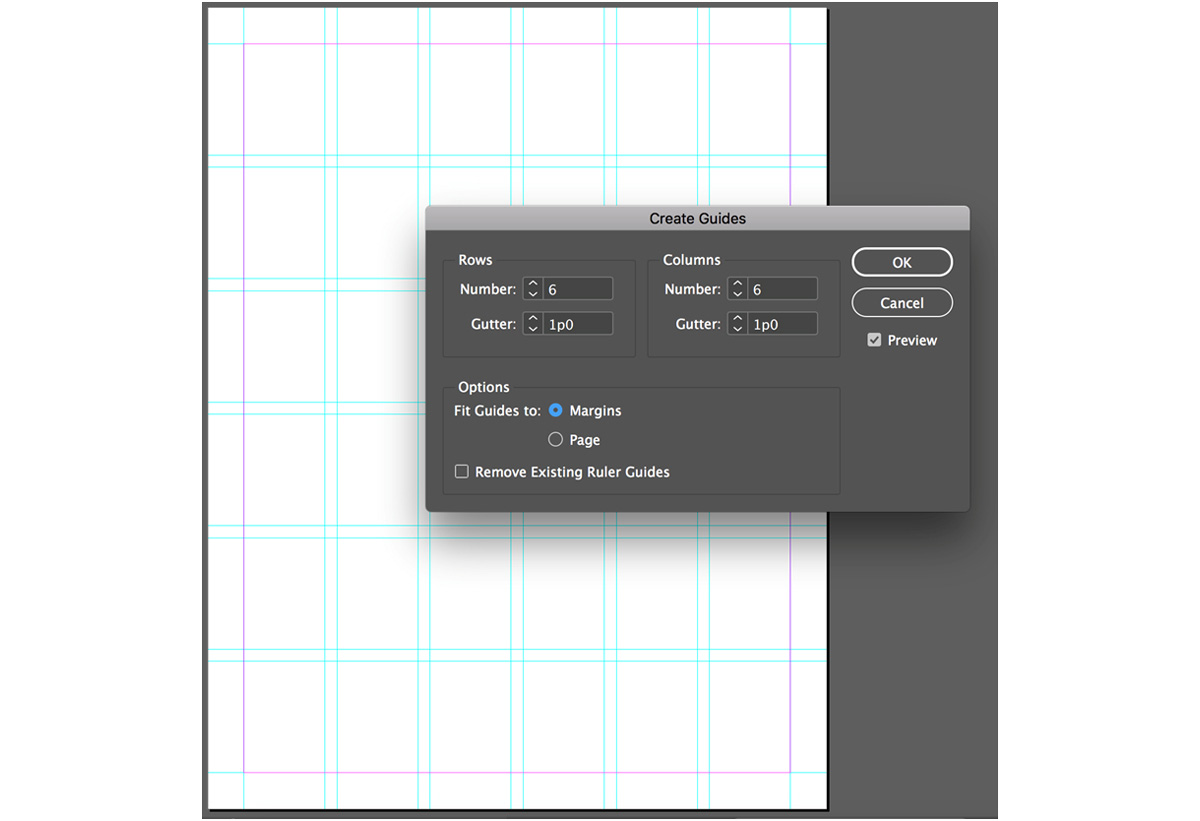
Most newsletters contain two columns of plain text with a sidebar on one edge of the paper for smaller bits of information. To make this easier to visualize, let’s set up a grid so we can draw all of our text boxes to the correct size.
Go to Layout > Create Guides. In the columns box, type 3. (If you want to see the midway point of each column, you can also type “6”.) Click “fit to margins”.
- Create your header. Newsletters always start with a big, bold title, followed by some smaller information about the date, location, and volume often sandwiched between two thin lines. You can create these elements in your own newsletter using shape tools and text boxes. If it helps, turn on the ruler (by going into the VIew menu or just pressing ctrl/command+R) and pull a guide down from the top bar. You will want this header to take up no more than a couple inches!
- Add page numbers (and any other consistent elements) to the master.
Master pages allow you to add one thing to every single page in your document. To access the master, go into the “page” window (if it doesn’t show up by default, go to Window > Page). Double-click on the page preview, as shown.
 Double-click on the small pages to open the master and double-click the larger, numbered pages to return to your document.
 - Build your newsletter page using rectangles and text boxes.
Draw one large text box that fills two of your three columns. Make sure it fits beneath the header on your first page. In the paragraph options, make two columns. This will be where you fit your text.
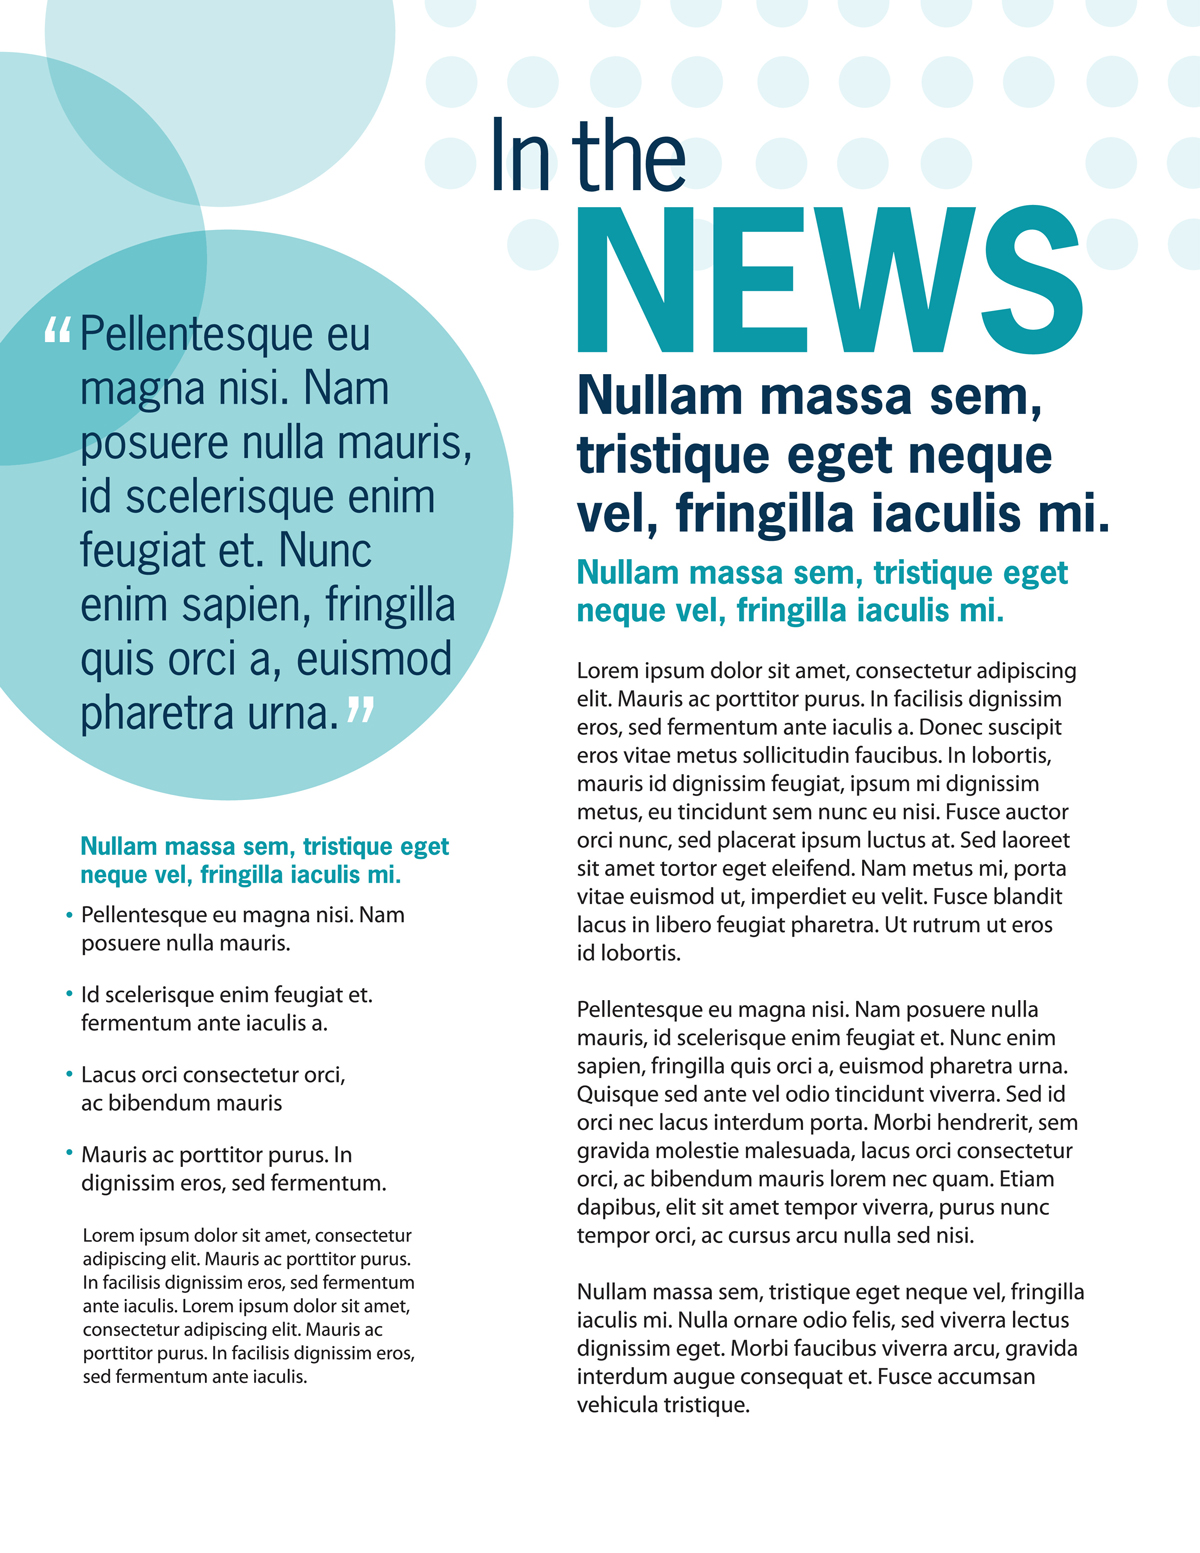 The sidebar in this newsletter is on the left. As you can see, it includes information that might be helpful at a quick glance.
 - Print or mail your finished newsletter. You can either print your newsletter or save it as a PDF to send to others via email. If you enjoyed the process of designing on a grid, definitely keep using them. Professional designers swear that grids are the difference between good and excellent layout design. For more information about creating grids and guides in InDesign, discover baseline and document grids.
Are you a current student? See how you can save over 60%.


