


Make your illustrations stand out from the rest by creating a custom brush in Adobe Illustrator to replace the default “stroke.” By default, Adobe Illustrator has very few brush options. You’ve got your plain 3-point stroke with rounded edges, a scratchy pen that looks great on long strokes but ridiculous on anything else, a blurry path meant to simulate a paintbrush that actually bears no resemblance to paint, and a path of two dashed lines on a textured background. If you’ve ever drawn anything in Illustrator that relies on outlines, you’ve probably been disappointed by how limited these options are—especially compared to the variety of textures you can create when sketching on paper. However, these brushes aren’t meant to be the only options. Instead, they merely hint at the different brushes you could make on your own: calligraphic, scatter, art, bristle, and pattern.
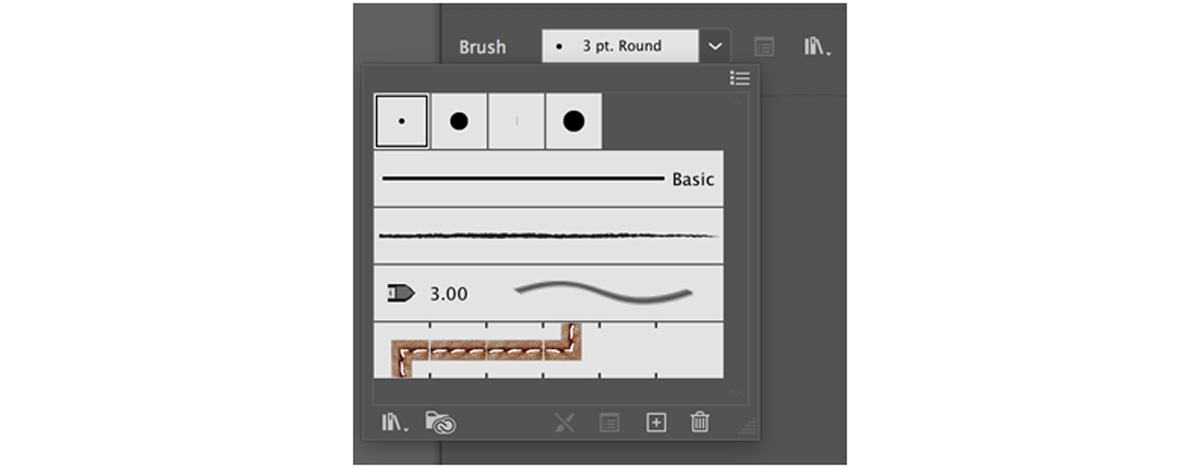 The default brushes menu.
Creating these is easier than you might think. If you’re bored of the default strokes or just hoping to elevate an outline drawing by applying a different brush, read on! We will walk through the steps to make your own custom brush in Illustrator. You can also download brushes online and import them into the brush library to use as well. How to Make Your Own Brushes in Adobe Illustrator
- Open the brushes panel and click the New Brush (“+”) button.
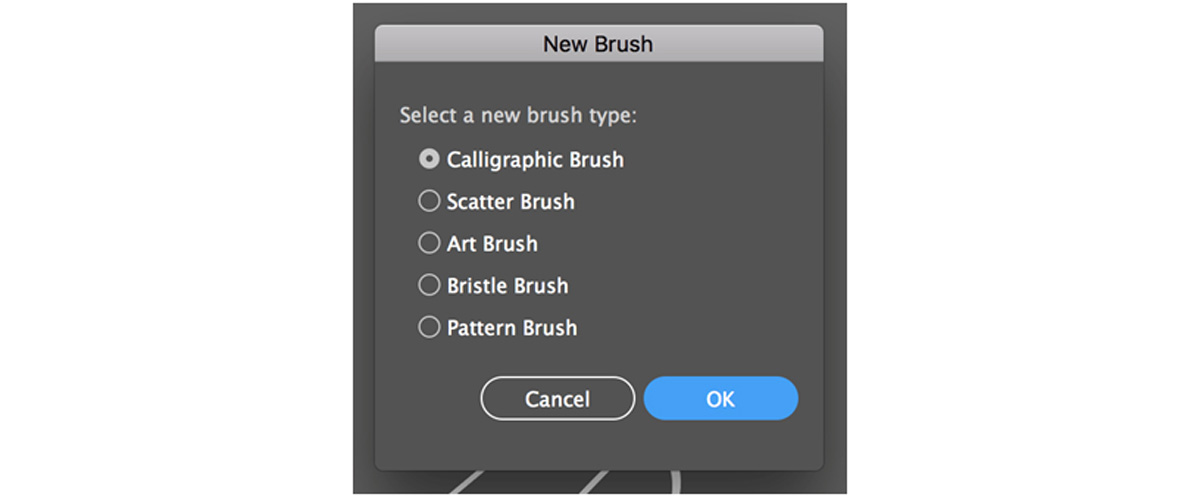
- Select which type of brush you would like to make.
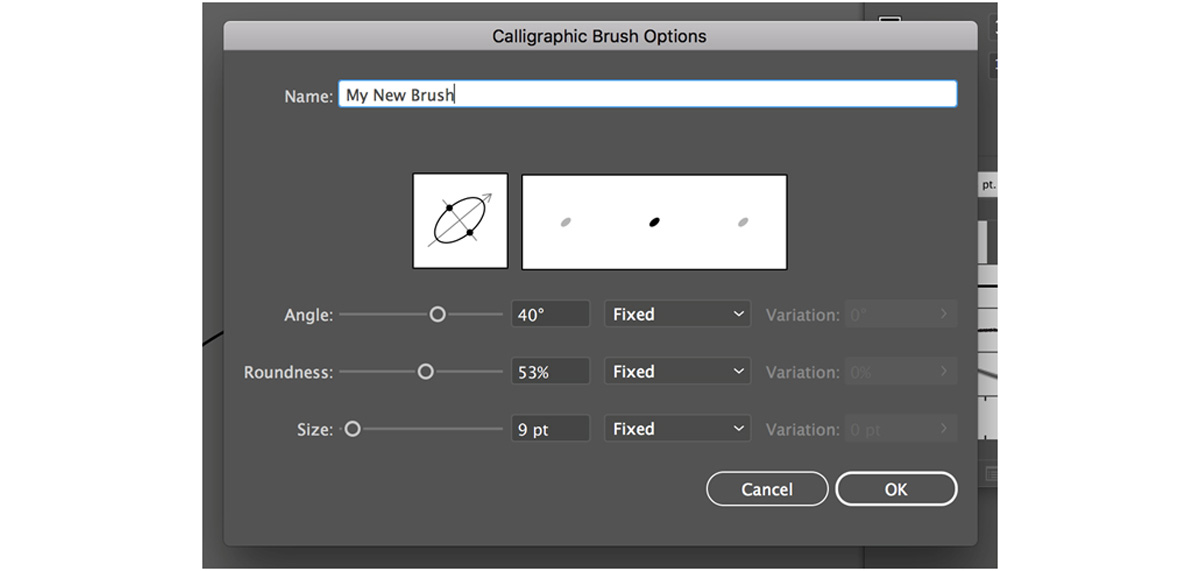
The simplest brush to create is a calligraphic stroke. It will make your artwork look more professional by making some sections of the line thicker than others, as if you had used a calligraphy pen. If you select “calligraphic”, your window will look like this.
 Comparing a calligraphic brush (right) to a normal one (left), notice how the calligraphic artwork will have segments of the line that appear thinner and segments that appear thicker.
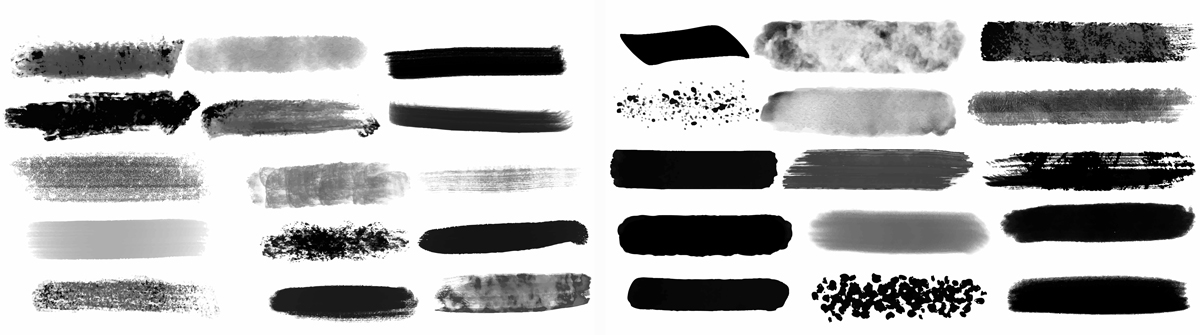 Brushes mimic the look of real-life drawing supplies. Will yours look like a calligraphy pen? A paintbrush? A watercolor set? Chalk? Spray paint? A Sharpie? A ballpoint pen?
 - Put it to use!
Once you have created your brush, use the brush tool in Illustrator to freehand draw or trace. Then, just click the lines you have created and apply your brush by clicking on it in the brushes panel. (If you have already started drawing with it, click an existing line and use the brush tool elsewhere in the document with this line selected to automatically start drawing in it.)
 Once you’ve created your customized brushes, what will you use them for?
For more thorough descriptions on how to add new brushes, load brushes from the Adobe library, or differentiate between your options, see this in-depth guide to using brushes in Illustrator. Happy designing! Are you a current student? See how you can save over 60%.


