


Some of your favorite celebrities, influencers, and artists probably have customized Instagram highlight covers, but making your own is easier than you’d think! By making your own highlight covers, you can create an idea that fits your own personal style and aesthetic. Whether you want to make simple color shades or do something a bit more complicated, Adobe Illustrator makes it easy to design a batch with one unifying color palette.
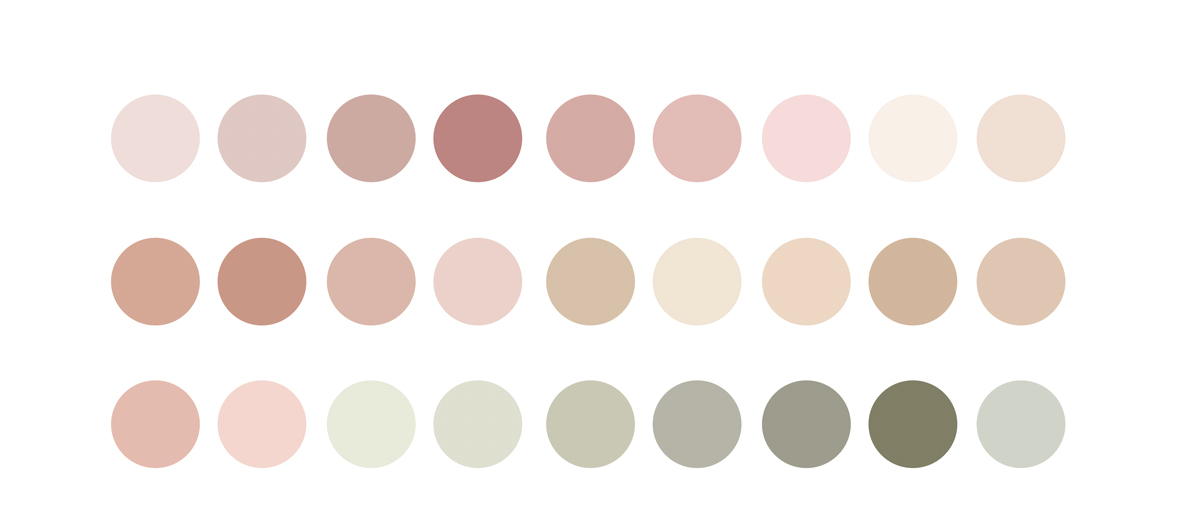
- Brainstorm a creative idea for your highlight covers.
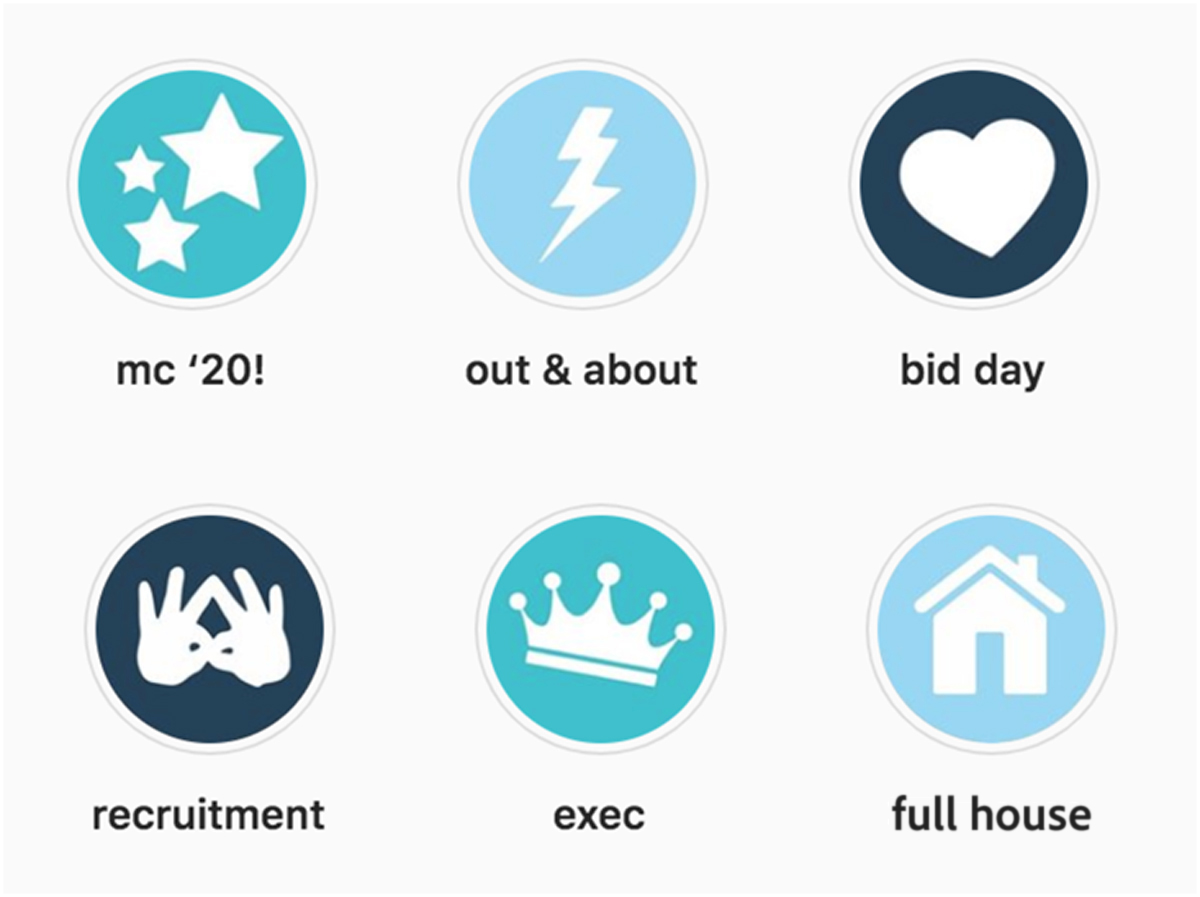
The most common style of Instagram highlight covers are small icons that explain the category of the story highlights within.

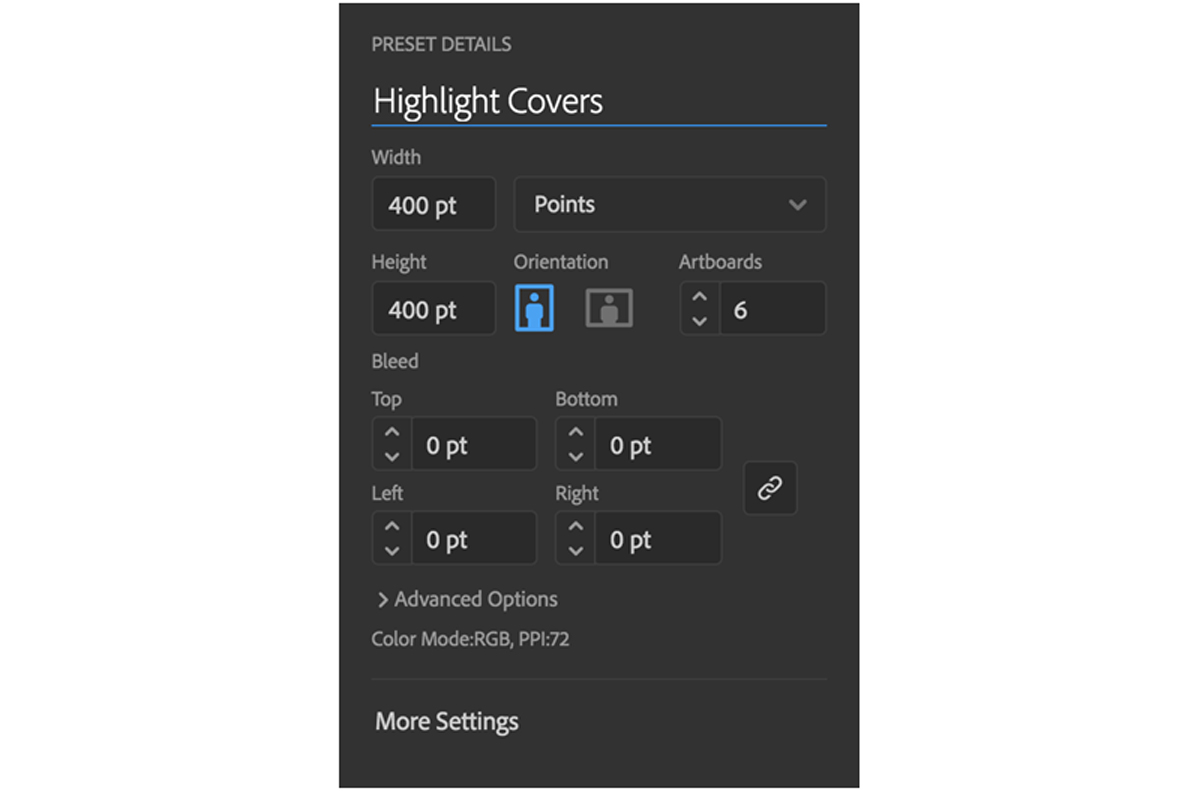
- Create an Illustrator document with multiple square artboards.
They can be any size, but the 400 x 400 pt default will work. Make as many artboards as you have Instagram highlights. For this example, I’ll pretend I have six.
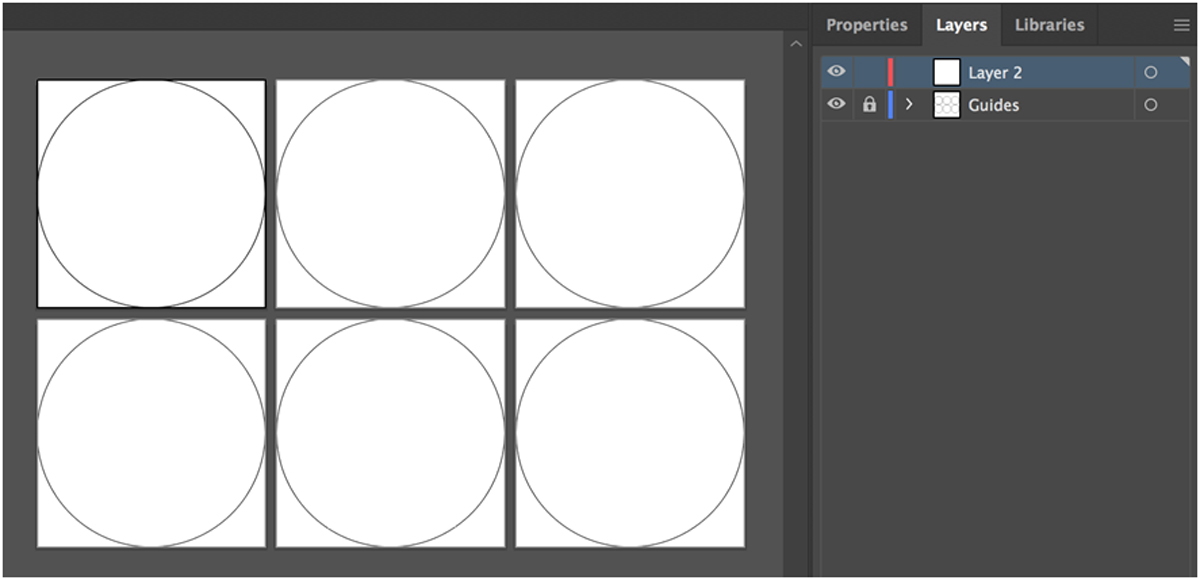
- Create circular “guides.”
Use the circle tool in the toolbar and start in the corner of one of your arboards. Holding down “shift” on the keyboard, draw outward until the circle fills the whole frame. Then, copy the circle. Go to Edit > Paste on All Artboards. Then, go to your Layer panel and create a new layer on top of the circles. Lock the circles and call this one “guides.” We will be using this space to know where to create our highlight covers.
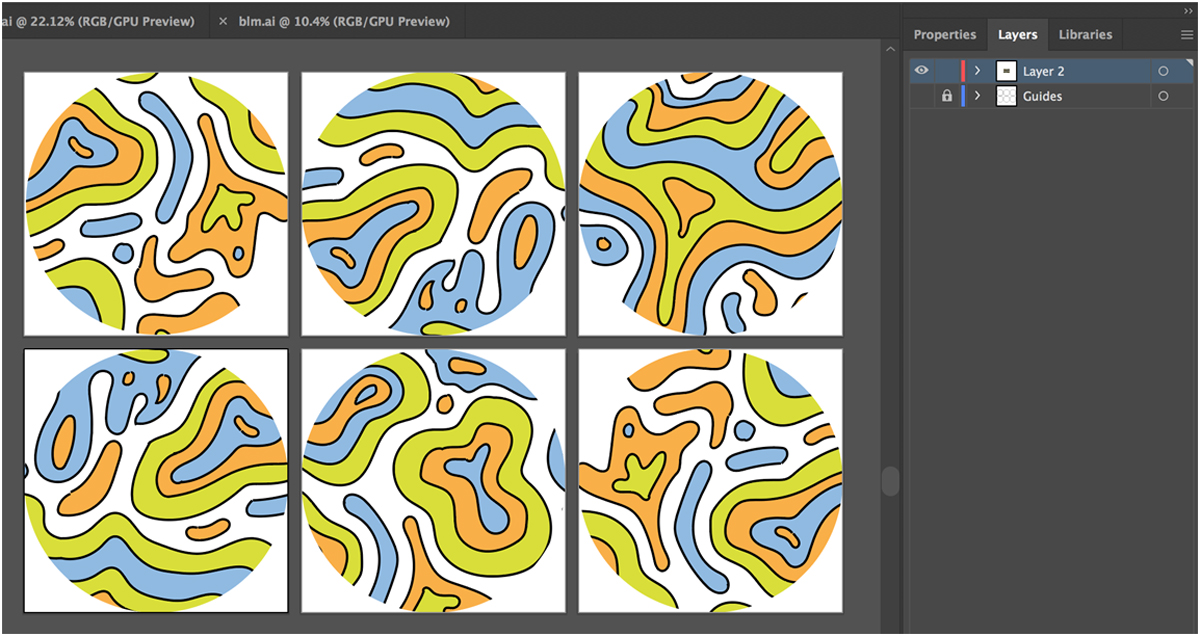
- Design!
Begin designing by dragging shape elements, adding text, and using the pen tool. Make sure you are clicked on the second layer!
As you begin designing, don’t be afraid to color outside of the lines. When you upload your highlight covers to instagram, only the circular part will show up, so it can be a little messy. If it helps to visualize, feel free to move the guides layer to the top so that it covers your design elements.
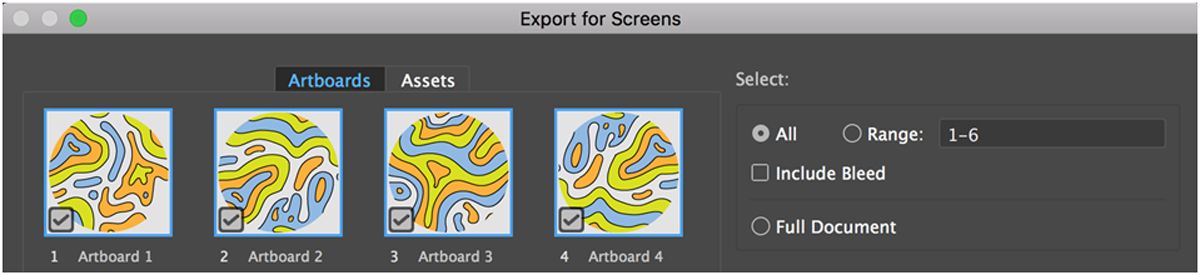
- Export your highlight covers.
In the layer palette, hide the guide layer by clicking the eyeball. You should now see only your designs. Then, go to File > Export > Export for Screens and export all of your artboards. You can choose to export them at a higher quality, but 1x the size should work just fine. Instagram will allow you to upload either .jpegs or .pngs.
- Upload each one to Instagram. Hold down on your highlights to access the cover options. You can upload images directly from your camera roll using the phone version of the app.
If you enjoyed adding some creativity to your instagram page, you might enjoy these ideas for ways to upgrade your instagram posts! Are you a current student? See how you can save up to 60%.


