Simple photo editing steps for professional images
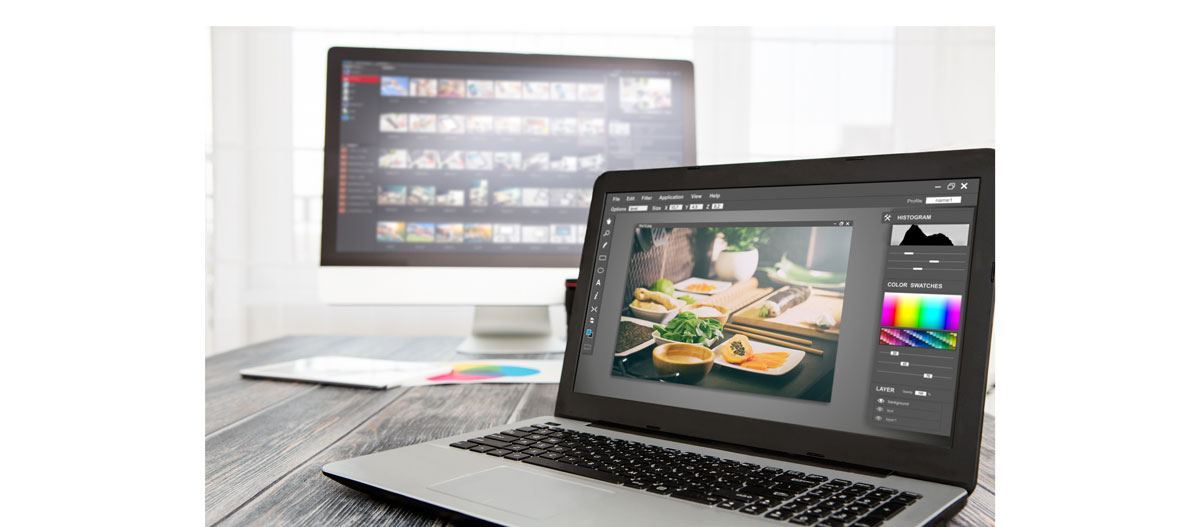
With Adobe Lightroom, photo retouching is quick and easy. In no time, you can make your pictures look stunning and eye-catching. If you’re editing for a newspaper, you shouldn’t make significant changes to your photos, but taking a few minutes to make minor adjustments can make a world of difference.
Basic photography editing techniques are a fantastic skill to add to your resume. Here’s where you can start if you’re wondering how to retouch a photo:
- Crop your photos
Remember to keep your focus on the subject. If there’s something popping in along the edge of your photo, use the crop feature to just your framing just right. You can also change the aspect ratio of the photos. - Adjust lighting for photo editing
 Photo editing techniques for lighting and contrast.
The contrast slider increases the difference between light and dark sections of your picture. Up the contrast by moving the slider to the right. This can make your photos look more crisp. The clarity effect under the Develop section can also be used to bring out more details.
The highlights function is great when you want to work with lighter areas in your photos while the shadows slider is for focusing on darker areas.
When you’re using the whites or blacks sliders, make sure to press down the Alt key to see what parts of the photo you’re working with. Moving the whites slider to the right makes the bright areas whiter, and you can make parts of your photo black by moving the blacks slider left. - Fixing color
 How to retouch a photo by using color tools
It might be tempting to let your creative side shine, but keep in mind that photos for your school newspaper website shouldn’t have significant changes from the original!
Using Photoshop for photo editing
Whether it’s a basic crop or some lighting fixes, some simple changes can go a long way. You can also retouch your pictures with Photoshop. With these photo editing techniques, you’re on your way to great photos for your newspaper website.
Are you a current student? See how you can save up to 60% on Creative Cloud.


