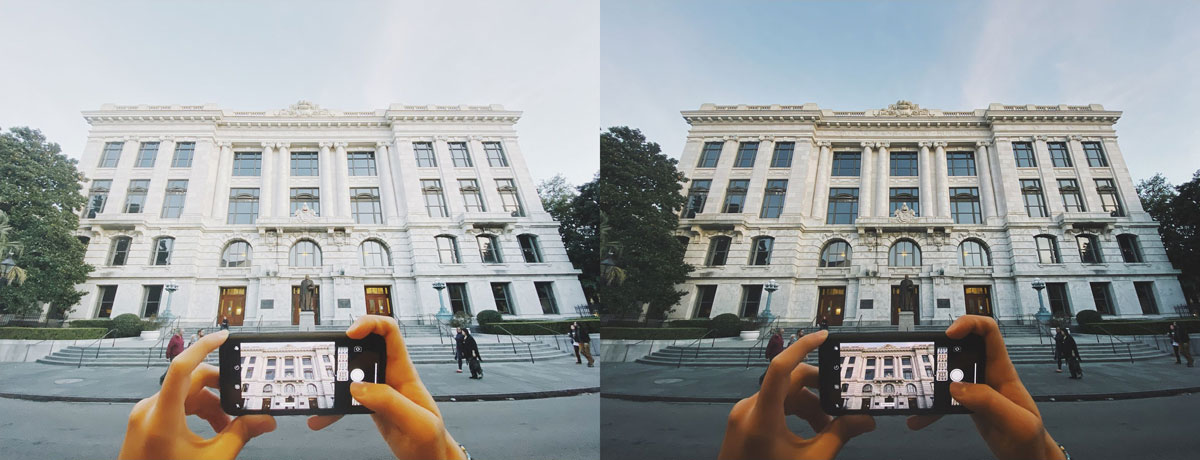
Want to showcase your visually-inspiring travels through photography? Learn these three simple Photoshop tricks. Have you ever scrolled through your Instagram feed and wondered, “How can I edit travel photos like a professional influencer?” To make your images pop, it’s important to make appropriate adjustments to lighting, composition and color balance. Adobe Photoshop provides a variety of useful tools that allows you to produce stunning images with ease. To help you get started, here’re three simple tricks to improve your travel photography. Crop your photo to create emphasis It’s always useful to take a look at the overall structure of the image and figure out where you want a viewer’s eyes to be drawn within the frame. Good composition organizes all the individual subjects into a harmonious set that conveys specific meanings. In Photoshop, you can use the Crop tool to improve your photo’s composition by trimming unnecessary space and repositioning the subject.

Adjust brightness and contrast It’s difficult to achieve the perfect exposure for your travel photos when you’re rushing from one place to another. However, monitoring brightness and contrast is an essential step for photo retouching because it determines the overall tone and texture offered by an image. A good rule of thumb is to avoid both extremes and find a reasonable middle ground. You can easily do that in Photoshop simply by dragging the brightness and contrast sliders until you’re satisfied with the result.

Remove unwanted objects from your photo Let’s say after taking some pretty beautiful Instagram shots you realize that there are some distracting objects in these photos. You want to remove them from your photos but don’t know where to start. Don’t be frustrated! Photoshop offers a variety of tools to help you remove anything from a photo seamlessly and replace it with background details. My favorite is the Patch tool, which allows you to get rid of any distractions and blemishes quickly and easily.
- Find the Patch tool, which is nested under the fly out menu of the Spot Healing Brush.
- Make sure Normal and Source are selected.
- Move the cursor to draw an area around the distractions, and move it to another area to sample from.
- The Patch tool samples a set of pixels from the source area and applies it to the original selection.
- Hit Command + D (macOS) or Control + D (Windows) to deselect the area.
Other tools for removing unwanted objects in Photoshop . Are you a current student? See how you can save up to 60%.


