
Show your friends, family, and freelance clients what your t-shirt design would look like in real life without ever having to print the shirt. It only takes a few seconds in Adobe Photoshop to make a basic mock-up. In the design world, mock-ups are really important for showing clients what your design will look like in real life. If you’re designing a sticker, people might like to see how big it would look on a laptop. If you’re designing an app, people can visualize it better if you show it on a phone screen. And if you’re creating a t-shirt design, others might want to know what your design looks like on an actual article of clothing. Luckily, you don’t have to print a t-shirt to create a realistic-looking mock-up. Designers are experts at using Photoshop to display their designs on real world objects without ever having to bring them into the physical world. This tutorial will introduce you to a super easy mock-up on a white t-shirt. (For a guide to packaging mock-ups, check this one out!) These instructions will use Adobe Photoshop, but this same technique can be applied in InDesign or Illustrator. (Or, for videos, on Premiere and After Effects as well!)
- Find an image of a plain t-shirt. I used one that a person was wearing, but you can choose a flat t-shirt on a table as well. The flatter the shirt, the easier the mock-up will be to create. The final step of this tutorial only works with a white or light-colored shirt, but for more advanced Photoshop users, feel free to play around with other colors as well. (You’ll just need to use an image with a transparent background.)
- Bring the photoshop layer with your design to the top of the file. Resize using the free transform tools.
If you created your design in Photoshop with multiple layers, condense them into one layer using “merge layers” for this tutorial. (You can always make a copy of the layers and hide them in a folder in case you need to go back and edit later.)
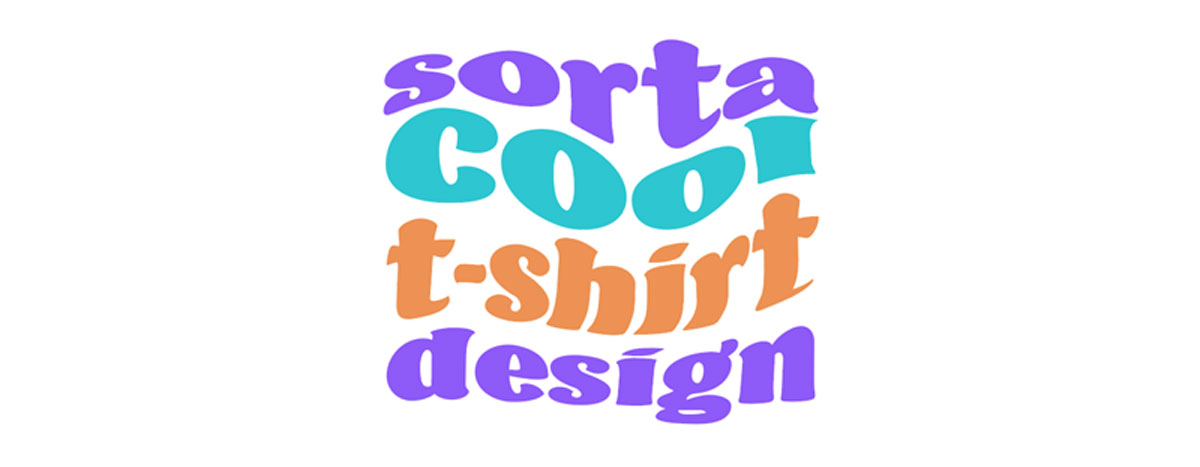 For this tutorial, I’m using this design I made using distort effects in Illustrator. You can learn more about those by clicking here!
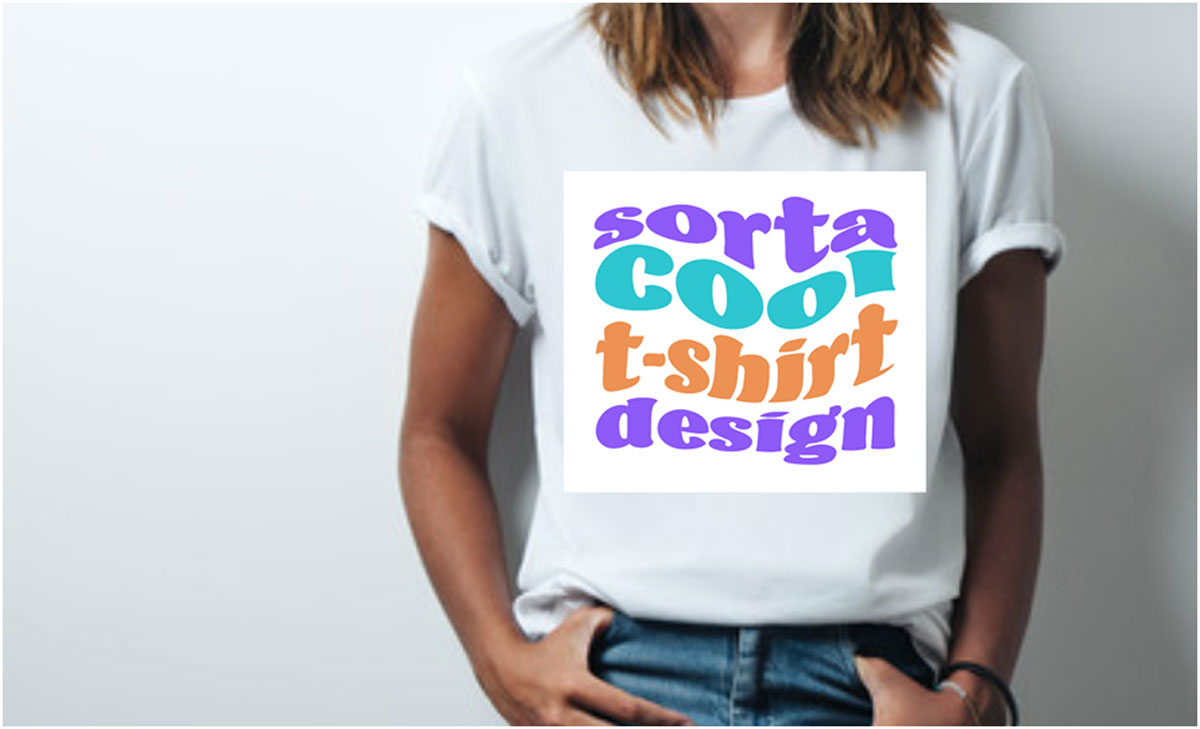
- Remove any background colors from your design by changing the blending mode of the “design” layer to “multiply”.
If you are using a .png with a transparent background, don’t skip this step! It will give your design some realistic texture to appear as if it’s truly on the shirt.
If you are using a .jpeg with a white background, you can remove the white parts of the image by changing the “blending mode” of the layer to “multiply.” The blending mode can be found in the layer window, right above the layers themselves. (In InDesign and Illustrator, you’ll have to open a window called “appearance” to see it. It’s hidden under the opacity options.)
 As you can see, the blending mode is located high in the layer window.
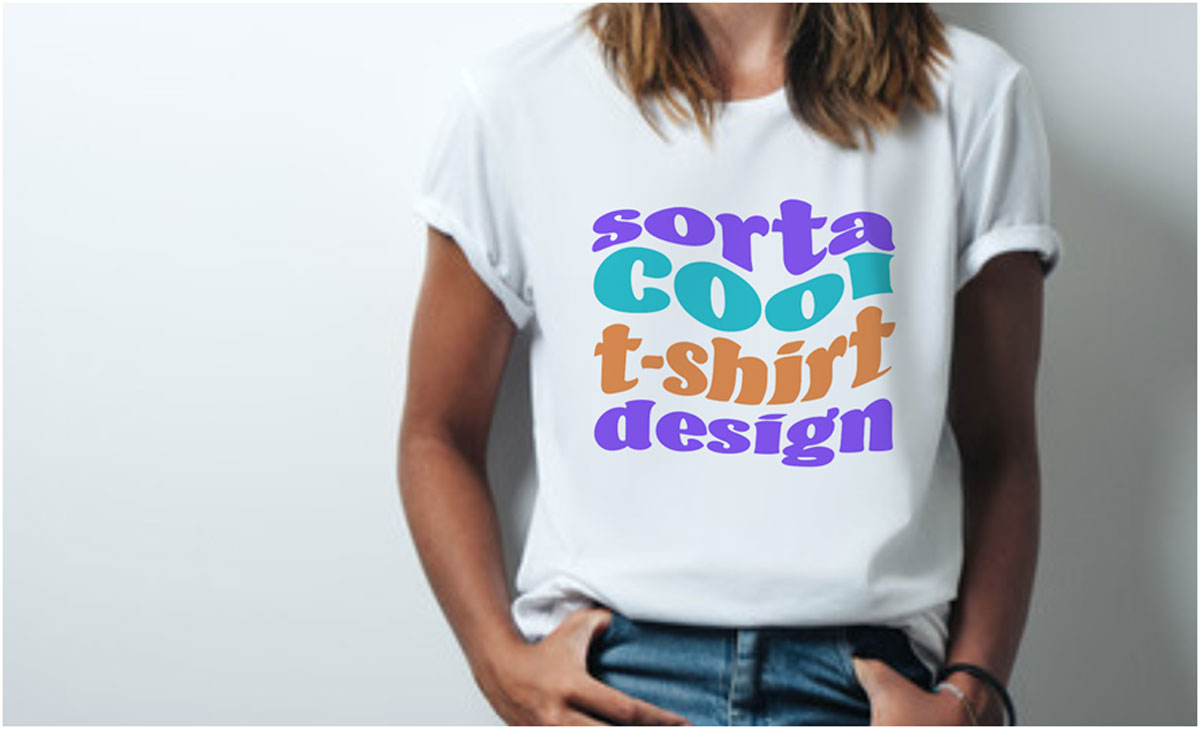
Want some tips on creating a cool t-shirt in Illustrator? This video tutorial will walk you through the process of designing a band shirt, teaching some helpful skills along the way. Are you a current student? See how you can save up to 60%.


