With Photoshop, you can create photo collages to display all your favorite sorority memories! From bid day to your big little reveal, there are so many sorority events that are also fun photo ops. What better way to commemorate these events than by turning photos into art? Photo collages are the perfect way to decorate your room, and they even make great gifts. With Photoshop, collages are quick and easy. You also have plenty of options when it comes to customizing and personalizing your collage with your own flair. New to creating collages on Photoshop? Here’s a step-by-step guide for making a gorgeous digital collage.
- Create a new file This step is straightforward, but when creating your file, you can set the size. You’ll want different resolutions depending on whether you want to print the collage or show it off digitally, so choose accordingly. You can also make a custom size. Most of the time, collages look best in landscape mode.
- Import your photos Once you’ve picked which photos you want to include in your collage, import them into Photoshop. For each photo, you’ll want to make a new layer. When working with layers, you can still put pictures next to each other; photos don’t have to overlap unless you want them to! Layers make it easier to edit and move photos individually.
- Move your photos around When you have your pictures imported, start rearranging your photos to make the layout more interesting and artistic. Use the Move tool to do this. If you want to bring certain photos to the front, you can also switch your layers around.
- Add text and colors Finalized all your photos? This is the part where your digital collage really becomes art. Add text and fun captions to your photos, or try out a border for some of your pictures. Play around with colors and fonts to personalize your collage. Add backgrounds or even a vignette for a little extra style.
 Start off your collage strong with the right display size for your sorority photos.
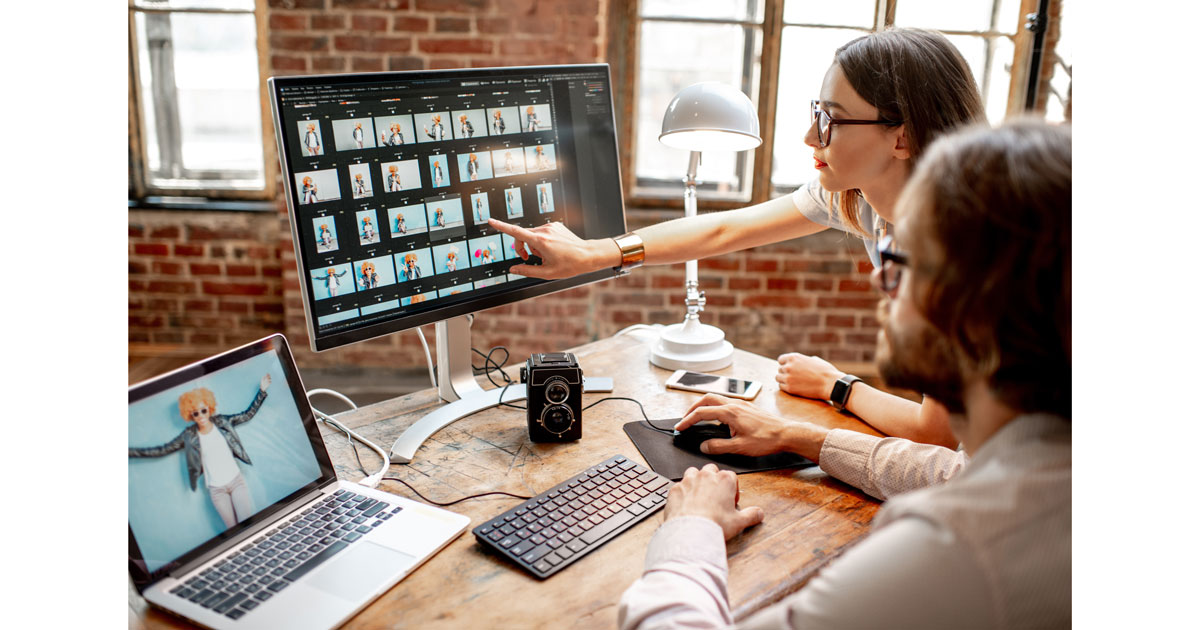 Choose your photos to import into your photo collage maker.
 With a digital photo collage, you have total freedom when moving and arranging your pictures.
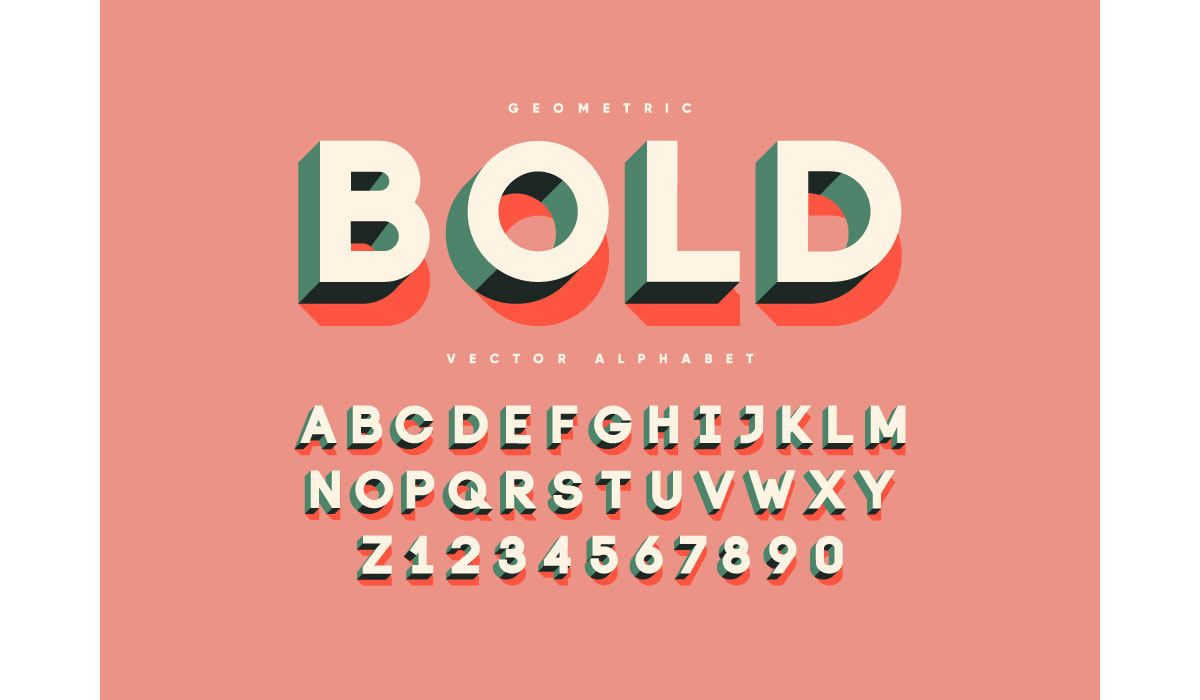 Color and bold fonts add more pop to your digital collage.
Adobe’s Best Photo Collage Maker When you’re finished editing, export your collage and show off your design! With these steps, you can use Photoshop to create photo collages and share your college memories with your friends. Are you a current student? You can save up to 60% on Creative Cloud products.

