If you’re a fan of music merch, we have good news: you can design your own shirts, stickers, and more with Adobe Illustrator! Band merchandise—commonly known as “merch”—is a popular item for sale at concerts and on artists’ or bands’ online shops. Fans who really love a particular band, album, or artist often enjoy sporting their design on a shirt or hat to show other fans that they have a common interest. Many times, the merch is also well-designed; it looks cool enough that even new fans or semi-interested fans decide to purchase. For this reason, band merch has become a popular part of the modern graphic tee wardrobe. If you’re interested in designing band merch, there is a big opportunity to make money! Even if your dream job isn’t to get hired as a merch designer by a music artist or t-shirt company, it’s still possible to design your own clothing or accessories to support a favorite artist. Don’t settle for picking up a basic Rolling Stones distressed tee at Forever 21—make your own band merch for your favorite artists using Adobe Illustrator! How to Make Your Own Band Merch
- Think about what you want to create—and how you’ll create it.
Before you begin, look into how you would like to get your design printed and think about what products you’d like to see it on.
Band merch is not just limited to t-shirts or hoodies. You can make stickers to decorate water bottles and laptops, shapes to engrave on guitar picks, designs to embroider onto a hat, repeating patterns to print over scarves—the possibilities are nearly endless.
If you don’t have the capability to make these things yourself, the site RedBubble offers a variety of different products that you can order with a user-created design. There are many clothing companies that will print small orders (or large orders!) of custom shirts, hoodies, and hats as well. Finally, if you have transfer paper on hand, you can use a standard printer to print your design and iron it onto a spare clothing item.
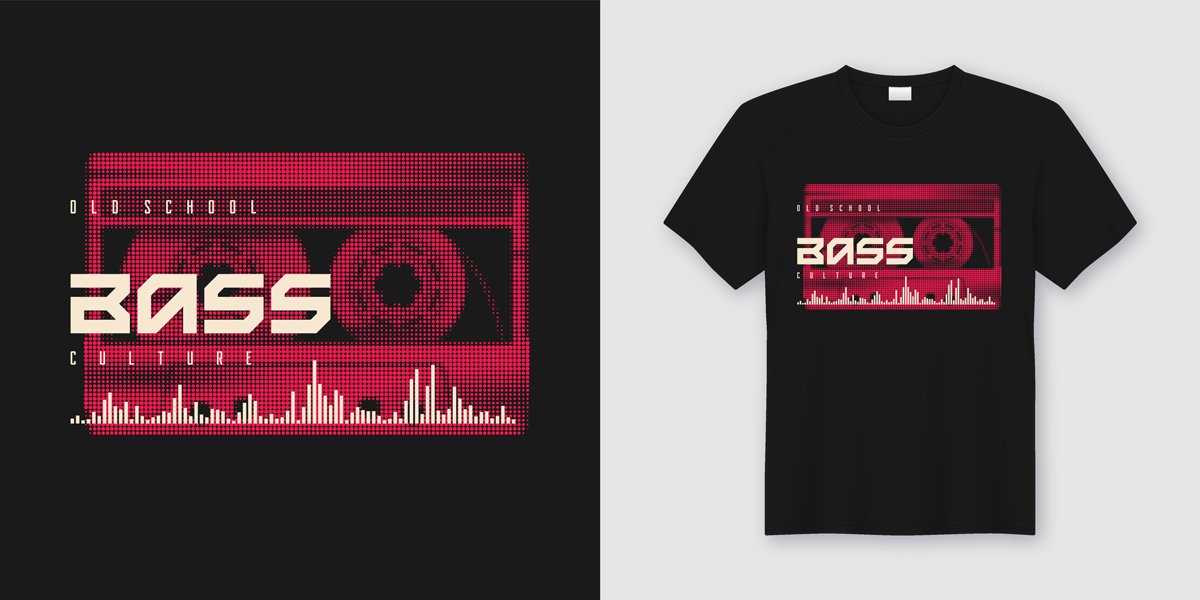 Think about what your design will look like on the final product to help get an idea for how large the text and designs should be.
- Brainstorm your design idea. Push yourself not to copy the merch an artist already has and make your own band merch! (For the sake of being creative, but also, some websites will not let you print your design if they believe you are creating counterfeit merch.) To brainstorm ideas, make a list of some of your favorite song lyrics, inside jokes, or quotes. Make a folder of your favorite album covers, band images, or music video screenshots. Think about which ones would look cool on a shirt, which ones would fit best onto a sticker, or which ones would make cool posters. Feel free to draw out a few ideas and narrow down to your favorite. If you can’t think of anything, you can always just print a picture of the album cover or type the name of the artist in a carefully chosen font. Sometimes, simple works best!
- Create your Illustrator file. Start by creating a file in Illustrator. Since Illustrator works with vectors (different than other Adobe programs, which work with pixels), any file size can be made bigger or smaller without reducing the quality. Of course, if you have dimensions in mind for your shirt, sticker, or other product, you can type those into the new document window.
- Add a background—or don’t. Most designs have a transparent background, so they can be applied to any colored object. However, if you have a background in mind for your band merch design, draw a rectangle over your illustrator artboard, fill it with color, and lock it in place (ctrl+2 on a PC; command+2 on a mac). You can access more colors by double-clicking any swatch in the swatches panel.
- Time to design the band merch! Combine text and shapes to bring your vision to life.
You can be as complex or as simple as you would like. Use the shape tools to create rectangles or circles. Use the pen or brush tools to draw new designs or shapes. And use the text tool to add words or letters. If you don’t love anything in your default font menu, go online to Adobe Fonts and start browsing. You can input your text into the search box to instantly preview how it will look in different typefaces.
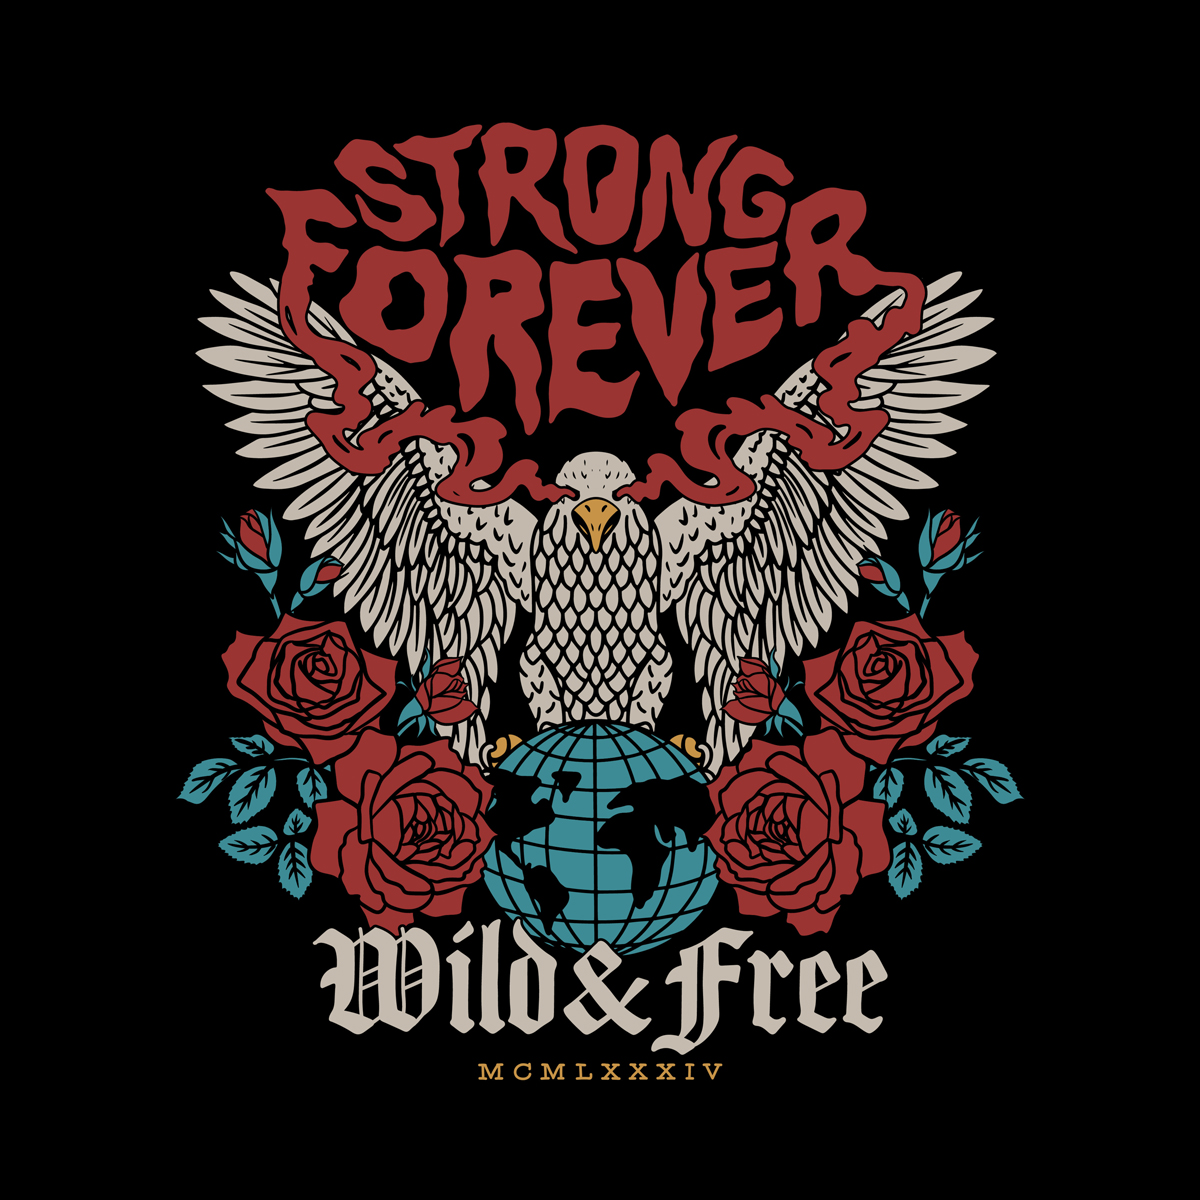 Combine text, illustrations, and color to create an original, one-of-a-kind design.
Learn how to make digital art using Adobe Fresco.
Are you a current student? See how you can save over 70%.

