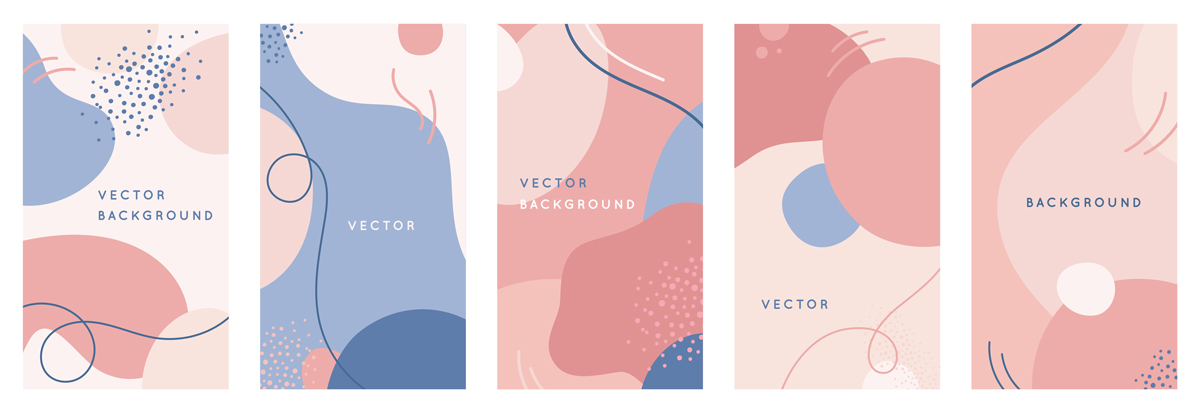
If you’ve ever used a template on Google Slides or Canva, you’re probably familiar with the modern trend of background patterns. Subtle and often tinged with large swaths of pastel colors, these graphics are designed to be overlooked—just exciting enough to add flair to a graphic, but just boring enough as not to distract from the information.
 These globular, pastel background patterns are very popular at the moment. Now, you can make your own!
With the current popularity of background patterns, having a unique and well-designed pattern can make your advertisement, social media post, or website graphic stand out. To avoid using an overused template, read on to learn how to make your own pattern in Adobe illustrator. How to Create Patterns in Adobe Illustrator
- Draw your pattern using shapes and brushes.
Play around with the shape tools (rectangle, circle, pen) and brushes to create your unique pattern. Try using the blob brush tool if you like creating irregular shapes with the mouse!
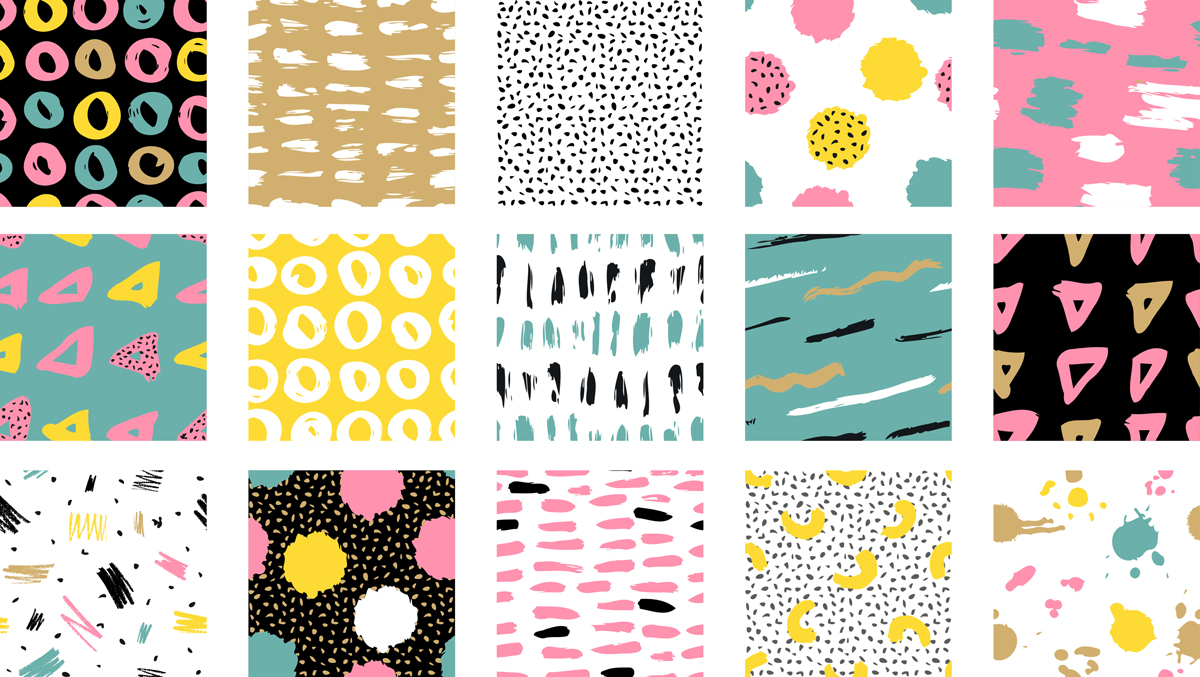
 These patterns were created using the brush tools. Open your brush libraries to access more brushes in illustrator without needing to download a thing!
- Make the pattern seamless—or at least make the edges line up.
Patterns work best if the edges are such that you could repeat the pattern and it would not look odd. The easiest way to do this is to keep any objects from touching the edge. However, you can also just have a symmetrical object cross the edge and repeat on the other side, as shown.
 See how each of these patterns could be repeated seamlessly? Graphics that bleed off one edge start again on the other side.
 - Drag into the swatch palette.
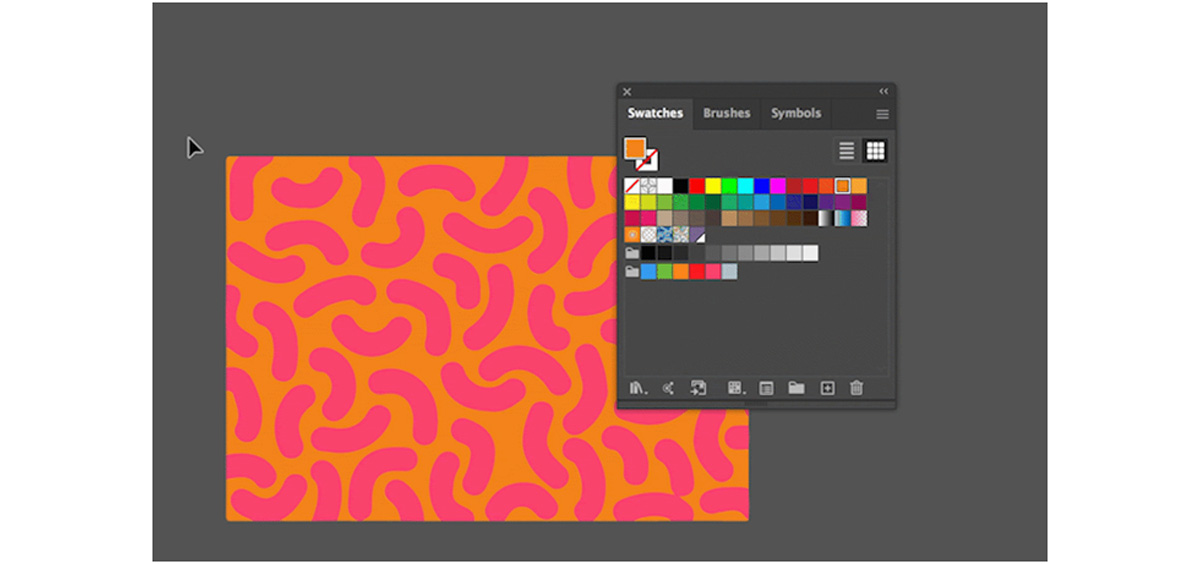
There are more complex ways to make a pattern, but the simplest one is to group all of your shapes and drag them into the swatches panel.
 Just drag your pattern into the swatches panel and then you can easily and quickly apply it to any other shape!
For a more in-depth tutorial for pattern-creation, see this longer description. Are you a current student? See how you can save over 60%.


