

Learn how to edit YouTube videos with Adobe Premiere Rush – the all-in-one, mobile-friendly app for creating, editing, and sharing your videos online – and one of 20+ apps in Adobe Creative Cloud.
Let’s say you just finish shooting video at a local skate park, and now you want to put all the clips together into a single, show-stopping, video production for your YouTube page. You’re going to need a program to edit your video, and you’re going to need to know how to use it. Fortunately, editing your YouTube videos doesn’t have to be complicated, and it can help you be more creative, too. Whether you are crafting videos for a class project or to showcase your latest travels, the right YouTube video editing tools make it simple to get the job done. To get you started, here are some tips on editing your YouTube video:
- Choose a video-editing platform.
While there are several editing platforms available, make sure you select one that fits how you work best.
If you are looking for a platform you can use anywhere, then you may want to choose a mobile-friendly app like Adobe Premiere Rush. It’s one of many apps in Adobe Creative Cloud, and it conveniently saves all your work to the cloud; so, you can easily switch between smartphone, tablet, and computer to find your latest edit and continue your work.

- Start simple with basic editing tools.
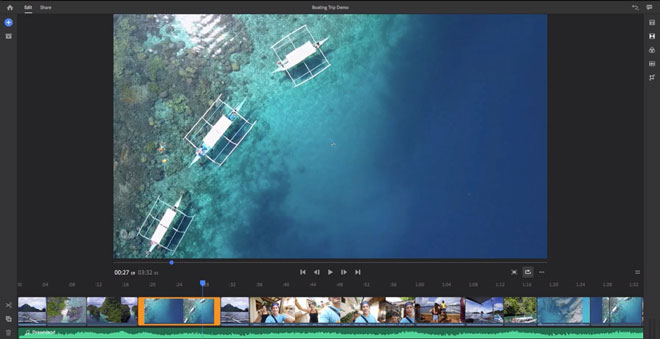
Premiere Rush makes editing your YouTube videos easy.
You can find all your basic editing tools in the bottom left corner, including: scissors, duplicate, delete, expand audio, and track controls. (If you’re on the mobile app, you can scroll along the bottom of the screen to find these same tools).
- Get creative with titles, transitions, color, and audio edits.
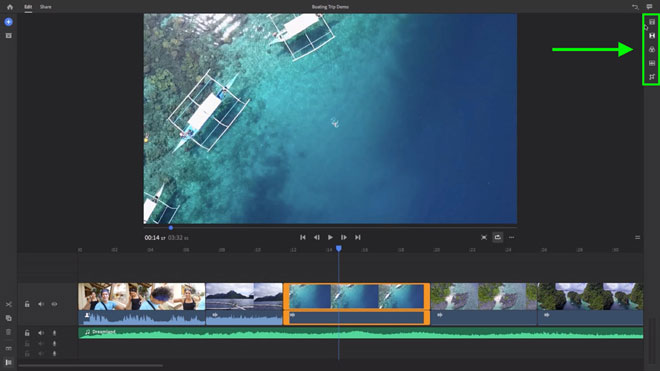
For an even bigger impact, try experimenting with the refinement tools in Premiere Rush. You can resize video clips, play around with filters, and master the audio for your finished product.
You can find the refinement tools in the upper right corner (on mobile, you can scroll along the bottom of the screen). This menu includes titles, transitions, color presets, audio controls, and transform.
- Select the YouTube share button.
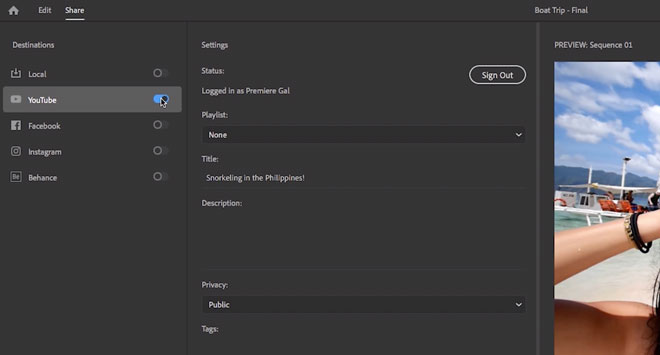
Finally, it’s time to share your video on YouTube. Premiere Rush has all your social platforms and formats set up for you, so there’s no need to save different files for each platform.
Simply select YouTube from the list, then select a Playlist, add your title and description, as well as tags and a thumbnail.
Voila! Now that you know how to edit videos for your YouTube page, you can explore different ways to use video for school projects, extracurricular clubs, or your own personal hobbies.
Save 60% on Adobe Creative Cloud Sign up for Adobe Creative Cloud and you’ll save 60%, plus you’ll have access to Adobe Premiere Rush and 20+ other apps. Learn more at adobe.com/students.
See What Else is Possible Adobe Creative Cloud offers creative tools for every kind of school or personal project:- Develop a feature-rich web app for your group with Adobe Illustrator.
- Use Lightroom to edit your event photos on the go.
- Create attention-getting memes with Photoshop.
Read more about Adobe Rush editing tips or watch the video below.


