

Ever since the invention of stickers, people have been using these colorful, bite-sized designs to express their individuality. Walking through a high school classroom, college library, or modern workplace, you’ll spot stickers everywhere. They emblazon the solid background of a laptop cover, cling to the warped contours of a water bottle, and spatter the dividers of an artfully-cluttered desk. People express themselves through stickers partially because they’re effortless to acquire—over the course of a lifetime, you’ll accumulate dozens of them from your favorite stores, coffee shops, and brands. You might order some online from crowd-sourced sites like RedBubble or Etsy. But with a bit more effort, you can make your own stickers, too. This tutorial will walk you through how to design a sticker in Adobe Illustrator, offering a few expert tips along the way. When it comes to the actual production of the sticker, however, you will need to seek out a third-party company to help with printing.
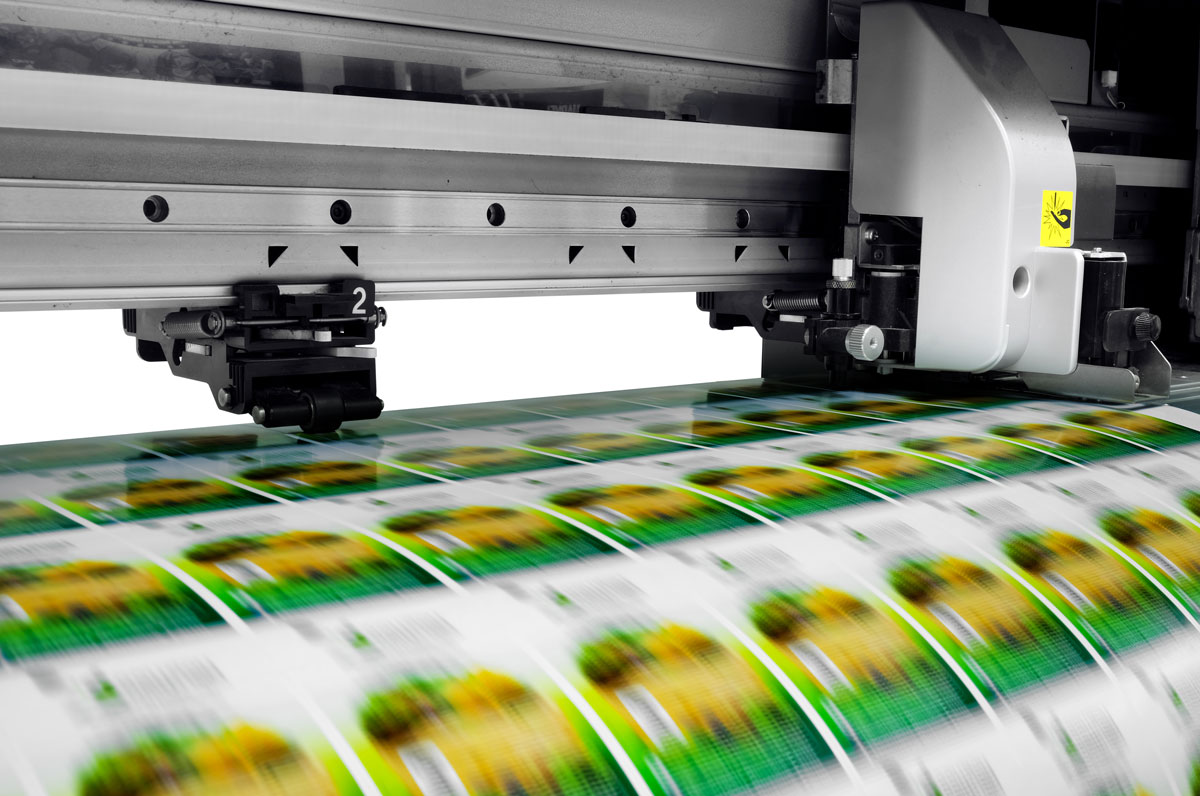
How should you print your stickers? If you’re not lucky enough to have a printer and glossy sticker paper at the ready, there are various sites online that can help like RedBubble and Sticker Mule.

How to design stickers This is only a quick overview of the process. If you’re seeking inspiration and would find it helpful to walk through this process with a video tutorial, click here!
- Set up your document. Open Adobe Illustrator and create a document with ideal sticker dimensions. Start with a 2-inch square (you can type “2 in” into the dimensions box even if the measurement unit is set by pixels by default). Feel free to use the artboard tool to create more artboards and allow yourself to experiment.
- Experiment with designs. Using the text tool, paint brush, shapes, and pen tool, you can create designs right in Adobe Illustrator. You can also image trace assets from the internet and add those to your design, but be careful not to copy anyone else’s work completely. When designing your stickers, there are a few things to keep in mind. First off, limit yourself to a few colors and keep the design simple. (If you’re used to designing posters or larger pieces of art, remember how small a sticker is!) Avoid using extremely-thin lines or microscopic text. And don’t give your design a white border, because most sticker printers will do that by default!
- Export the final stickers as a .png. Read the directions on your sticker printer to figure out the proper export settings. If you’re going to print your stickers from a site online, you’ll probably want to export a high-quality .png with a transparent background. Use the “Save for Web (Legacy)” window and amp up the file size by saving it as “500%” the size. In the case of many stickers, you can use the “Export for Screens” window and select the artboards and augmentation from there. If you are printing the stickers on your own, you can create an 8.5 x 11 artboard—or whatever size sticker paper you have—and drag your designs onto it. Save this artboard as a .pdf and print it from your computer.
For more tutorials on creating printed graphics in Adobe Illustrator, discover some other common projects. Are you a current student? See how you can save up to 60%.


