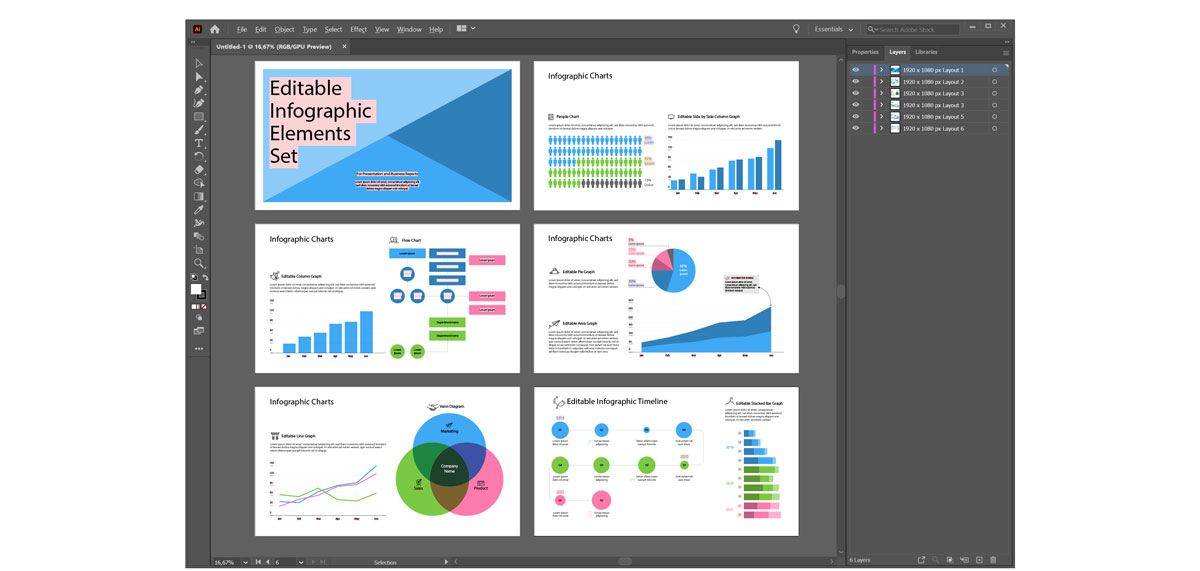
Spice up your next blog post with an eye-catching infographic. Do you have your own personal blog, or write blog posts for your internship, and need to know how to make them more engaging? Adding a graphic can help to draw people’s attention and add a little flavor to your blog post. Here’s a step-by-step guide for making one with Adobe Illustrator:
- Download and open an Illustrator template from Adobe Stock.
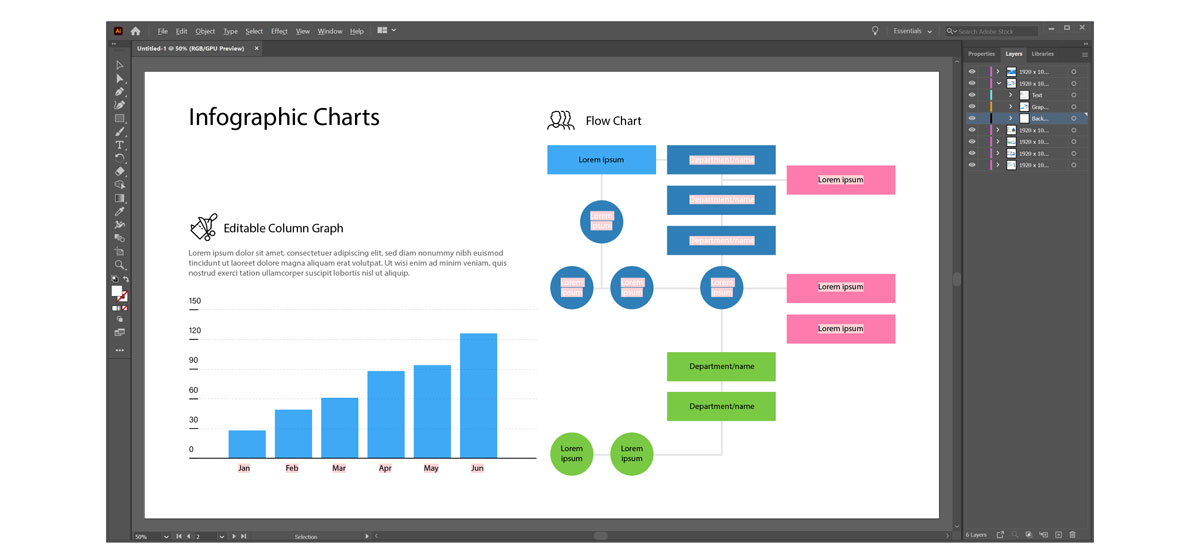
- Select the text tool from the toolbar.
- Highlight the filler text you want to change and replace it with your own.
Tip: Use the Selection tool to resize text boxes if necessary.

- To change the color of selected items, display the swatches menu (Windows > swatches), then click your selected color.
Tip: To create a new swatch, click “new swatch” and use the sliders to create a new color.

- Click File > Save to save your infographic.
Are you a current student? See how you can save up to 60% on Adobe Creative Cloud.


