


Warping or distorting a design to fit a particular shape is a tool commonly used in Illustrator to create the illusion of motion or fluidity. The effect is achieved with a tool called envelope distort, which basically requires merging one object—either text or a shape—to fit into the shape of something else. Below, you can see a few applications of envelope distort. The first one warps a bullseye-esque image of concentric circles into a freeform shape. The second distorts the word “love” to fit into a heart; the third uses a similar technique to make the word “awesome” fit into globular columns that give it an almost three-dimensional appearance.
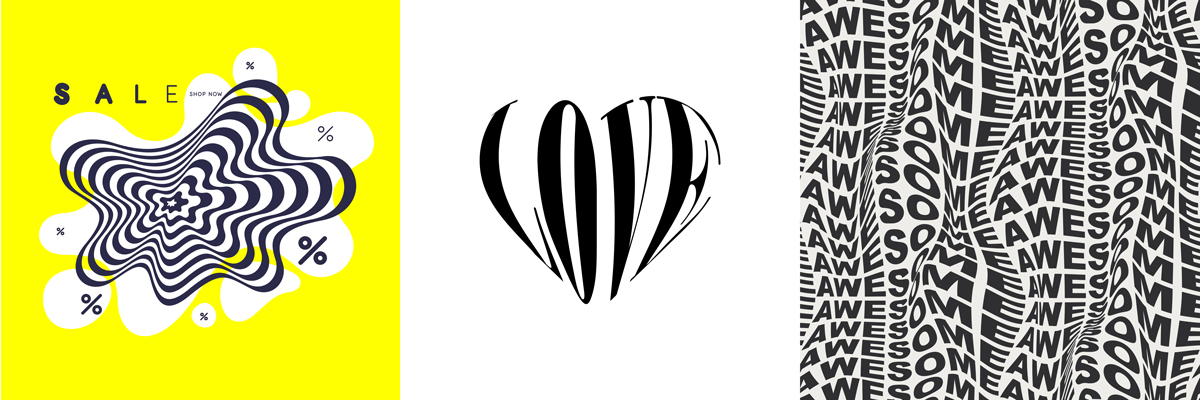
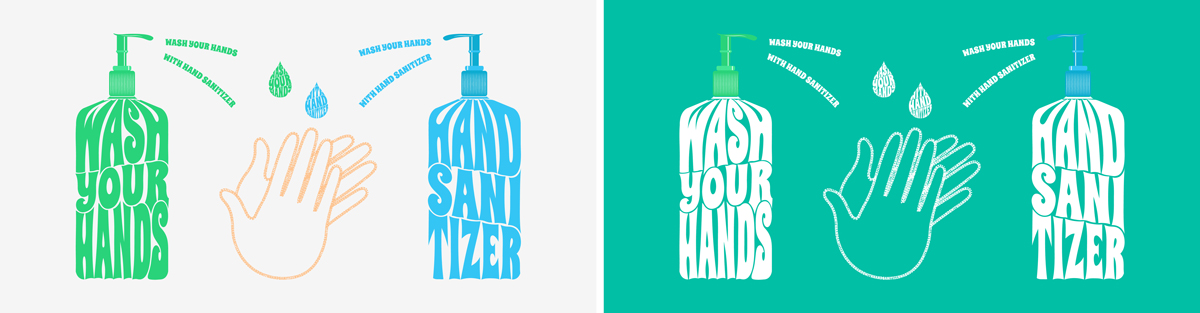
You can also use warp tools to make text fit into a shape, like these hand sanitizer images.
In these images, the designer likely started with a concept. To use the envelope distort tool, you have to think about what shapes you would like to fit into other shapes. For this tutorial, I’ll show you two different examples of simple warping designs—one with text and one with a group of shapes.
- Create your “base layer”.
For text: Type out your desired text in a cool font. Unless you want the text to fill the shape in one long line, use the enter key to create multiple lines of text. (For this design, I ended up breaking my text into four boxes, since I distorted each one separately.)
Before advancing, convert the text to an object by going to type > create object. Choose your words and font wisely, because once you click this, you won’t be able to edit the text anymore!
For shapes: Create your shape. Inspired by one of the images above, I used a series of concentric circles. If you are using multiple objects, like me, group them (command+G) so that they are treated as one object in the next step.
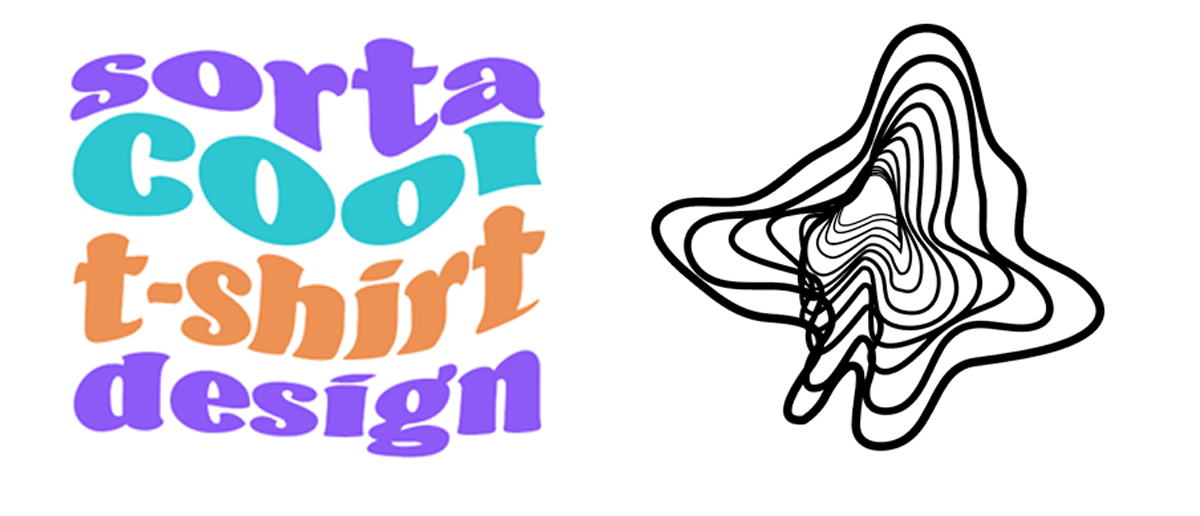
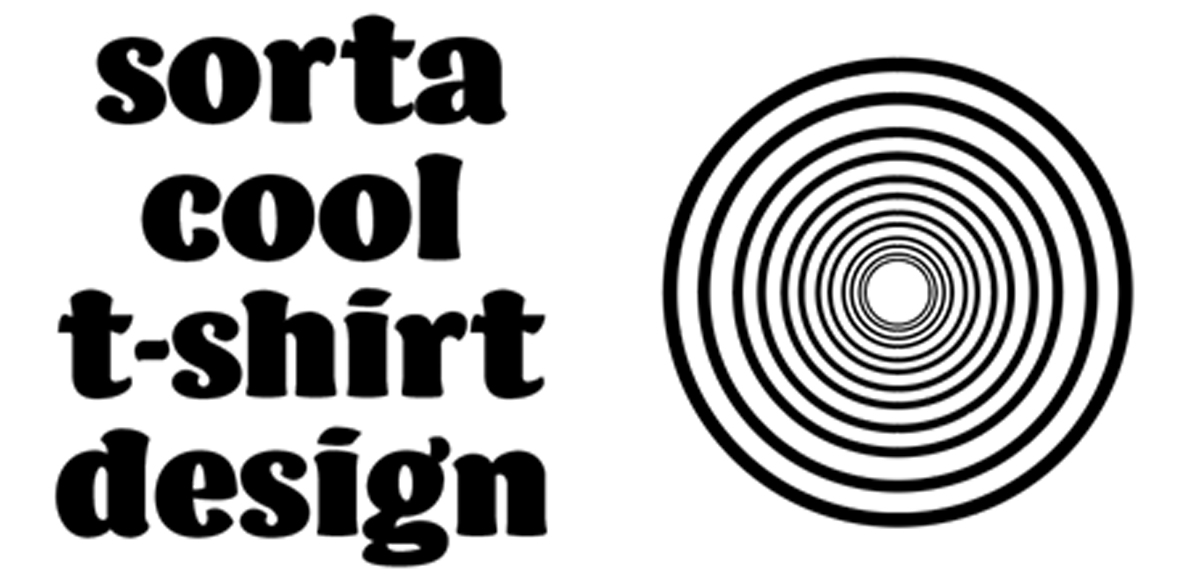 Envelope distort works with text (left) and shapes (right).
 - Draw your “top object” on top of the base.
This is the shape you want to fill with the text or shape you created in step one. I usually draw my top layer using the paintbrush tool (
 ). You can also also use shapes from the Illustrator menu using the rectangle, ellipse, polygon, and star tools (
 ).
).
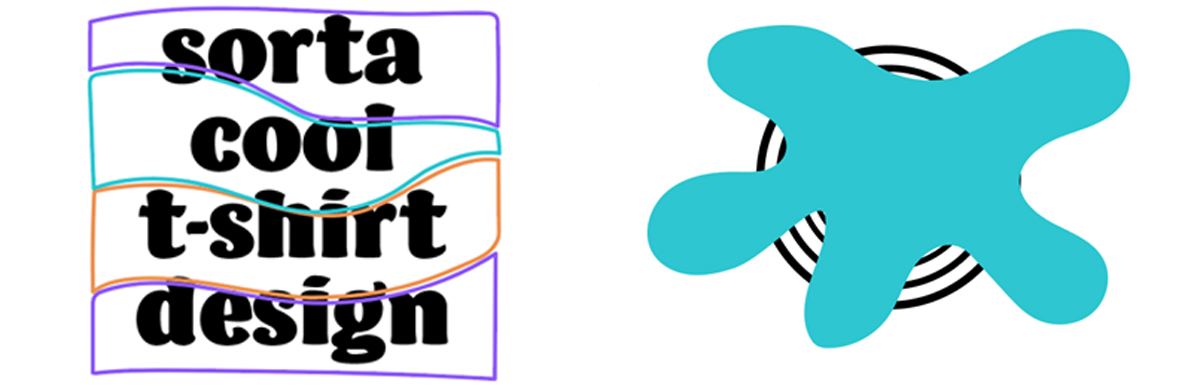
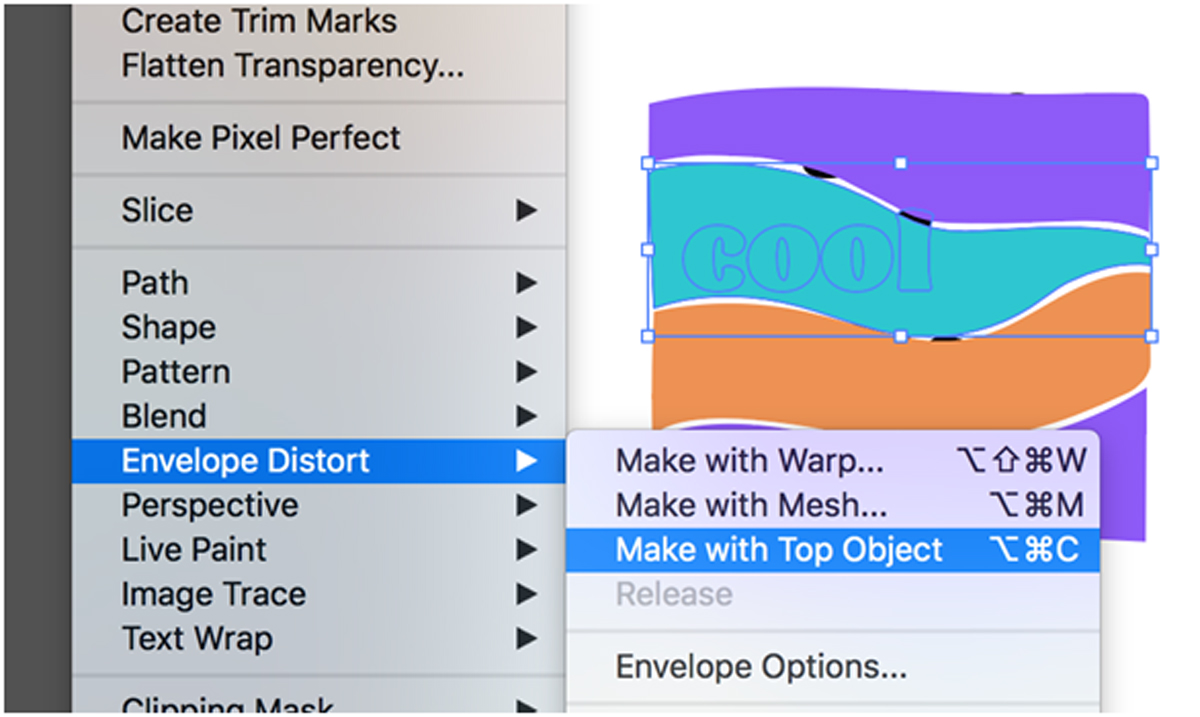
- Go to object > envelope distort > make with top object.
Do this with both the base and top layers selected, as shown. Once you click on this, the objects should merge into a new shape!
This tutorial teaches only one type of envelope distort. Discover everything else this powerful tool can do. Are you a current student? See how you can save up to 60%.


