
Whether you’re making a poster for your student group, designing for the yearbook, creating a digital collage of your friends, or developing social media graphics for an internship, you might want to know how to cut out an image. A cutout, or a photo with the background removed, is a common element in graphic design. Cutouts are easy to work with because they take up less space than full photos, contain only the necessary elements from the photo, and can easily be placed on top of any other graphics. Creating a cutout, on the other hand, is far from easy. It’s time-consuming and challenging to remove every pixel of background from an image, especially if the background is anything other than a white sheet. However, there are countless tools in Adobe Photoshop that you can use to create a cutout. By knowing which tools are most helpful for certain situations, you can learn how to cut out an image quicker and easier! Basic cutout technique As mentioned, there are multiple ways to create a cutout. However, this tutorial practices something called non-destructive editing techniques, which means that you can easily fix any mistakes you make. When you remove the background from a photo, you won’t be deleting it—just using a mask to hide it from view.
- Create a mask on your photo by clicking the
 button.
You should see a white square appear beside the layer preview. A mask is a super useful Photoshop tool. Anything you draw on it in black will be hidden, while anything you draw in white will show up on-screen. (As you might imagine, drawing with various shades of gray will reveal parts of the photo to certain opacities.) At any time, you can draw on the mask to show or hide different elements of the photo.
To create a cutout, you just have to turn every part of the background black on the mask and keep the subject in white. Remember that you can toggle between the black and white brushes to erase and redraw elements of the photo back in! If you have both black and white in your toolbar—which you will by default, unless you’ve been coloring other things in the Photoshop file—you can press the x button on your keyboard to quickly switch between the two.
button.
You should see a white square appear beside the layer preview. A mask is a super useful Photoshop tool. Anything you draw on it in black will be hidden, while anything you draw in white will show up on-screen. (As you might imagine, drawing with various shades of gray will reveal parts of the photo to certain opacities.) At any time, you can draw on the mask to show or hide different elements of the photo.
To create a cutout, you just have to turn every part of the background black on the mask and keep the subject in white. Remember that you can toggle between the black and white brushes to erase and redraw elements of the photo back in! If you have both black and white in your toolbar—which you will by default, unless you’ve been coloring other things in the Photoshop file—you can press the x button on your keyboard to quickly switch between the two.
- Draw an outline around the photo using a small brush
 of medium softness.
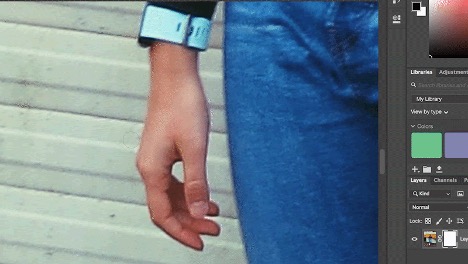
To begin, select a small brush with medium softness (I like something around 65%, but depending on how sharp the image, you might want to adjust). Draw around the edges of the cutout subject as best you can. Since we want this background to disappear, remember to draw in black! You can find the color in the bottom left corner of the toolbar. - Draw a lasso around the rest of the background and remove it.

Once your outline is drawn, use a polygonal lasso (or normal lasso, if your mouse is steady) to draw inside the outline you’ve created. You should have your entire subject selected. Go to Select > Inverse (or hit command+shift+I). This will change your bounding box from being around your subject to being around everything but your subject. Now, all you have to do to remove the background from the photo is fill this section with black. You can do that by going to Edit > Fill… > Black. (If you have white color currently selected, you can also just press the delete key, which will fill the area with black!) - Double-click the mask to edit the roundness, closeness, and feather. If your mask looks a bit too soft, too far from the subject, or too harsh, you can make tweaks to the mask by double-clicking on it. Editing the feather will make the mask outline softer or harder. Editing the “softness” will make the outline rounder or sharper. Editing the “shift edge” will bring the outline farther or closer from your subject.
- Go back into any rough areas and edit.
 You can also use a colored background to check your cutout!
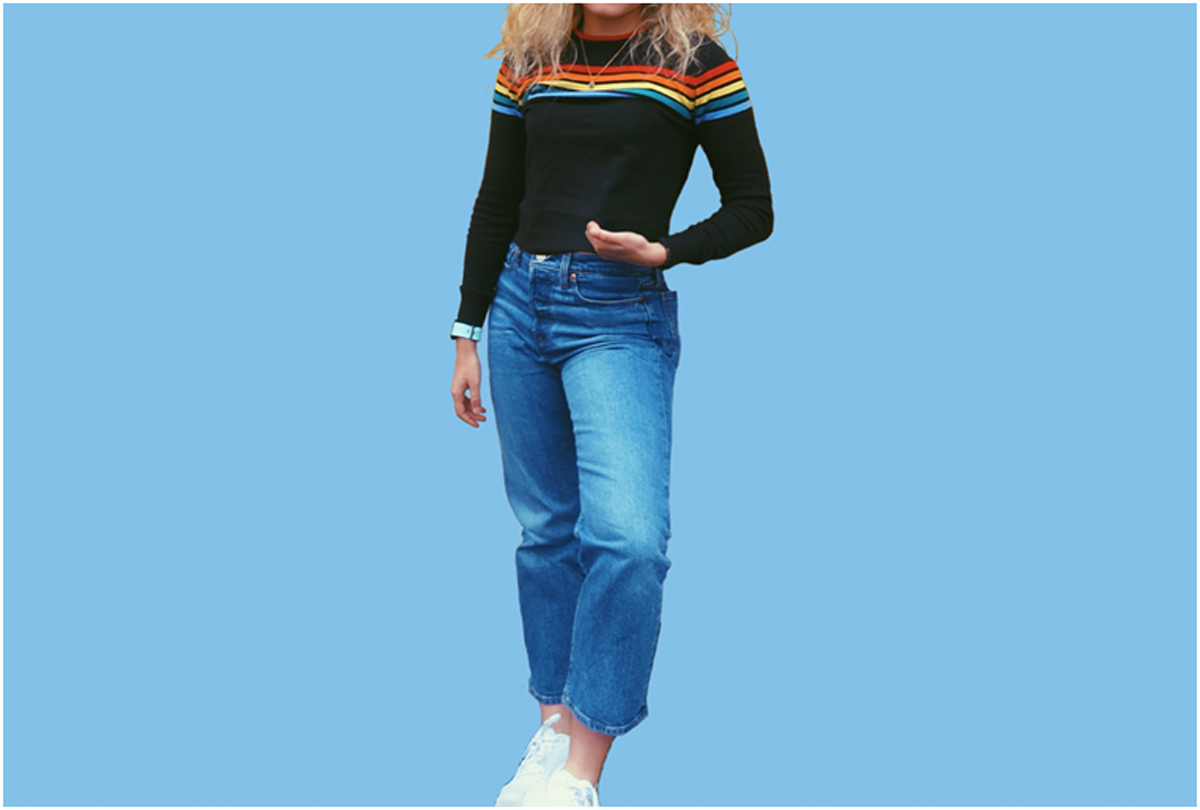
To check how your cutout will look, add two new layers to the document by clicking the icon in the layers window. Fill one with black and one with white. Then, turn them on and off to see if your photo looks good on both backgrounds. Often, your cutout will be stronger on the color that looks more similar to the original photo, but a good cutout will look sharp and clean on both black and white! (This technique is also good for noticing if you accidentally missed any little chunks of an image!)
If you’re not happy with your cutouts, you can go back and adjust any tight corners or problem areas with smaller brushes. Read on below to learn how to cut out some common elements.
icon in the layers window. Fill one with black and one with white. Then, turn them on and off to see if your photo looks good on both backgrounds. Often, your cutout will be stronger on the color that looks more similar to the original photo, but a good cutout will look sharp and clean on both black and white! (This technique is also good for noticing if you accidentally missed any little chunks of an image!)
If you’re not happy with your cutouts, you can go back and adjust any tight corners or problem areas with smaller brushes. Read on below to learn how to cut out some common elements.
For plain backgrounds…
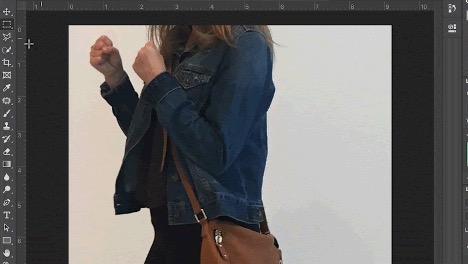
If your photo was taken in a studio on a plain background, you can skip some of the steps above! (Lucky you!) Use the quick selection tool  and drag over the background. Once all of the unwanted area is highlighted, you can fill it with black on your mask and have a cutout in seconds.
You might have to make the quick selection tool more or less precise if you find you’re getting the incorrect amount of background. There is also a tool
and drag over the background. Once all of the unwanted area is highlighted, you can fill it with black on your mask and have a cutout in seconds.
You might have to make the quick selection tool more or less precise if you find you’re getting the incorrect amount of background. There is also a tool  that allows you to remove parts of the photo that you might have accidentally selected.

For tight corners…
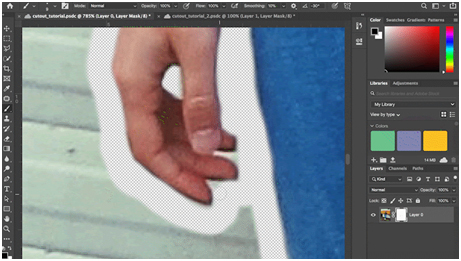
Don’t forget that, using masks, you can always remove parts of the photo and bring them back! This is very handy for editing tight corners. Just remove a little too much of the image, getting deep into the corner, and then use a white brush to draw the image back in. Remember, you can quickly toggle between black and white brushes by pressing the x key on your keyboard.
For wispy hair…
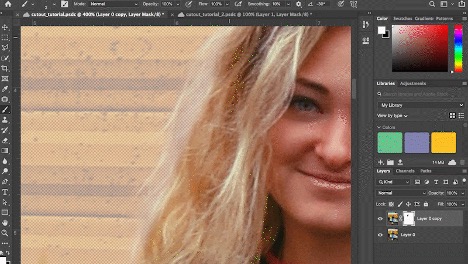
Similar to the technique used in the last step, it’s actually easier to draw wispy hair back in than it is to mask it out. Draw your mask a little too close to the hair, erasing all the wisp ends. Then, using a white brush, draw the little hairs back in. You can use a variety of brush shapes for a realistic effect or just make a series of quick, small strokes using a tiny brush.
For geometric shapes…
For any parts of the image that require straight lines, don’t rely on yourself to shakily draw the outline with a mouse. Instead, use the polygonal lasso tool  to draw around the shape and remove the background from the mask. You can go back in later and edit some of the smaller details!
If you found this guide helpful, discover more ways to use masks in Photoshop. Are you a current student? See how you can save over 60%.


