


How to Make Your Own Font
Ever fancied yourself as a typographer? Give font-makinga shot by designing a typeface using Adobe Illustrator.
Start with a free trialGraphic designers can become obsessed with fonts. After all, it’s our job! We work with fonts on a daily basis, we can identify them in the wild (“Is Trader Joe’s using Phosphorus on a chip bag!?”), and we’ve accumulated mental lists of go-to’s and favorites. If this describes you, then you’ve probably considered designing your own typeface before, too. Font creation is a long and tedious process, but typing in a font you designed can be incredibly rewarding! If the idea excites you, read on! Adobe Illustrator can’t export a font file on its own, but its vector-based programming allows for you to export .svg files—which most font creation software will accept. Basically, that just means that you can use Illustrator to create typeface characters if you don't want to learn a whole new software just to make fonts, especially if you’re already familiar with how Illustrator works. (Confused? Don’t worry! We will learn more about vectors and font programs later in this tutorial.) One last reminder before we begin! It’s important to note that you’re not only learning how to make a “font,” you’re also making a typeface. What’s the difference? A typeface is a whole group of text styles you can use, often referred to as the “font family.”
Arial, Helvetica, and Times New Roman are typefaces because you can use multiple styles (Regular, italic, bold, bold italic…). A font is just one of those text styles. Technically, Arial Bold is a font, but Arial is a typeface. For this tutorial, of course, you’ll most likely be making a typeface that only includes one font. (Unless you get fancy and design multiple weights or italic versions!)
How to Make Your Own Font
- Decide what type of font (or typeface) you’d like to make.
The two most basic typeface classifications are serif and sans serif. The “serif” category contains any typeface with small “feet” on the end of letters. Times New Roman, Georgia, and Cambria are serif fonts. Sans serif, on the other hand, has no feet. Arial, Helvetica, Calibri, and Comic Sans are sans serif typefaces.
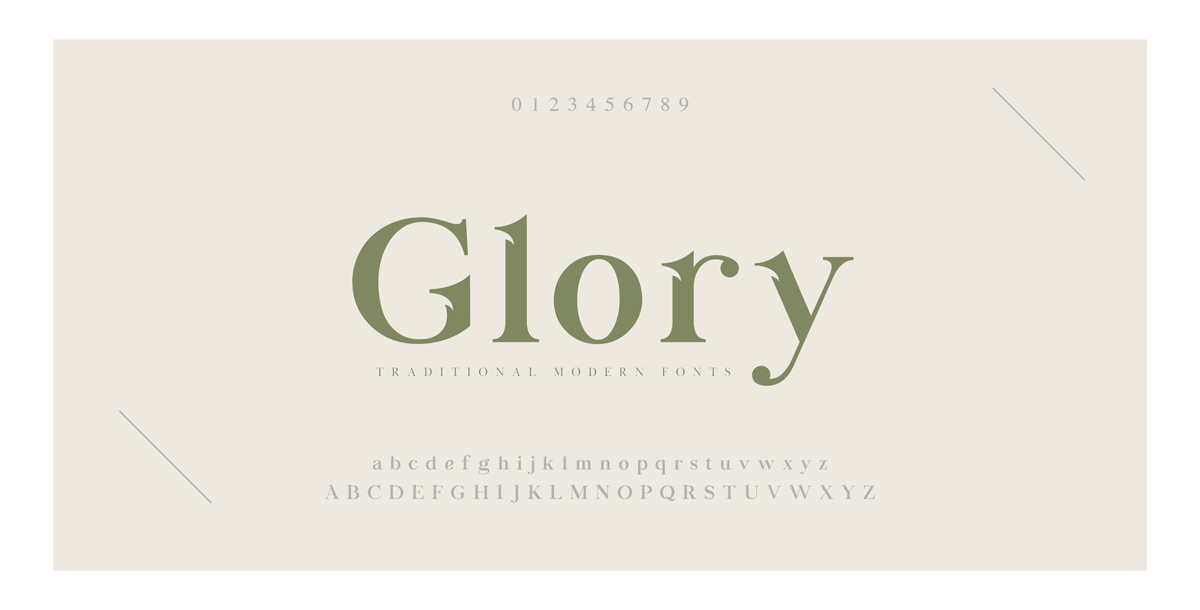
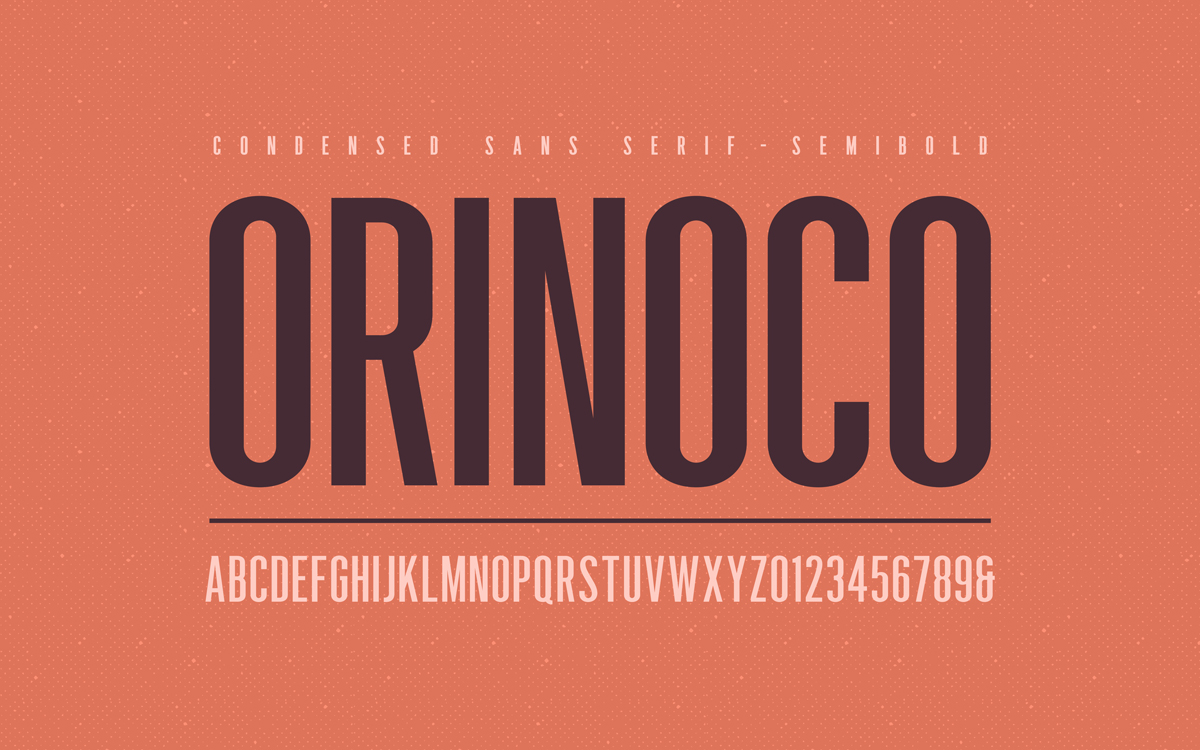 Can you tell which one is the serif and which is sans?
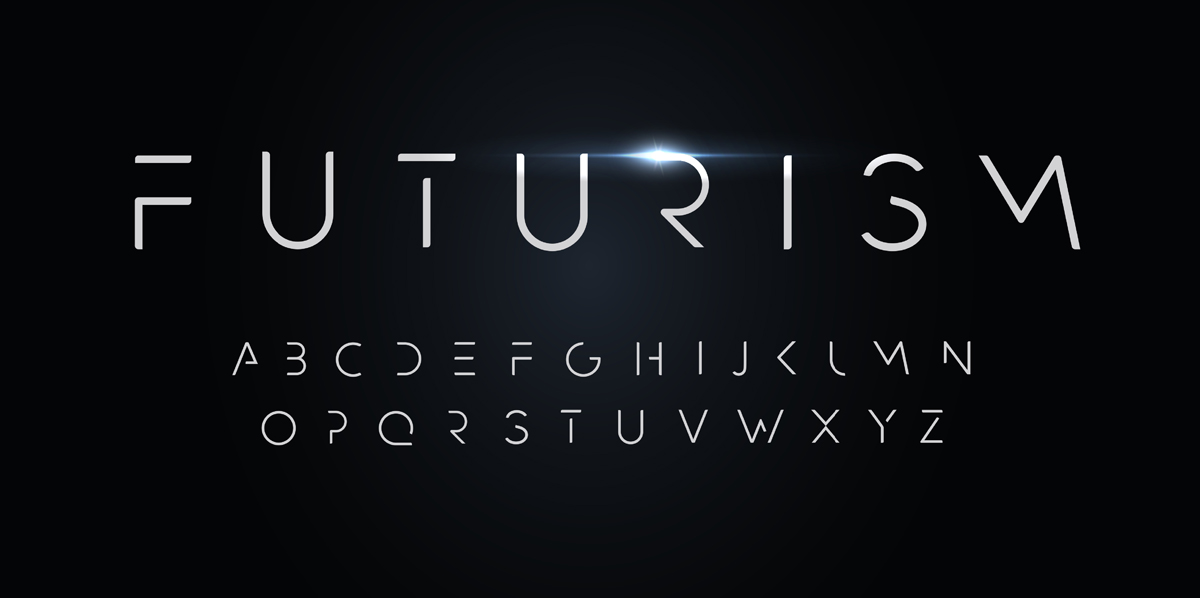
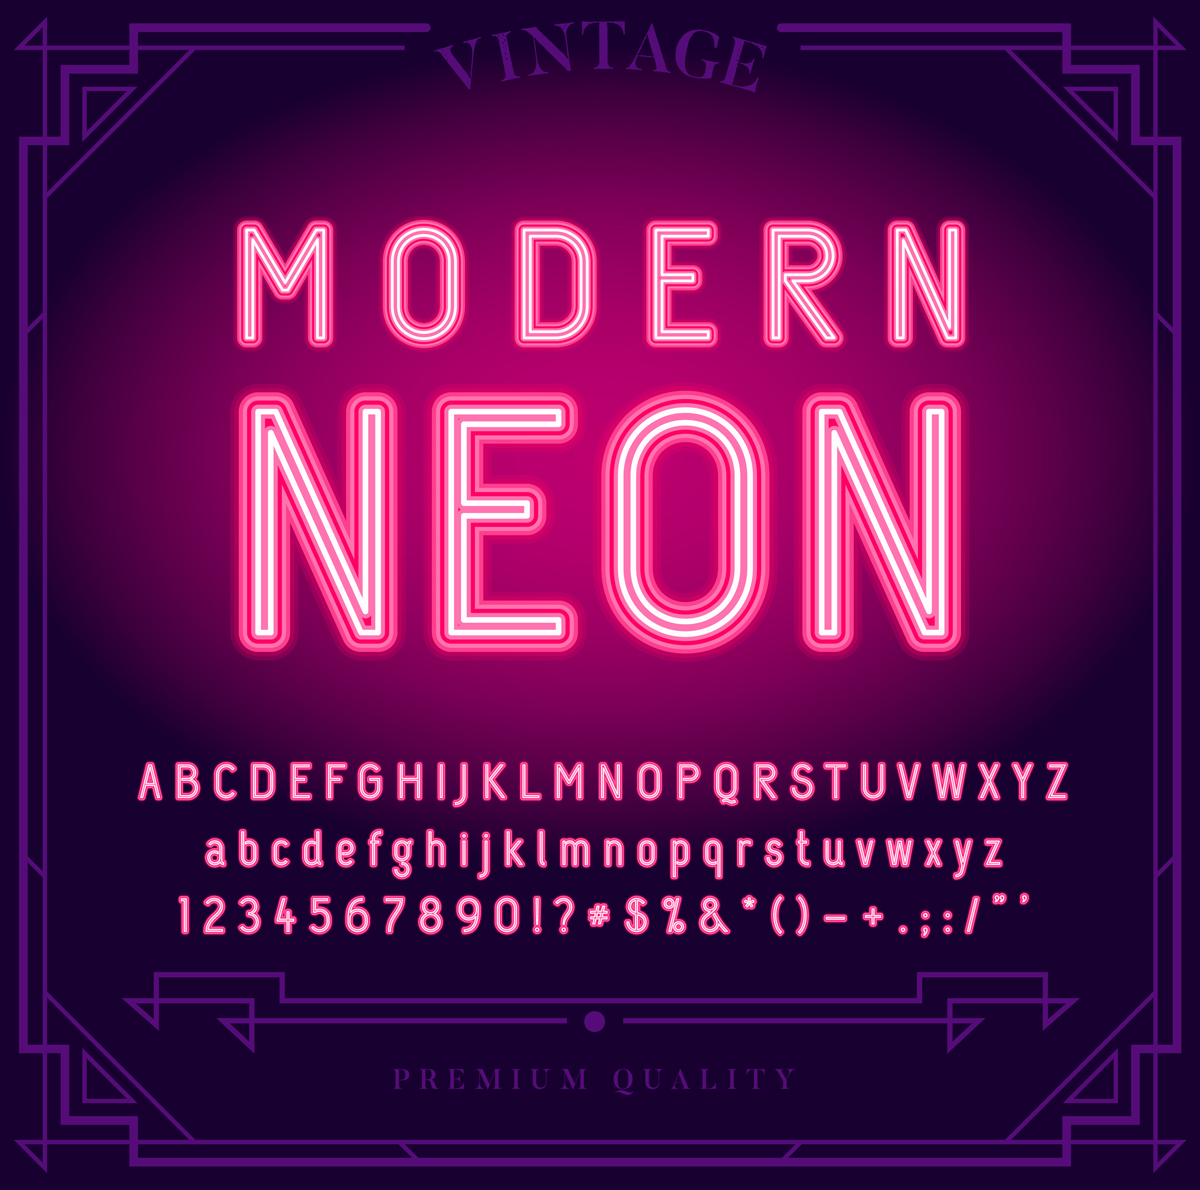
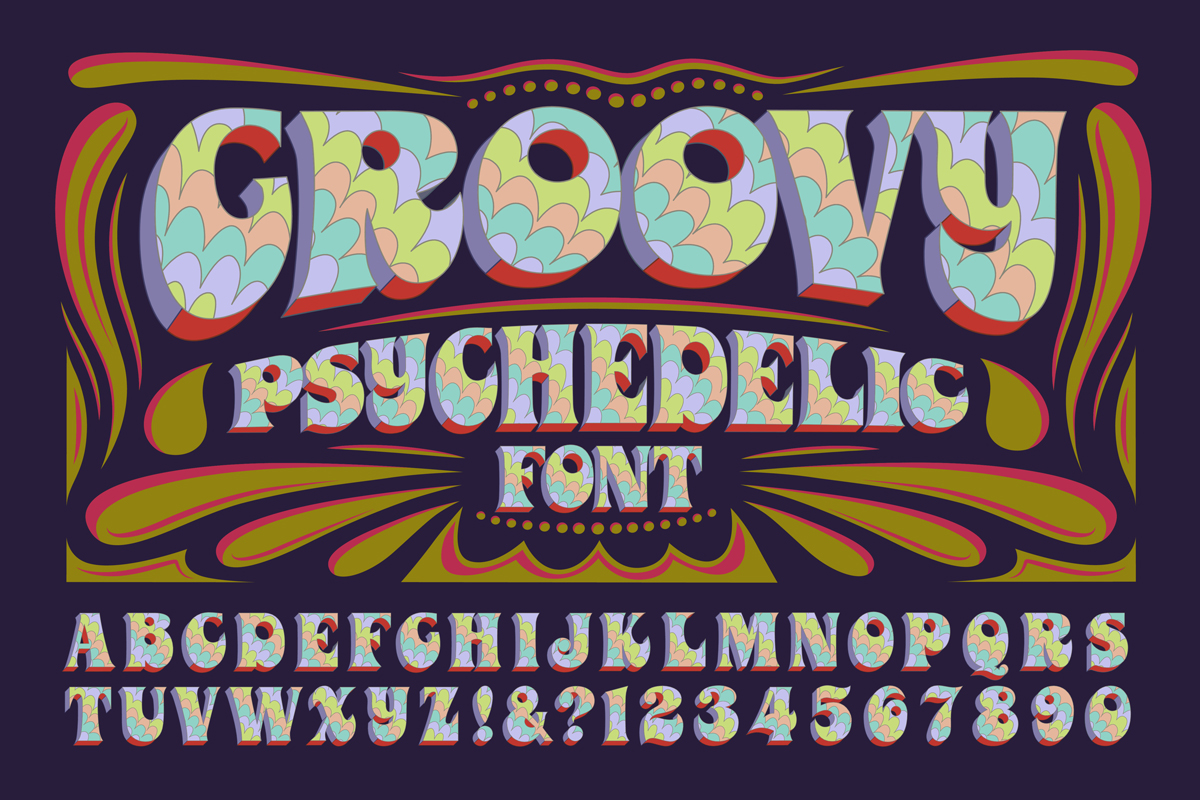 You can be inspired by your favorite aesthetic to make a typeface that goes with it! Into sci fi movies? Try making a futuristic font. Love wearing vintage clothes? Go for something groovy!
 - Create your document and set up guides.
Adobe Illustrator is the best program to use for font creation because you need to work with vectors. Photoshop and InDesign store information in pixels, which means that any image has the opportunity to lose quality when scaled down or become pixelated when scaled up. Vectors, on the other hand, store information in a series of geometric shapes and points. You can resize a vector to any size and it will never lose quality—which is how fonts are built, too!
In Illustrator, create a new document. You’re going to need a ton of artboards, but they can be pretty small. I use the dimensions 350 x 350 px because it imports easily into Font Forge, my favorite font creation software, but you can use any square-shaped size. (Just keep in mind that the file will load faster if the artboards are smaller.)
Create one artboard for every character you will need to create. If you want to design just uppercase letters, you will only need 26 artboards. For both upper and lowercase, use 52. However, for a basic set of letters and numbers and common punctuation symbols, create 80 artboards. (This will be a long process!) You’ll need more if you want to create accented letters, special characters, or a full set of symbols; most typefaces you find on Google Docs or Adobe Typekit have around 1,500 characters.
 The full range of characters in a font is known as the character set.
Once you have your artboards and dimensions set, click “ok” and create your document.
- Draw the characters.
There are a lot of options for how to go about this! You can start by drawing rectangles and circles and using the pathfinder tool to create customized shapes for each letter. You can use the pen tool to draw complex letterforms. I like to use the brush tool to “draw” a letter in a handwriting style.
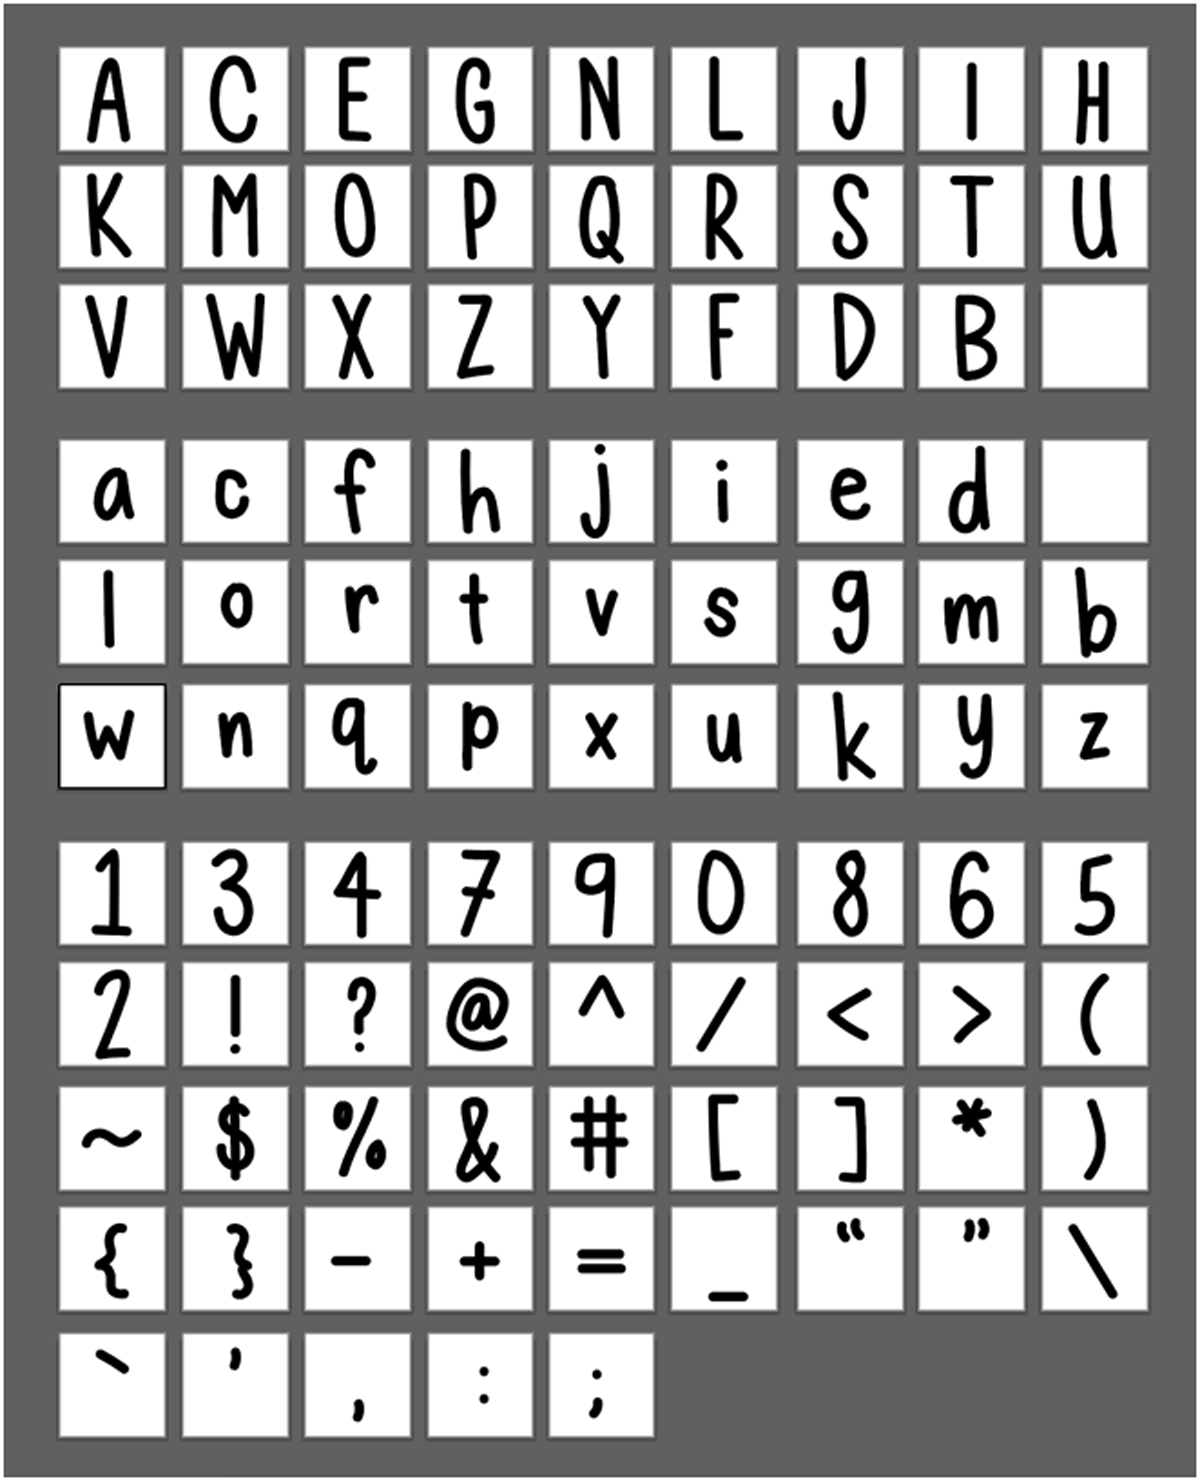 All of the artboards I used to create my latest font, Trackpad Sans.
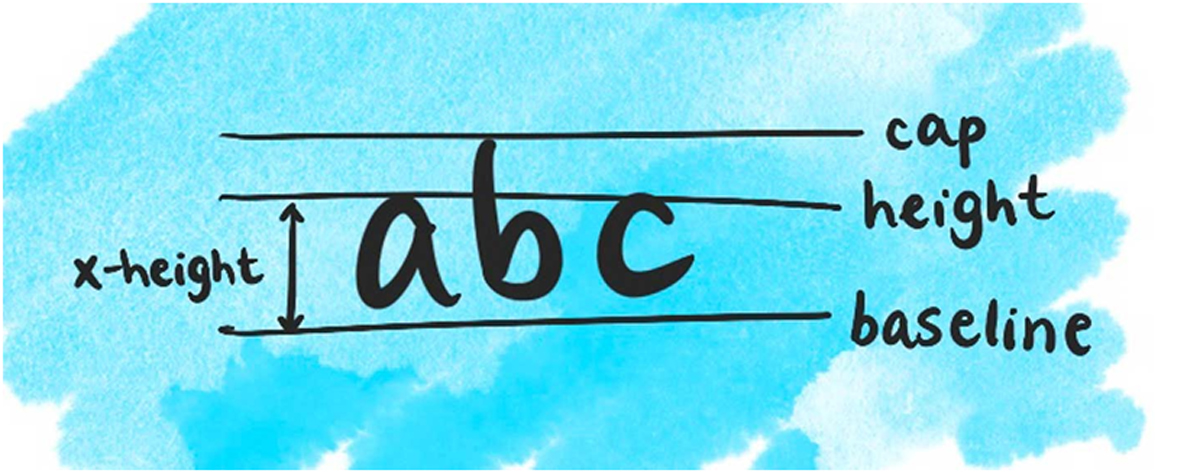 Names of the different guides for letterforms
I often find it helpful to drag “guides” onto the artboards to act as the baseline and cap. You can find a full tutorial for creating your own guides here.
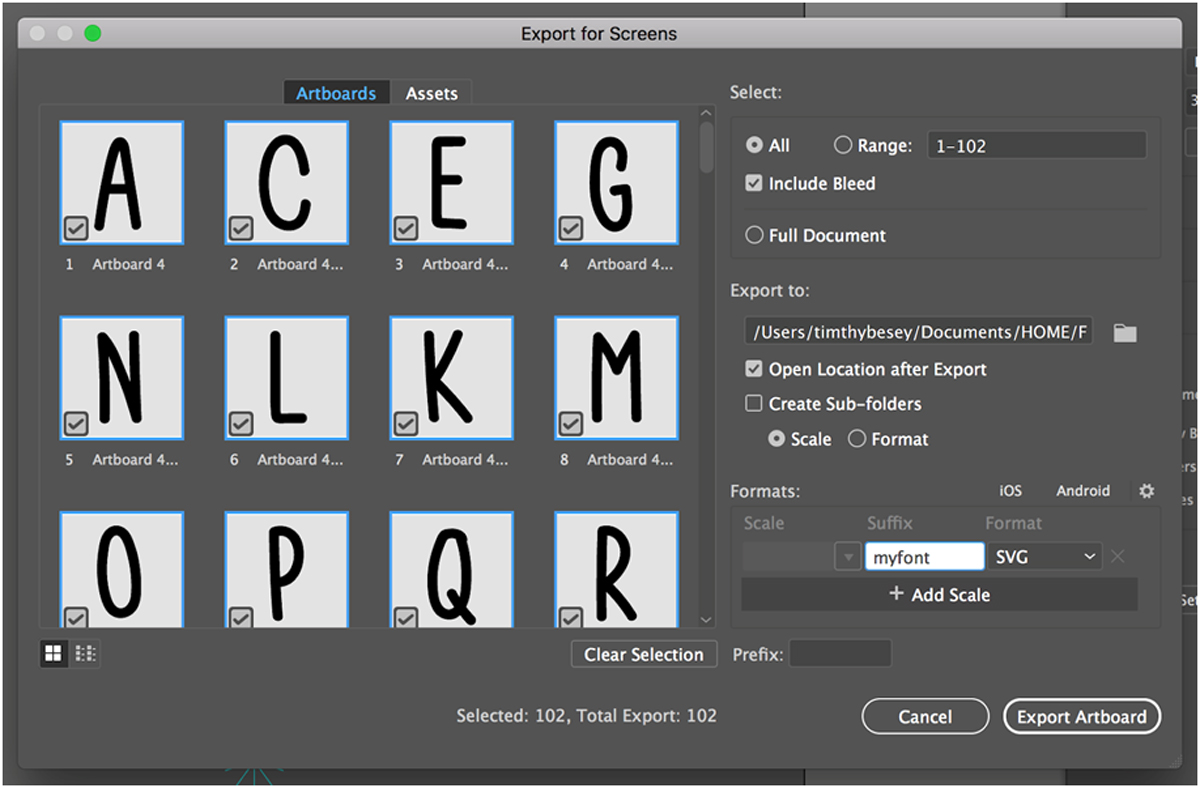
- Export as .svg files.
Finished your letterforms? Congratulations! The hardest part is over—this process sometimes takes font-makers months or even years. Go to File > Export for Screens. Make sure you have all of your artboards selected and choose “.svg” as the output file type. No need to resize the boards—this file type retains the vector form, so they can be enlarged or shrunk later without losing quality. Press “export artboards”.
- Use your font creation software to compress it into a .ttf or .otf file.
There are many different options for font creation software! Feel free to browse the web. Personally, I recommend one called Font Forge. The interface is a bit outdated and it’s not the most user-friendly, but its website has endless pages of thorough instructions online that will walk you through the process. In this way, it’s really easy for beginners to troubleshoot! (And, better yet, Font Forge is free to download and use.)
Most programs will allow you to import your letterforms into a small file for each letter, customizing the spacing and placement of each.
- Export your typeface as a .ttf or .otf file—and then use it yourself! At the end of the process, export your typeface design in one of the two common file types—.ttf or .otf. Once this file is created, anyone can install your font you made on their computer. Need instructions for downloading? On a mac, double-click any typeface file to open Font Book. Simply click “install.” If you have Windows, you can do the same thing, but for more thorough instructions, click here for a full list of ways to install fonts on a PC. The first time you open a new file and start typing in your own font is a great feeling! The process of typeface creation is long and difficult, but you should be proud. Not everyone can say they’ve designed their own font. Congratulations! (Of course, there’s no need to design new fonts if you’re just looking for a quick swap. Check out Adobe Typekit for downloadable typefaces that you can import directly into your creative cloud programs.)


