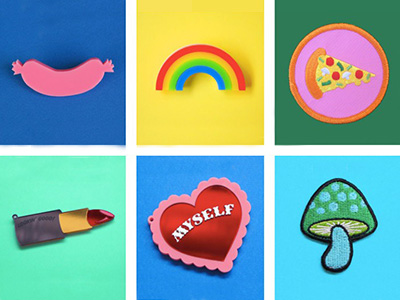
Did you know that you can change the colors in an image without manually selecting each object?
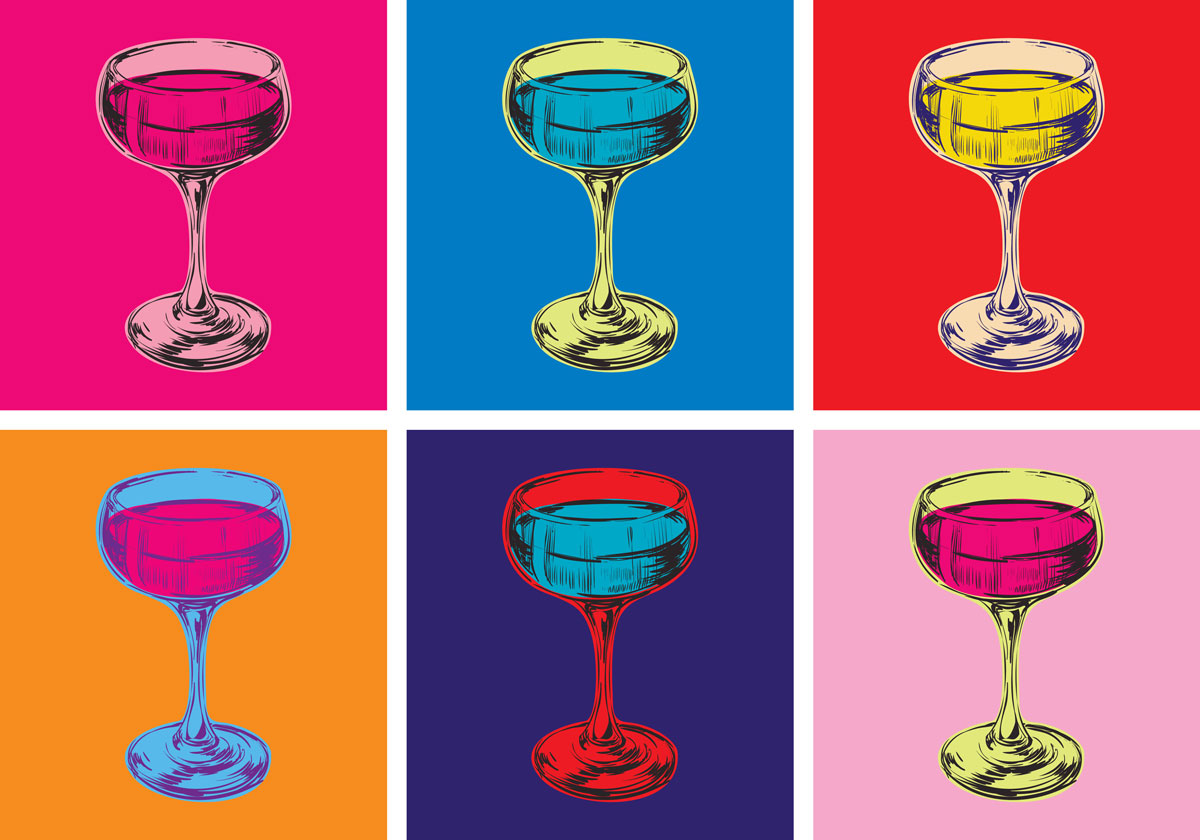
Using a color palette can elevate any illustration and make it much easier to portray a specific mood. With the ease of recoloring artwork in Adobe Illustrator, you have the freedom to use whatever colors they would like during the early stages of the design process. Then, once the illustration is complete, you can go back and implement a cohesive palette in only a few clicks. Plus, this technique is especially helpful if you’re hoping to make pop art-style imagery. You can duplicate the same image multiple times and apply different color themes in each one, like so:
Let’s begin! Throughout this process, you’re going to want the swatches panel open. If it isn’t in your window by default, go to Window > Swatches and drag it somewhere convenient.
- Find a color palette that you like.
When it comes to colors, you can find inspiration anywhere. Maybe you have an image with colors that you particularly like. Maybe you found a cool color palette online. If you already have an idea for how to recolor your illustration, use the eyedropper tool in Illustrator to pull colors from your inspiration image. Add every new color to your swatches by clicking on the (+) button in the Swatches panel—or create your own color theme.
If you don’t have a color palette ready made, no worries. On Adobe Color, you can either create your own swatches or find inspiration from the thousands of palettes posted to the “explore” page. Once you find a color theme that you like, click the option to download an .ase — or Adobe Swatch Exchange file.
To add the .ase file to your swatches library, click the hamburger menu in the swatches panel. Go to Open Swatch Library > Other Library… and select the file you downloaded from Adobe color. For this example, I chose this palette of vibrant contrasting tones.

- Select your illustration and go to Edit > Edit Colors > Recolor Artwork.
Once your colors are in the swatch palette, you’re ready to convert your illustration! Drag your mouse over the area that contains your illustration to select all of it. (If there’s nothing else in your illustrator file, you can also just press Command+A.) Then, go to Edit > Edit Colors > Recolor Artwork.
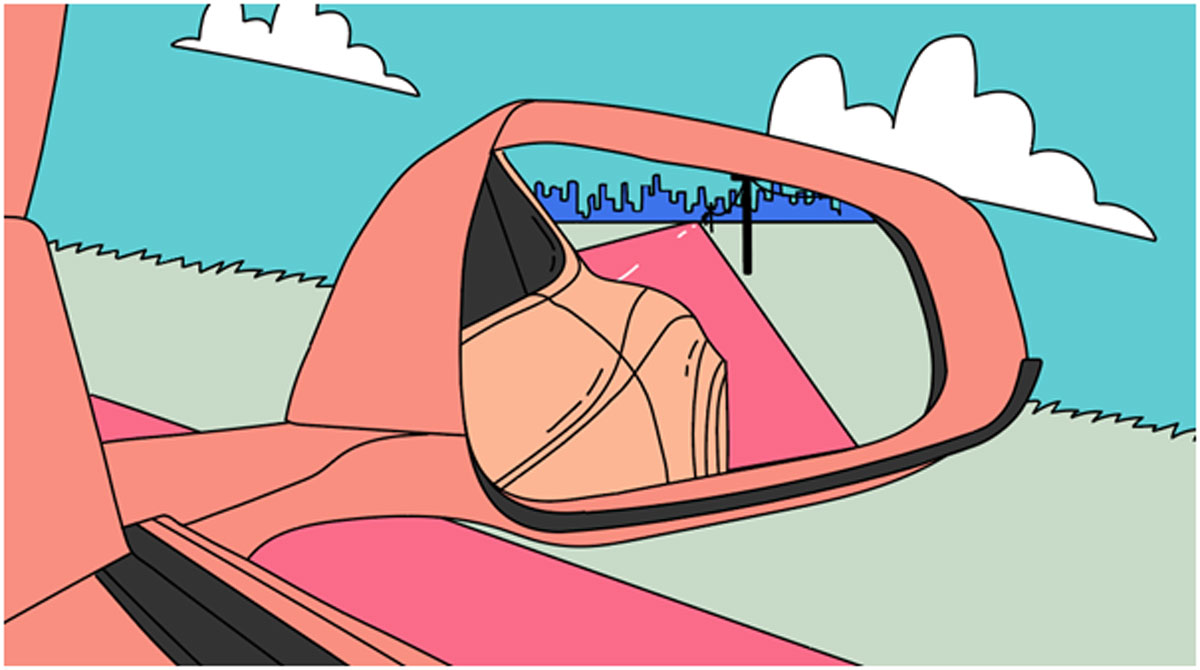
I will be using this image I drew of a car’s rear view mirror.
Note: This tutorial only works with vectors. If you are pulling an illustration from a raster-based program, like Photoshop, or just using an image from the Internet, you are going to need to convert it to vectors first. Use the image trace menu to transform the pixels into resizable curves. I recommend using the “silhouette” option for any black-and-white clipart/iconography and the “high-fidelity image” or “low-fidelity image” for something with more color, but you can find more in-depth instructions here. - Double-click each color in the right column to adjust it.
In the Recolor Artwork menu, Illustrator will make a list of all of the colors you use on the left. On the right, you can change each of them. Double click each color in the right column and adjust as you see fit. You can select swatches from your color palette by clicking “color swatches.”
(If you’ve imported the swatch correctly, it will also appear in the “Color Groups” column in the Recolor Artwork Menu. In that case, click on the full swatch to expedite this process!)
One-by-one, change all of your colors to their new swatches. If you have a few similar colors in your original image, you can drag the colored bars on the left on top of each other to create a family. In my image, there are two shades of peach on the car exterior that I chose to treat as one color, since one is just a darkened version of the other.
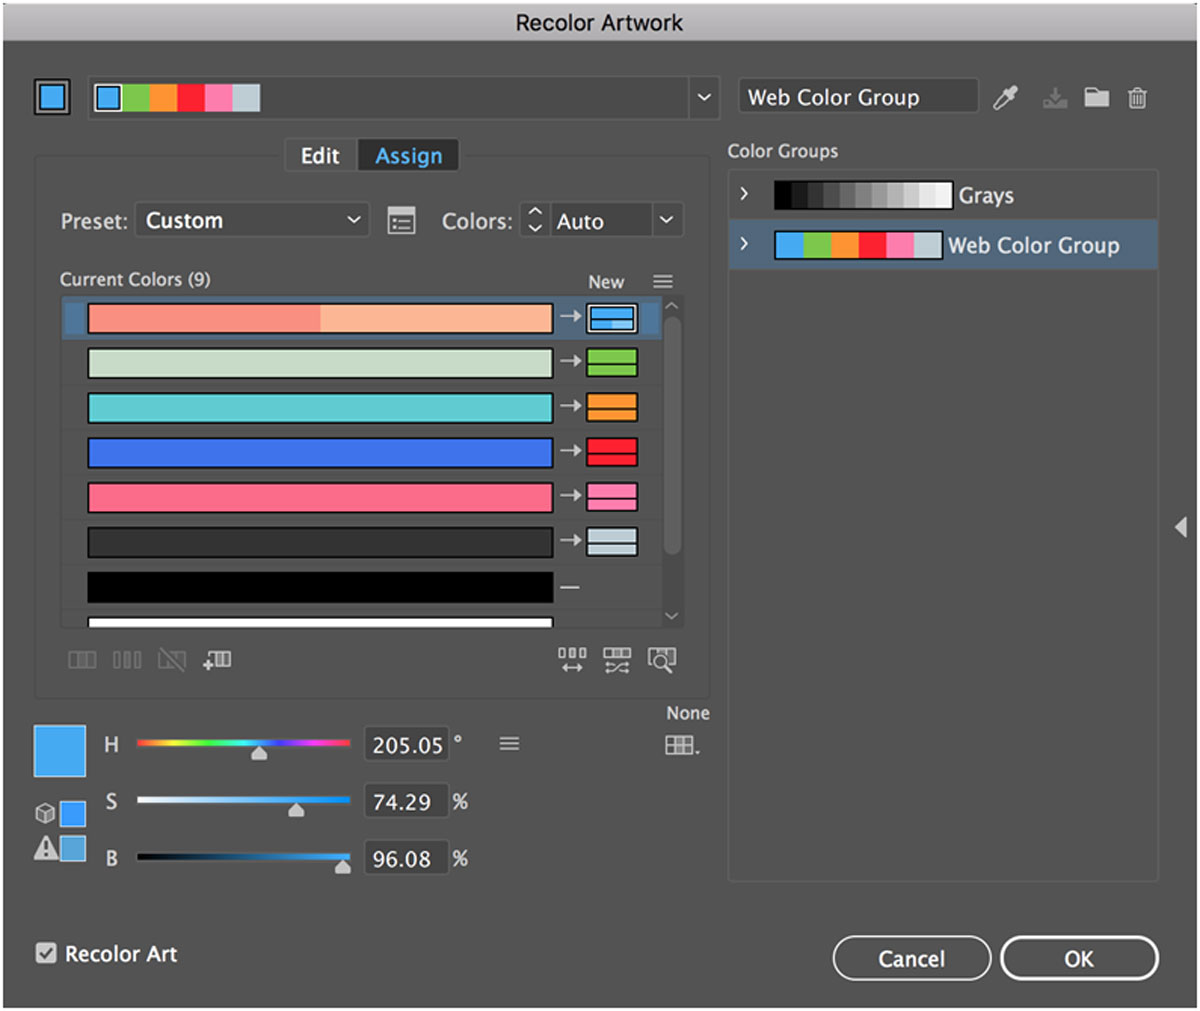
You should be able to see your image in the background. Play around with the various colors until you find a combination that you like. You can drag the colors on the right side of the menu to quickly swap between them!
 On the right is the image my computer automatically created when I imported the Color Group. On the left is one I created by choosing each swatch’s replacement one-by-one. Notice how the computer combined the colors of the car into one color family, something I would have not thought to do!
If you enjoyed playing with colors, discover everything you can do in the swatches panel.
Are you a current student? See how you can save up to 60%.

