

The social justice slideshow format is more popular than ever before. But you don’t have to be a professional designer to learn how to make these Instagram infographics. Social media infographics broke into the explore pages of mainstream Instagram in late May 2020, spurred by the ongoing unrest after George Floyd’s death at the hands of Minneapolis police. In the ensuing Black Lives Matter movement, most people’s feeds transitioned from a highlight reel of smiling faces and scenic landscapes to a series of black squares, posted in solidarity, using the Stories feature to share slideshows of explainer graphics. These posts, described in Vox as “Powerpoint Activism,” answered all kinds of questions for Instagram users: Should you capitalize the word “Black?” What is Joe Biden’s 2020 platform? What does it mean to have a white savior complex? In an age where personal and professional Instagram accounts alike are posting infographics about the causes they care about, you don’t have to be an experienced graphic designer to make your own. The research and the content is the hard part, but if you’re confident that you have information that could help others, all you have to do is create the design. This tutorial focuses on using Adobe Illustrator to create social media infographics. However, you can also use Adobe Spark, which is free for anyone!
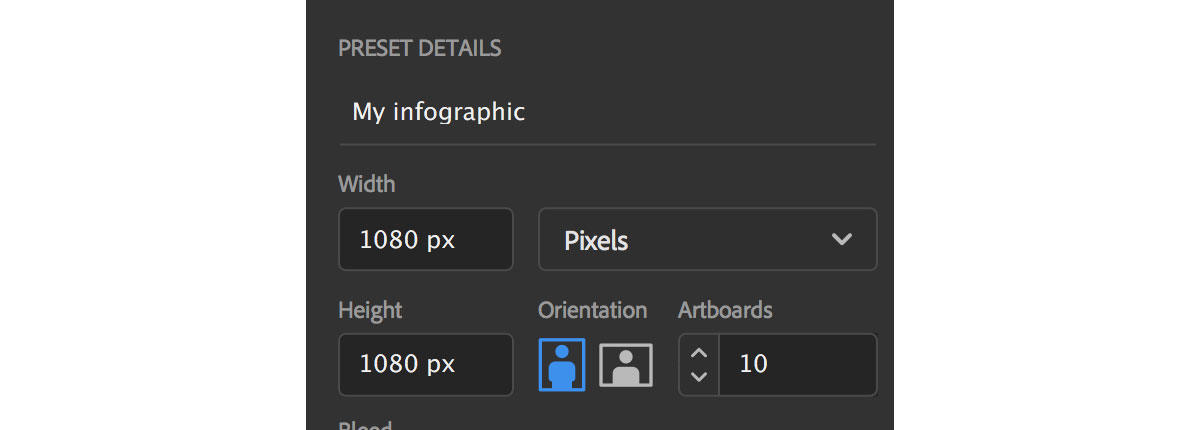
- Create a document with 1-10 square artboards.
Instagram compresses the quality of your images when you post. The closer your graphics are to a perfect square, the less this compression is noticeable. For that reason, I usually aim to make my graphics just a bit taller than a square shape with the dimensions of 950 px by 1000 px. Any size will work as long as your width does not exceed 1080 px and your height does not exceed 1350 px.
 ] tool.)
 - Design your title page. Seeing a lot of text right away can be daunting, so title pages make people more likely to swipe into your post and read. They also help other users find the post in your feed later, if it comes to mind! Over time, creating more graphics using a similar title page design can help people to identify you with a particular design style. For inspiration, visit various different accounts for users who make social media infographics. Try peeking at @courtneyanndesign, @mireillecharper, @soyouwanttotalkabout, @mariebeech, and @eisellety.
- Choose fonts that are neutral in tone and easy to read. Everyone has their favorite fun display fonts, but infographics aren’t the place for anything with too much personality. You’ll want to keep your typography pretty simple for these graphics: try a clean, legible sans serif like Proxima Nova or Sofia. It can help your graphics look professional, but it also lessens the risk of appearing tone-deaf or uncaring. Can’t find any fonts you like in the menu? You can download more fonts directly to your Adobe programs using Adobe Fonts, too.
- Use consistent design throughout the infographic.
As you continue designing the slides of your graphic, make sure you have some consistent elements. On my posts, I like to use the same “footer” on every image, using a colored bar with my handle in it. Depending on the post, I sometimes also add page numbers.
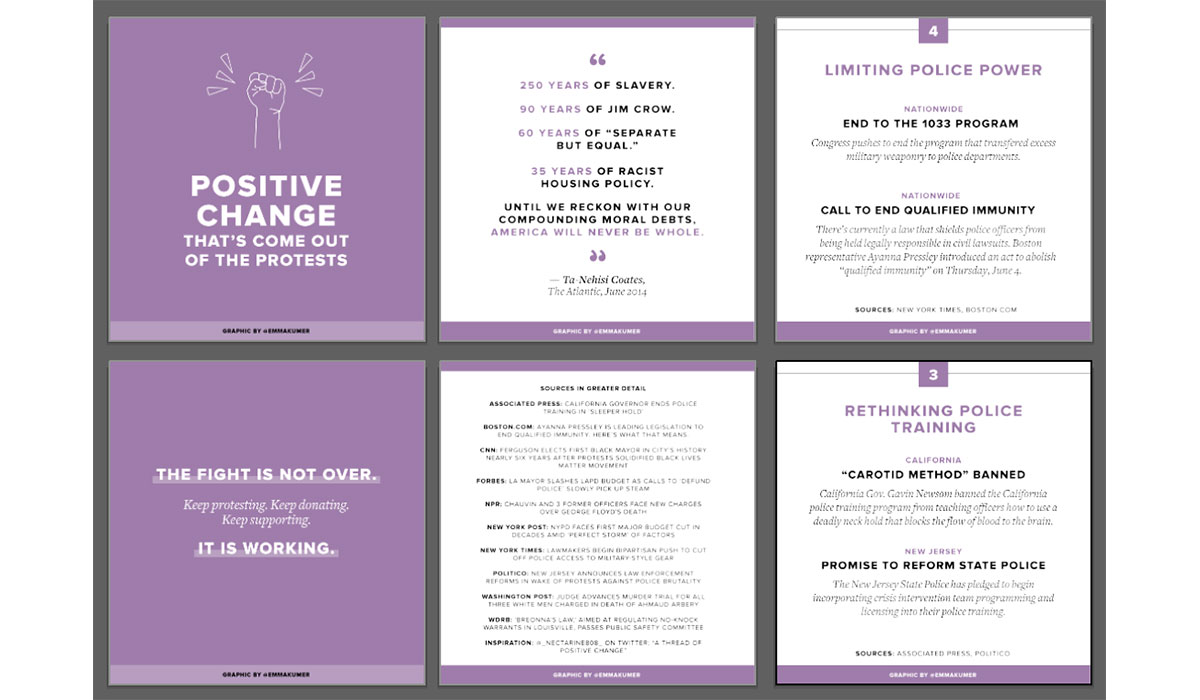 Use consistent design elements and colors to make your graphic as easy to understand as possible.
 - File > “export for screens...” Once your graphic is created, use Illustrator’s “export for screens” option to save all of your artboards as separate files. You can export as either a .png or .jpeg (if you want white backgrounds, save as a .jpeg or you’ll end up with transparency) using 1x enlargement.
- Post to instagram. Before you post your slideshow images, reread each one and do a final proofread! Getting your information correct is very important. (You might even want to ask a friend or family member to look it over, too.) If you think the infographic is ready to share to social media, upload each image to Instagram in the correct order, making sure to pinch outward as you select each photo in the app to make sure they don’t accidentally zoom in. Looking for more ways to strengthen your Instagram page? Click here to learn how to create your own highlight covers.
Are you a current student? See how you can save over 60%.


