


If you don’t have a professional photo to use as your LinkedIn profile picture, don’t worry. Using Adobe Photoshop can help bring even a phone portrait to the next level. The ideal profile picture is professional and polished: you’re smiling in an outfit formal enough to wear to work, the background is solid, and the lighting is soft and natural. If this doesn’t describe your photo, you might be able to make some simple edits in Photoshop to cheat your way into the perfect profile picture. Once you’ve snapped the ideal shot, here are some tips to get your image profile-picture-ready.
- Crop the photo. LinkedIn photos are shown in your profile in a circular view—so to get a better idea of how the image will look on the site, crop your photo into a square. No need to eyeball it: You can use the “ratio” tab and select “1:1 (square).” Once the photo is cropped to this shape, consider if you should zoom in at all. As a general rule of thumb, LinkedIn suggests that your face fills 60% of the frame, so you can include your head and shoulders, but not much more.
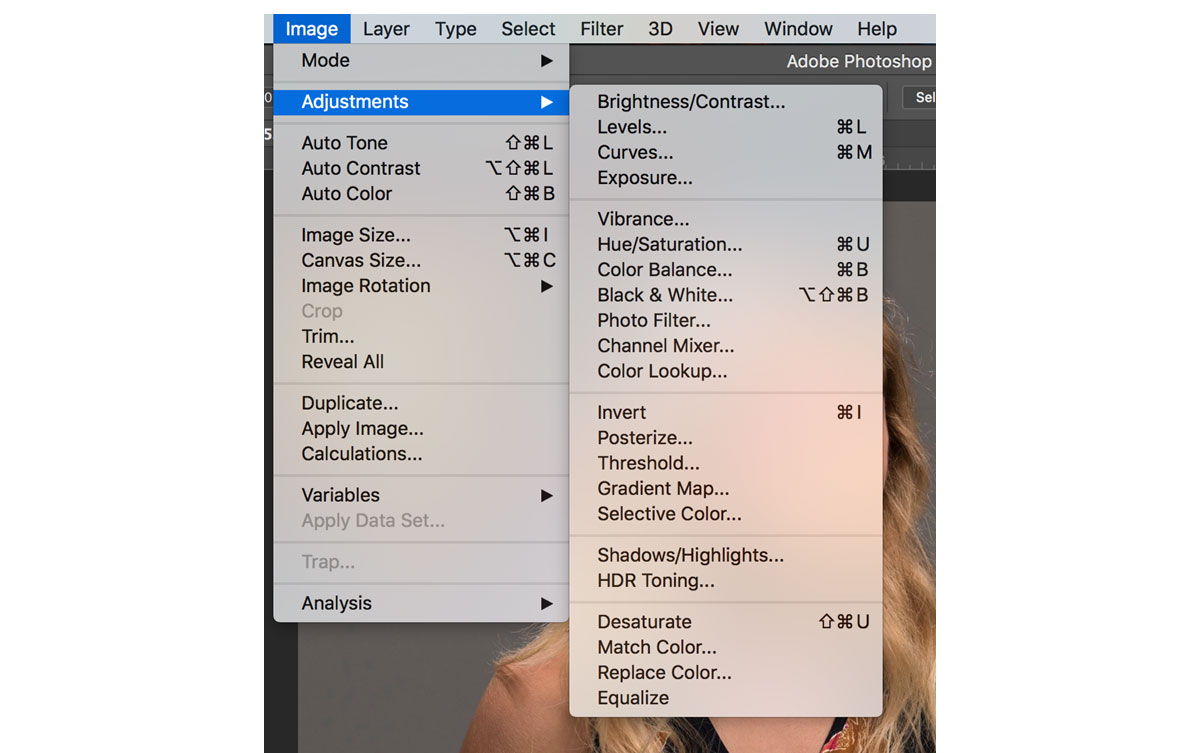
- Correct lighting and saturation.


- Remove blemishes. You want your LinkedIn photo to look like yourself—so don’t edit or erase any parts of your actual face. However, if you happened to take the photo on a rough day and you have a few blemishes that you don’t usually have, it’s okay to remove them in Photoshop. To remove a small feature from an image, use the patch tool to circle a blemish on your skin or clothes and drag the area into an area without a blemish.
- Obscure busy backgrounds. You can usually spot a professional photo by the depth of field, which might place the subject in focus and obscure the background. If you want to cheat an phone picture into looking professional (or at least do a fake “portrait mode”), you can obscure the background of your photo. This is especially helpful if you took the picture in front of a busy backdrop, like a brick wall or clump of trees. You can follow this tutorial to find out how to blur your background using your face as the focal point. You want to keep the background from looking too fake, so don’t apply the filter at more than 15% strength.
Having a LinkedIn photoshoot with your friends? Discover ways to apply these edits to multiple photos at once using Lightroom. Are you a current student? See how you can save up to 60%.


