

Elevate your vlog video editing skills by using Premiere Pro to transform a homemade vlog into a professional-looking video that’s ready for YouTube to see. A common YouTube video format is the classic vlog—a digital diary of a particular day in a person’s life that follows the food they eat, activities they partake in, and self-care routines they conduct. These videos also have elements of conversation, adding clips where a YouTuber talks off the cuff with the camera, discussing their thoughts on random topics or providing explanations for why they do certain things throughout the day. Vlogs appeal to the YouTube audience because we, as humans, are often naturally curious about how other people live their lives. It’s also a fairly easy format for a video because it doesn’t require much planning: you just have to live your life as you normally do...with the additional presence of a camera. If you have a YouTube channel, want to start a YouTube channel, or simply want to try vlogging a day in your life to look back on in the future, you can start here. This tutorial will explain the basics of a vlog and how you can edit a vlog yourself in Adobe Premiere Pro.
 You might want to practice talking to the camera before you begin filming to get warmed up and feel less awkward!
How to Edit a Vlog
- Gather your footage.
Plan to make your vlog in two days. You can spend the first day filming and spend the second day editing and re-shooting any necessary elements.
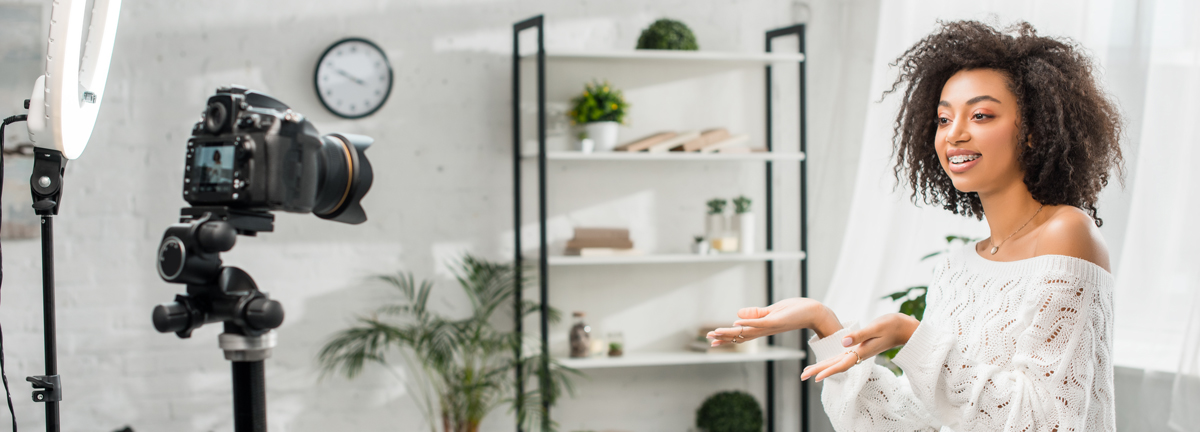
On the first day, bring a camera along with you throughout the day. You can use your phone, a professional video camera, or a combination of the two. (Most smartphones have high-quality video cameras, but avoid filming anything with a computer.)
You can choose how much of your day you document. Common vlog topics include meals, skincare routines, makeup routines, trying on clothes/getting dressed, going for a drive, getting/making coffee, hanging with friends, sharing music or movie suggestions, playing with pets, going thrift shopping, doing a craft, working out/exercising, and cleaning/organizing your room.
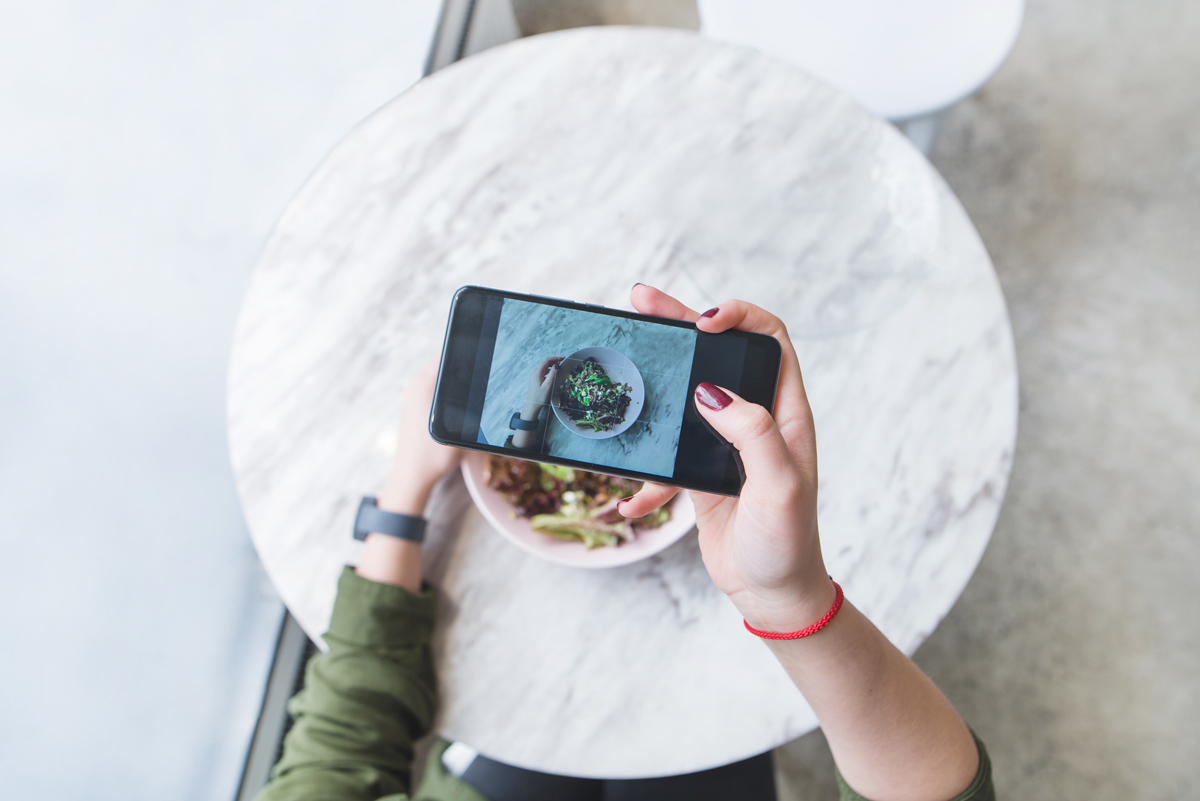
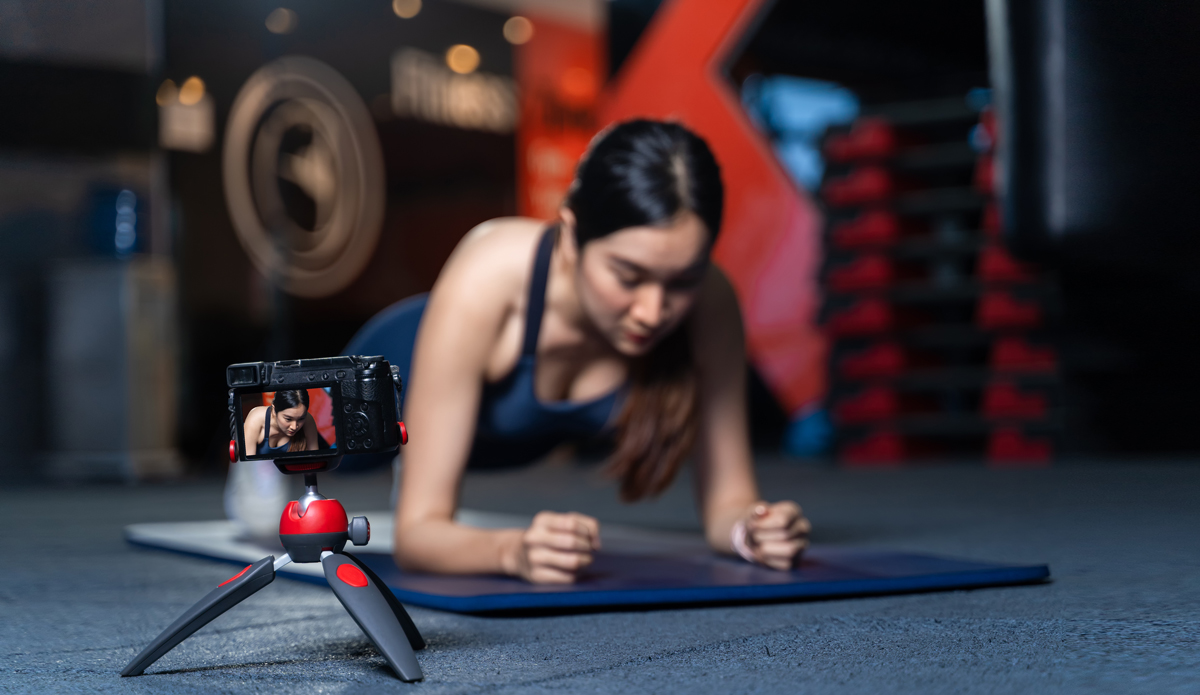 Try filming your food from above and close and filming your workout routine from the side and farther away
Finally, experiment with unique camera angles! When showing clothes, food, or anything on a table, it might look professional to film from above looking down. When filming movement, like skateboarding or dancing or playing with a pet, it might be cool to set the camera on a steady surface far away to get a wide shot. For most of your shots, try building homemade tripods by placing your phone on a ledge or stack of books. This keeps the footage from appearing shaky and unprofessional, though handheld videos do have a particularly homemade quality that you might like. - Create a Premiere file using optimal video dimensions and import your footage.
Open Premiere and create a new video file, saving it in a convenient place. A video file in Premiere is called a “sequence.” You can create multiple sequences if it helps you to organize the clips into various categories and combine them later, but it is probably easiest to put everything in one sequence for a simple vlog project.
Your dimensions will work best for YouTube at 1920 by 1080 pixels. Select all of the footage for your vlog and drag it into the timeline to import everything into your newly created sequence.
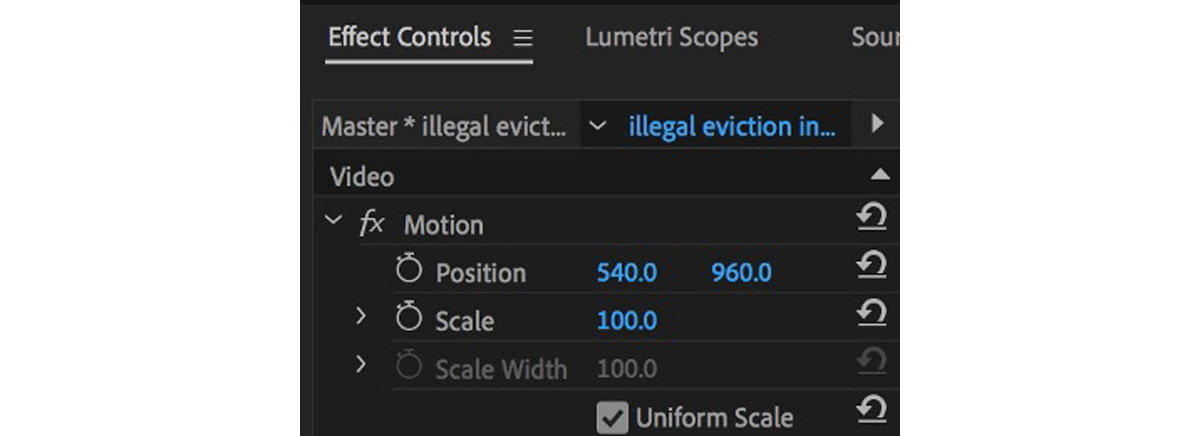 You can edit the scale of a video clip (how large or small it is) in the effect controls panel.
Usually, phones film in 1920 by 1080 dimensions automatically, but a video camera might default to something larger. For this reason, you might end up with two different sizes of videos when you drop your footage into the timeline. You can adjust them to fit the screen by clicking on the Effect Controls for each clip and manually shifting the “scale” until the video is large or small enough to fit the screen. - Trim each clip using the razor tool.
Play each clip back by pressing the spacebar to start and stop. You will probably want to trim the beginning and end of each clip—and possibly cut pieces out of the middle. You can adjust the start and end of each clip by using your mouse
 and dragging either end of the media file in the timeline. To cut something out of the middle, use the razor
  to make cuts in the footage, click the unwanted section, and press the delete key on your keyboard to remove it.
You can reorder clips by dragging them back and forth in the timeline. Just be careful not to overlap any clips, because whatever clip is placed on top will delete the one underneath.
to make cuts in the footage, click the unwanted section, and press the delete key on your keyboard to remove it.
You can reorder clips by dragging them back and forth in the timeline. Just be careful not to overlap any clips, because whatever clip is placed on top will delete the one underneath.
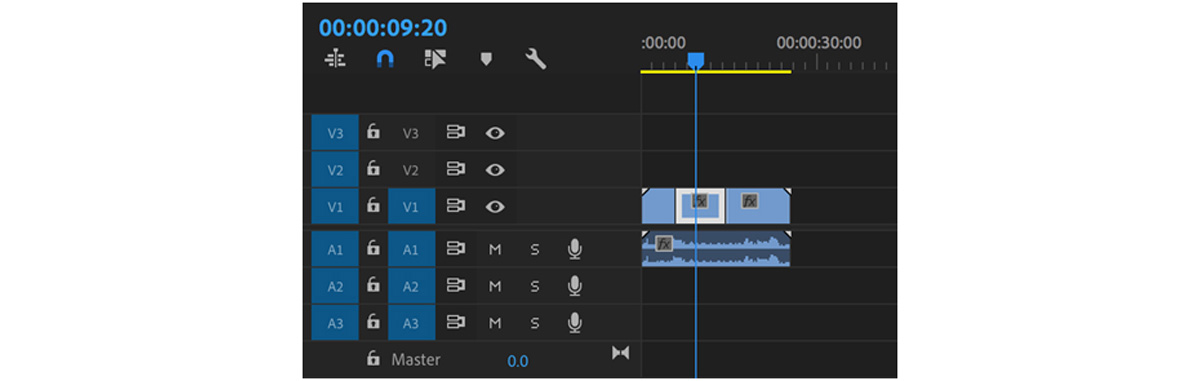 Be sure to use the razor tool to cut the audio, too—or you’ll end up just deleting the visual data from your footage! (The visuals (V) are on the top layers and the audio (A) are shown below.)
Zoom in and out of your timeline by pressing the + and - keys. Instead of zooming in or out of your footage, this will help you to see smaller sections of your video as opposed to seeing the entire thing at once. It will be easier to trim each clip if you are “zoomed in” since you can make more precise adjustments. - Edit the lighting, contrast, and saturation of any washed-out, dark, or dull clips. If there are any sections of the vlog that appear too bright, dark, or dull, you can edit the brightness, contrast, and saturation using Premiere Pro. Just open the “effects” window, drag the “brightness/contrast” or “saturation” effects onto the vlog clip that needs editing, and adjust the values in the effect controls panel.
- Make adjustments to the audio level in each clip.
One of the most important parts of vlog video editing is having a consistent audio level. You don’t want certain parts of the video to be loud and others to be quiet. In Premiere Pro, the default workspace includes an audio level indicator. You want your audio to be hovering around “6” at all times. As you play back your clips, notice which ones are too loud and which are too quiet.
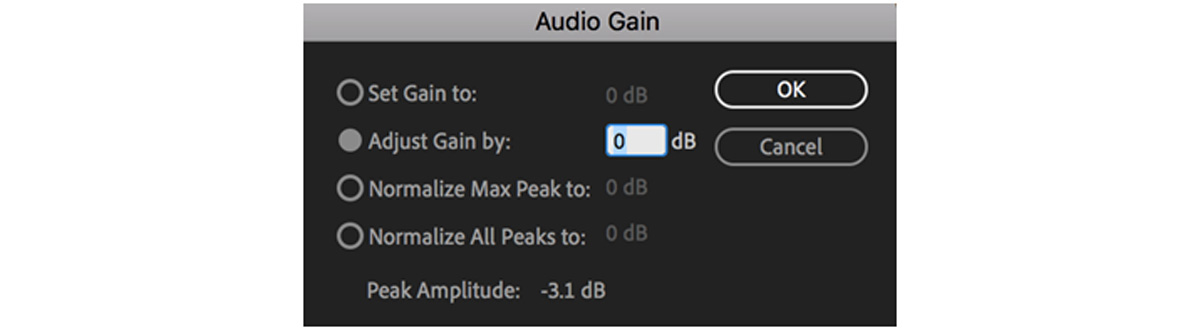 Type a value into the adjust gain box to make a video clip quieter or louder.
Press the “g” key on each clip to open the “audio gain” window. If a clip is too quiet, add 5 gain and close the window. If it is too loud, add -5. Keep doing this, using smaller or larger increments when necessary, until your clips are all at the ideal volume. - Add music and/or sound effects.
Adding sound effects or music to a video can add a level of professionalism and extra care. Go online to a website offering royalty-free music and sound effects and download anything you find intriguing. You can drag these audio clips into Premiere Pro, place them below the video audio in the timeline, and have both sounds playing at once. Adjust the volume of each added sound using the “g” key, just like in the last step.
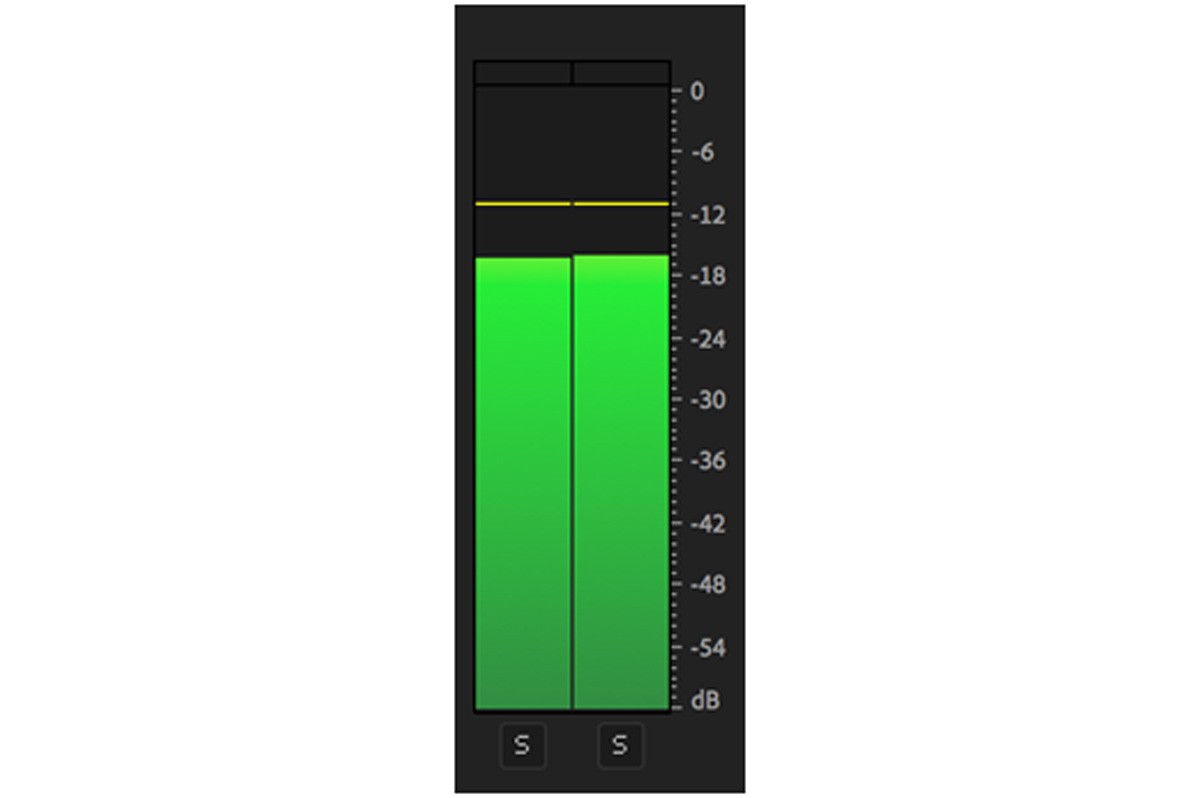 You want your audio to hover around the “6” level in this display.
If you want certain parts of the music to be louder than others, use the razor tool to cut the audio into sections. Apply different gain values to each section, making the sound quieter where you want and louder where you want. Then, right click on the transition between these two “cuts” of the audio and click “apply default transition” to smooth the transition from loud to quiet or vice versa. - Throw in a few transitions—or don’t. Everyone has their own personal vlog editing style. Some people love making quick cuts to video clips and inserting memes or relevant images from the internet. Some people love using slow motion or time lapse videos to create an illusion of warped time. Some people like a minimalist style of editing that doesn’t look edited at all. Whatever your preference, you can use the cuts, audio, and images to create a video that is fun and reflective of you. Also play around with transitions. If you right click on any clip’s beginning or end, you can add a simple fade by clicking “apply default transition.” For anything more complicated, see this guide to video effects and transitions in Premiere Pro.
- Export and upload to YouTube.
Watch your video back and admire it! Once you’re happy with the vlog, you can export it from Premiere Pro by clicking in the timeline and going to Export Media. (Here’s another trick for how to reduce video file size without losing quality.) Then, the final step is uploading to YouTube!
 Even with only iPhone footage, vlog videos can appear to be high-quality—but the most important thing is that it’s fun to watch!
For more YouTube tips and tricks, learn how to edit videos for YouTube or how to create your own YouTube channel art banner. Are you a current student? See how you can save over 60%.


