


Write about travel experiences, and share photos and videos all in one place on a travel blog If you feel obnoxious writing long Instagram captions for your travel photos, it might be time to start your own blog where you can write about your travel experiences. The next time you go on an adventure, start a travel blog with Adobe Portfolio to easily share your photos, videos and experiences all in one place. As you go on more adventures, simply keep the blog going by adding new sections and experiences to it.
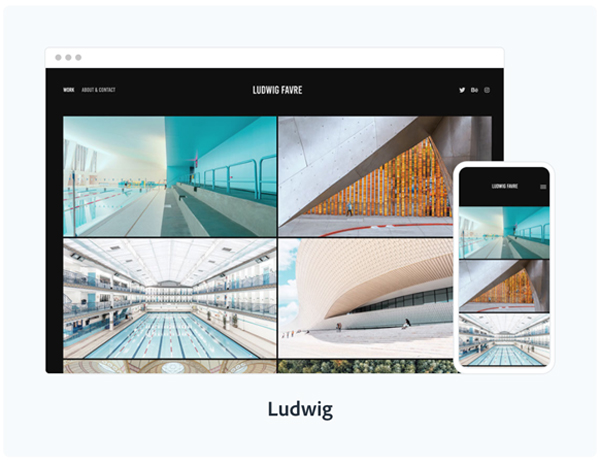
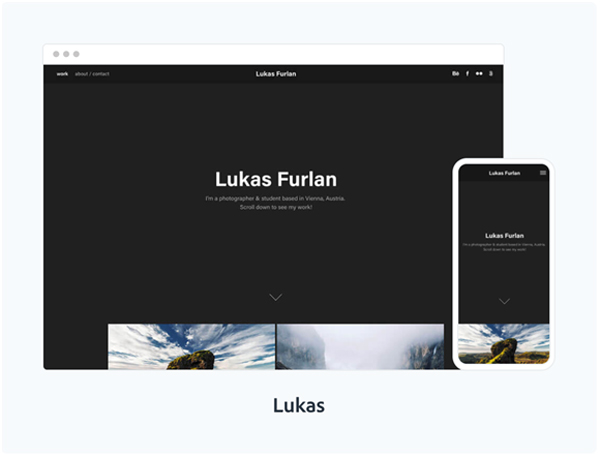
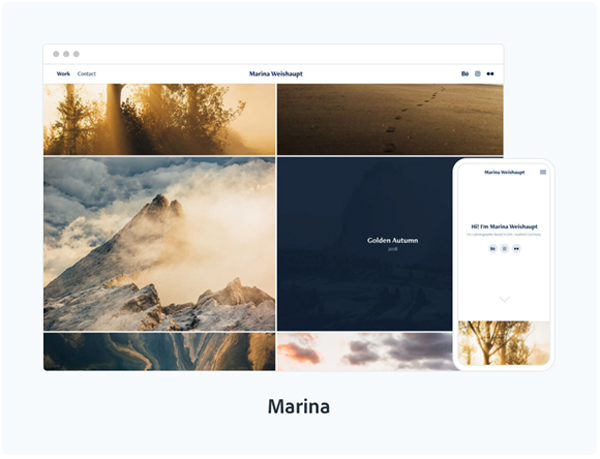
- Choose a theme with large photos.
You’ll want a theme that allows you to show off your gorgeous travel photos as large as they can be on the screen. The following themes work well for this.
- Create a new page for each travel adventure. To keep your travel blog organized, create a new page for each of your adventures. You’ll be able to add new pages for every experience.
- Write your travel blog. Now that you have a separate page for each adventure, start your travel blog! You can easily add photos, videos, and text to write about travel on your blog. If you edit your travel photos in Adobe Photoshop or Lightroom, or create pages on Behance, you can integrate your albums and projects directly into your travel blog. Edit the background, colors, and fonts to personalize your blog further. Finally, embed your social media posts for more travel content. Once you’re finished with your travel blog, publish your website and share it with friends and family! You can log onto portfolio.adobe.com to update your blog at any time. Discover more ways to share your travel experiences by editing your travel photos in Adobe Photoshop with Adobe Creative Cloud.
Are you a current student? See how you can save over 60%.


